
Open-Source Internship opportunity by OpenGenus for programmers. Apply now.
In this article, we will learn to create a file hosting service webpage in Django wherein one can host their files on the local server and generate a shareable URL link to access the file.
Make sure that you have installed all the necessary dependencies and are well aware of the basics of Django. If not, then I recommend you to go through the basics and then continue with this tutorial.
After this, we'll be creating an empty Django project. Open the Command Prompt at an appropriate place in your system and run the following:
django-admin startproject hosting
Here, 'hosting' is just a name given to the project. (You can change it if you want) django-admin is the command-line utility for handling all administrative work and here it is used to start a new project. After its successful execution, you'll see a folder named 'hosting' is created. Open the folder and you'll see this type of folder structure.
hosting
├── manage.py
├── hosting
│   ├── __init__.py
│   ├── settings.py
│   ├── urls.py
│   └── wsgi.py
│   └── asgi.py
This is a basic structure any Django project would have. When we'll use them here, we'll see why they are used.
settings.py
Now open settings.py file and make the following changes.
It would be appropriate if we change the time on our website. We'll be changing the TIME_ZONE according to our region. Like for India, it would be
TIME_ZONE = 'Asia/Kolkata'
We will add a path to our static files ( CSS files and images) so that they can be accessed easily. Just under the STATIC_URL add STATIC_ROOT given below.
STATIC_URL = '/static/'
STATIC_ROOT = os.path.join(BASE_DIR, 'static')
Now, here we need to store/serve our files/media on the local machine so we'll add path and URL for the media as well.
MEDIA_ROOT = os.path.join(BASE_DIR, 'media')
MEDIA_URL = '/media/'
Make sure to create a folder named 'media' in the directory where 'manamge.py' is present as this will be the location where all the files will be stored locally.
Starting the Server
Now to start the server, you need to be in the directory where manage.py is present and open the command prompt there and run the following command.
python manage.py runserver
If executed successfully, you'll see the following line in the end.
Starting development server at http://127.0.0.1:8000/
Quit the server with CTRL-BREAK.
Now open http://127.0.0.1:8000/ (localhost) on your browser.
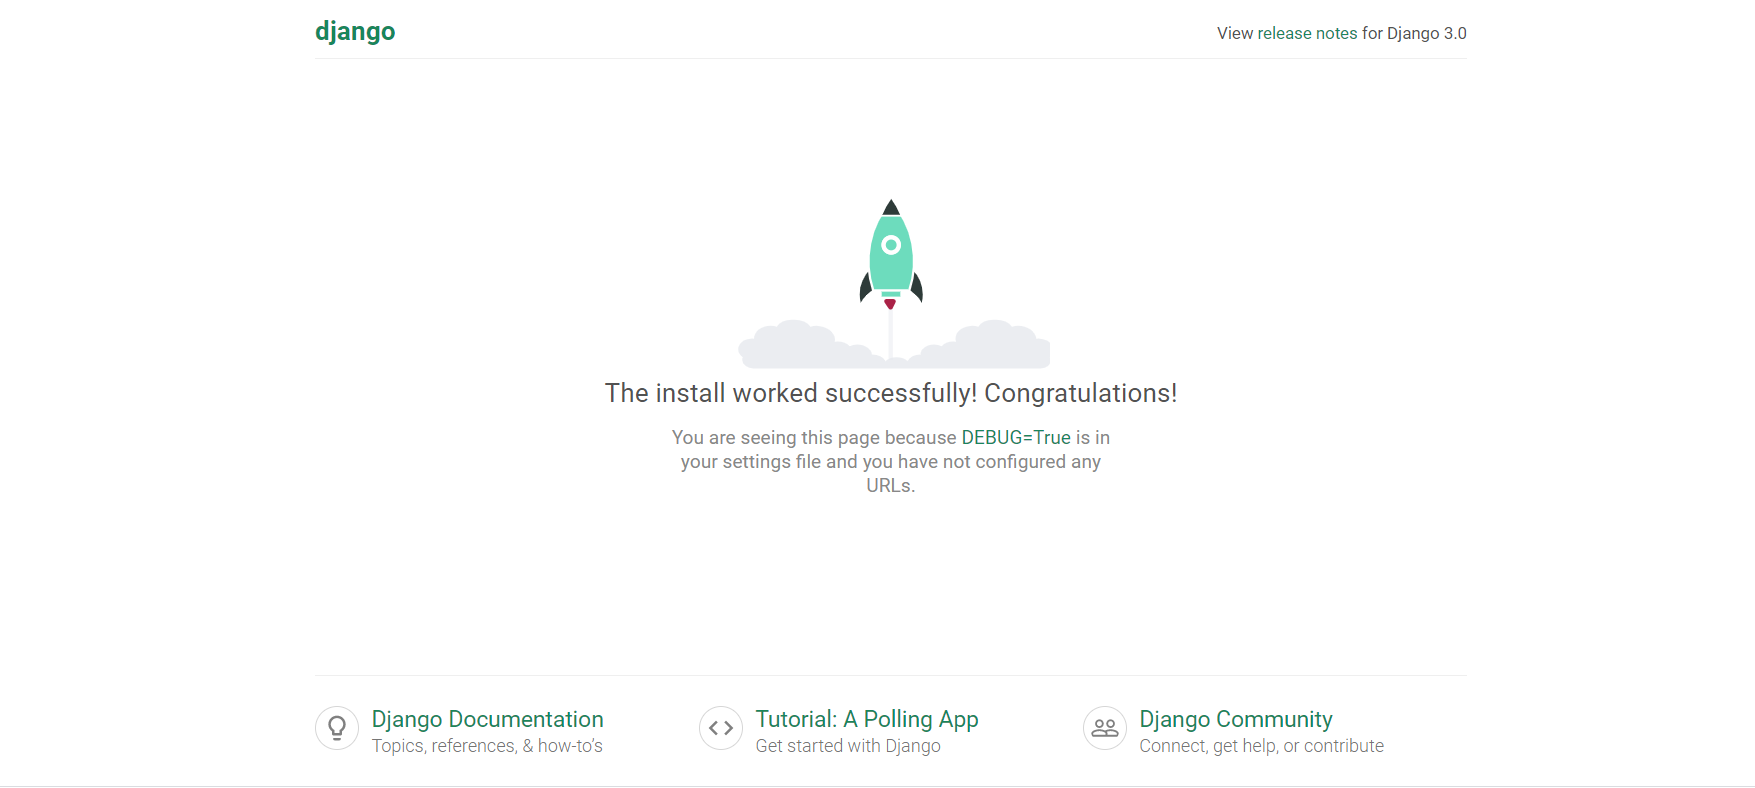
If this thing shows up then congratulations! you're successful in building your project and running it on the server.
Application
Run the following command in the command prompt in the directory where manage.py is present.
python manage.py startapp mainapp
After its successful execution, you'll see a folder named 'mainapp'. (Every time you need to create an app you have to run the same command) Open the folder and you'll see this type of structure.
mainapp
   ├── admin.py
   ├── apps.py
   ├── __init__.py
   ├── migrations
      └── __init__.py
   ├── models.py
   ├── tests.py
   └── views.py
Open the file and add your app's name in the INSTALLED_APPS list and save it.
INSTALLED_APPS = [
    'django.contrib.admin',
    'django.contrib.auth',
    'django.contrib.contenttypes',
    'django.contrib.sessions',
    'django.contrib.messages',
    'django.contrib.staticfiles',
    'mainapp',
]
Now, let us move forward with the working.
Basics of file uploading
To make a file hosting service, you firstly need to understand how Django handles file uploads and how to save and access them. Now, Django has a proper model field to handle uploaded files that is FileField. So, the files are not saved into the database, it is stored in a filesystem. In the database, this field is created as a string field that specifies the reference/link to the actual file.
But here, we'll handle file uploads without using models to make things easier as of now. When the files are given to the server, the file data is placed in request.FILES which is a dictionary containing a key for each FileField.The HTML file should have the attribute enctype="multipart/form-data" set correctly otherwise the request.FILES will remain empty. The form must be submitted using the POST method.
views.py
We'll create a view for our template wherein we need to handle the POST request. Here we'll be using FileSystemStorage which will help us in basic file storage on the local filesystem.
from django.shortcuts import render, redirect
from django.core.files.storage import FileSystemStorage

def upload(request):
    context = {}
    if request.method == 'POST':
        uploaded_file = request.FILES['document']
        fs = FileSystemStorage()
        name = fs.save(uploaded_file.name, uploaded_file)
        context['url'] = fs.url(name)
    return render(request, 'upload.html', context)
Once, we have defined our view, its time to define the template for our view. Inside the 'mainapp' create a folder named 'templates' and inside that create an HTML named 'upload'. (The names should be same) Add the following code to that HTML file.
<head>
<title>Reddit Flame Classifier</title>
<link href="https://fonts.googleapis.com/css2?family=Roboto:wght@700&display=swap" rel="stylesheet">
<link href="https://fonts.googleapis.com/css2?family=Ubuntu:wght@500&display=swap" rel="stylesheet">
<link href="https://fonts.googleapis.com/css2?family=Spartan:wght@600&family=Ubuntu:wght@500&display=swap" rel="stylesheet">
<link href="/static/css/style.css" rel="stylesheet"/>
</head>
<body>
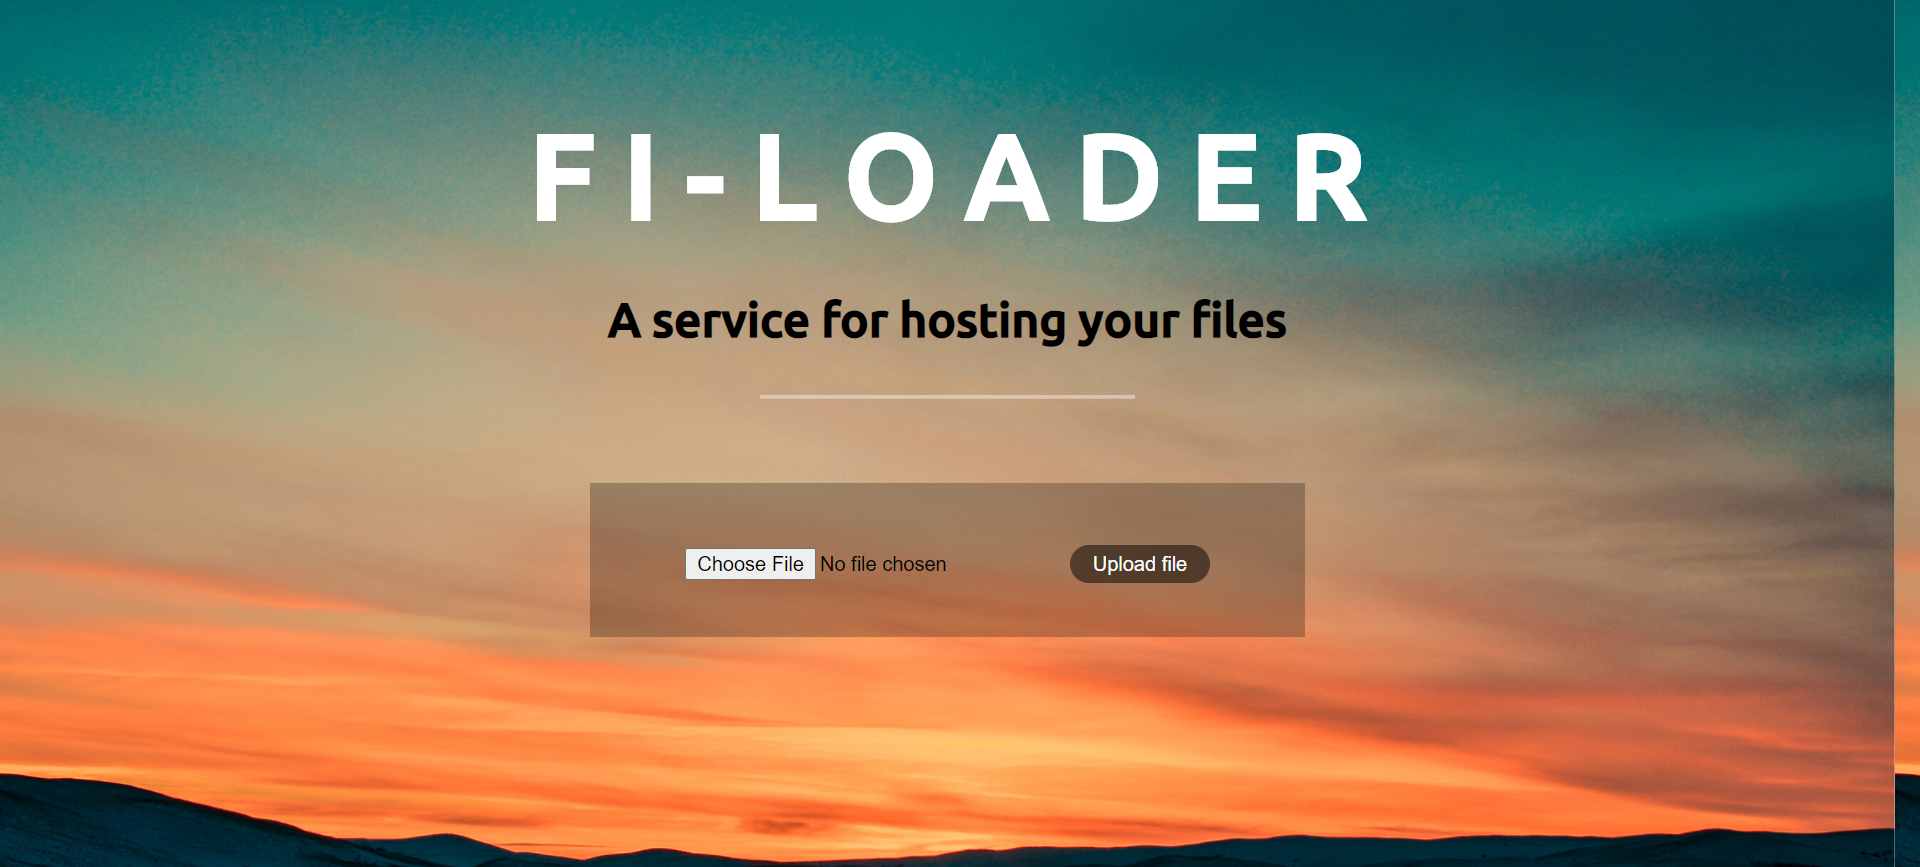
<h1>F I - L O A D E R</h1>
<h3>A service for hosting your files</h3>
<div style="width: 20%; height: 10%; border-top: 2.5px solid rgba(255,255,255,0.4); margin: 0 auto;"></div>
<div class="fancybox">
<form method="post" enctype="multipart/form-data">
{% csrf_token %}
<input type="file" name="document">
<button type="submit">Upload file</button>
</form>
</div>
<br>
{% if url %}
<div class="fancybox">
<p>Uploaded file: <a href="{{ url }}">{{ url }}</a></p>
</div>
{% endif %}
</body>
As you can see, I've already included a link to the CSS file. To add CSS, again inside the 'mainapp' create a folder named static and inside that create a folder named 'css'. Inside 'css' create a new CSS file named 'style' and add the following components. (I have added components according to myself, if you want you can style it differently.) Inside 'static', create a folder named 'images' and add a suitable image for the background and add the URL to 'body' in the CSS file.
  body{
          background-image: url("/static/images/bg.png");
          background-size: cover;
         height: 100vh;
         background-position: left;
      }

      h1{ margin-top: 5%;
         margin-bottom: 0%;
          font-size: 500%;
          text-align: center;
          font-family: 'Ubuntu', sans-serif;
          color: white;
      }

      h3{
          font-size: 200%;
          text-align: center;
          font-family: 'Ubuntu', sans-serif;
          color: black;
      }

      .fancybox{
           margin: 0 auto;
          position: relative;
           border: transparent;
           text-align: center;
           width: 35%;
           background-color: rgba(0,0,0,0.25);
          padding: 20px 20px;
      }


      button{
        background: rgba(0,0,0,0.5);
          color: white;
          text-align: center;
          border-radius: 20px;
          padding: 5px 15px;
          border: hidden;
          margin-top: 5%;
          transition: 0.3s;
      }

      button:hover {
         background-color: black ;
      }

      p{    color: white;
           font-size: large;
           text-align: center;
          font-family: 'Roboto', sans-serif;
      }
After creating the views and templates, we now need to map the URLs accordingly. It's always beneficial to have separate 'urls.py' file for the project and the application. Well by default if you see in the 'mainapp' folder there's no such file, so we'll make a copy of urls.py present in 'hosting' to 'mainapp' as well.
For urls.py in 'hosting' modify this,
from django.contrib import admin
from django.urls import path, include
from django.views.generic.base import RedirectView
from django.conf import settings
from django.conf.urls.static import static

urlpatterns = [
    path('', RedirectView.as_view(url="mainapp/")),
    path('admin/', admin.site.urls),
    path('mainapp/', include('mainapp.urls')),
]

if settings.DEBUG:
    urlpatterns += static(settings.MEDIA_URL, document_root=settings.MEDIA_ROOT)
Here we're providing a list of different URL patterns that Django could encounter and what to do in that case. Here if you look carefully, if the path is 'mainapp/' then it is directed to urls.py in the 'mainapp' folder.
For urls.py in 'mainapp' modify this,
from django.urls import path
from django.views.generic.base import RedirectView
from mainapp import views

urlpatterns = [
    path('', RedirectView.as_view(url='upload/')),
    path('upload/', views.upload, name='upload')
]
After making all the changes, save all the files, and run the server again to see the final results.
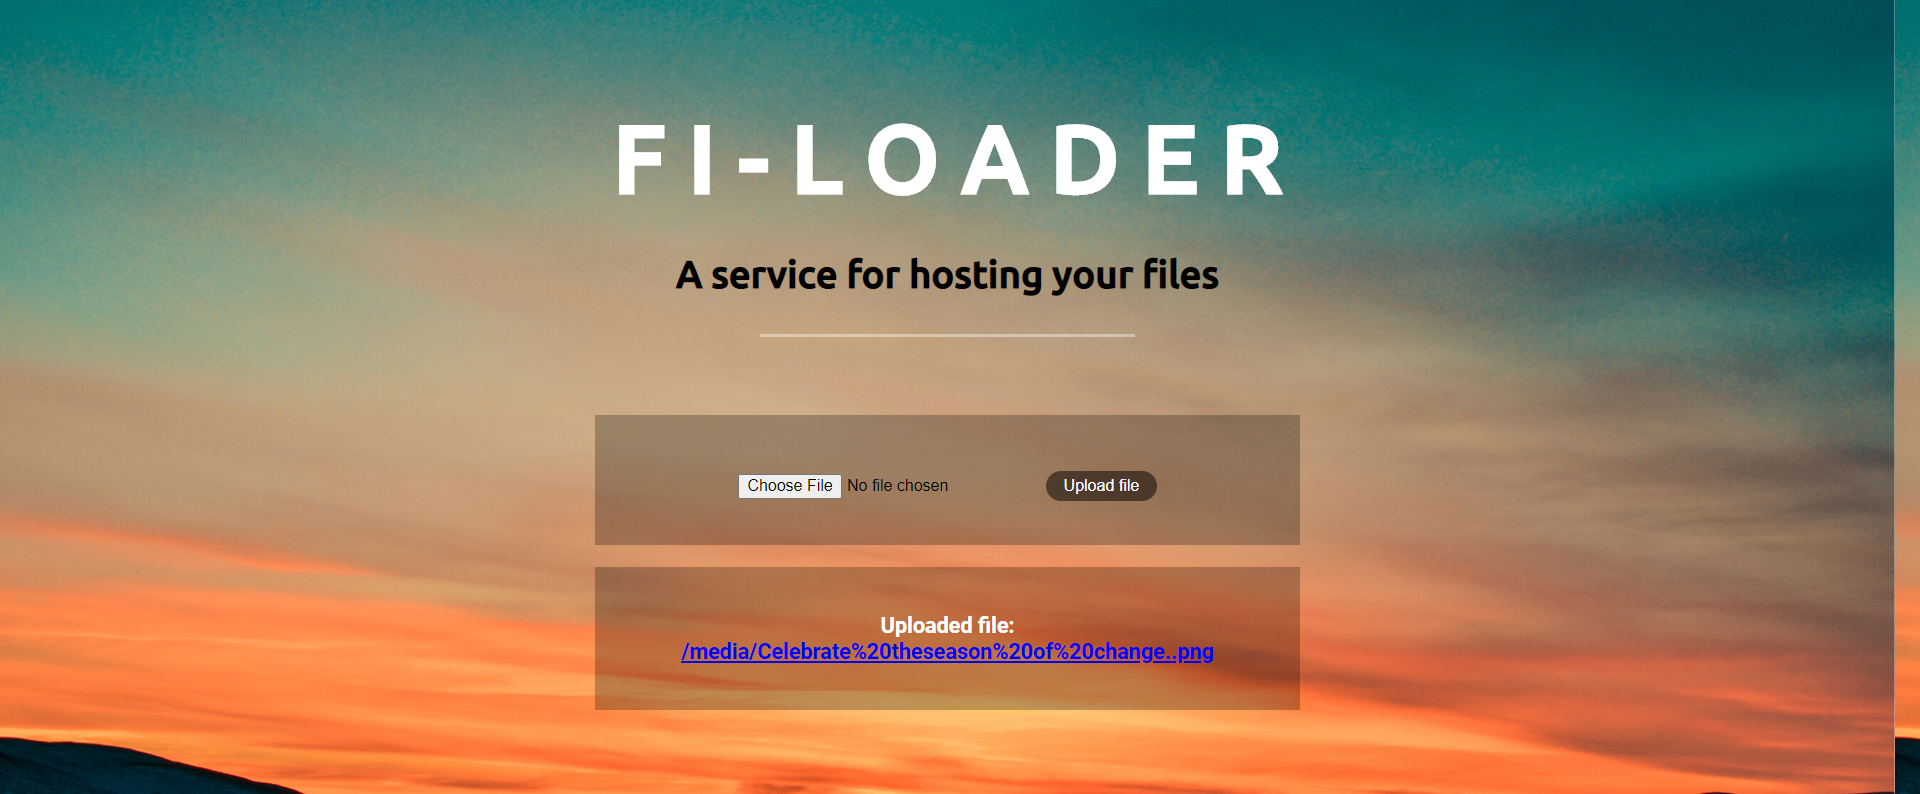
Congratulations!, you have created a simple application to host files!
Now try this yourself and you can experiment with different styles and different fields. ( You can create a separate folder for 'ImageField' images as well )