
Open-Source Internship opportunity by OpenGenus for programmers. Apply now.
Reading time: 25 minutes | Coding time: 5 minutes
In this article, we will learn about routing in web applications using Express which is a Node.js framework and Postman which will allow us to do API testing. Routing is the technique which allows us to map different URLs to different web functionality or templates. We will go through the basics of Express and Postman before going into our demonstration.
⭐ What is Express ?

- Express is a minimal Node.js framework which means it is built on top of Node.js. Providing a higher level of abstraction. It can be considered as a layer built on top of Node.js that deals with the server and routes.
- Express consists of very powerful and useful features to develop web and mobile applications such as
- Complex Routing
- Easier handling of request and responses
- Setting up middlewares
- Server-Side Rendering and many more.
- Owing to all such powerful features, it allows rapid development of Node.js applications because we don't have to re-invent the wheel basically.
- Also, Express makes it easier to organize our application in the MVC(Model View Controller) architecture.
⭐ Why to use Express ?
- It is asynchronous in nature and is single-threaded.
- Hence, provides us with ultra-fast I/O rate.
- Helps in organizing our application in MVC architecture
- Allows rapid development.
- Simplifies many complex procedures such as routing, and setting up middlewares for HTTP requests.
⭐ Installing and Using Postman
Now, before we move on to writing our Express code, we first need to install a tool k/a Postman.
Postman is a beautiful tool that allows us to do API testing and much more.
Head over to https://www.getpostman.com/downloads/ and download the app for your respective system.
After it is downloaded, install it in your system, and open it.
Now, let's see how Postman works -
- This is how Postman looks like.
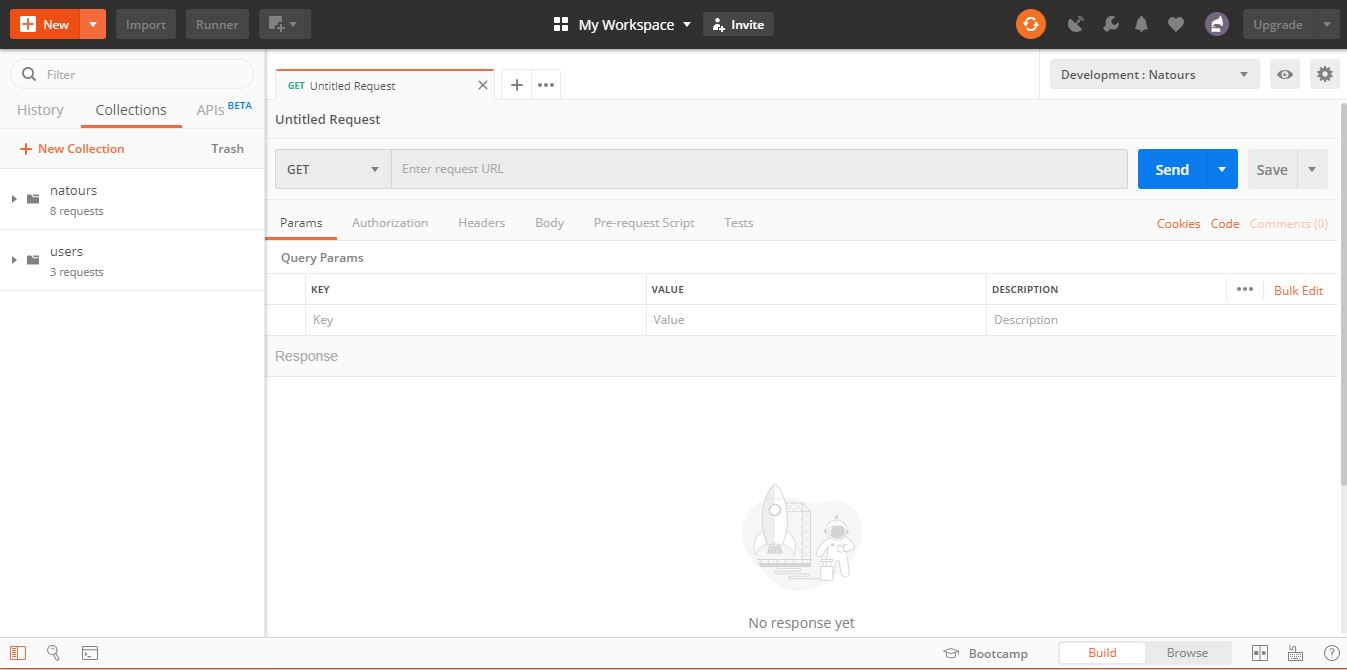
- Postman allows us to do many kinds of requests (such as GET, POST, PATCH, UPDATE, DELETE and many more), whereas in the browser we are only allowed GET requests.
- It lets us save our requests in collections and folders to organize them.
- We can specify the development/production environment, send the body for the POST/PATCH request.
- We can also specify HTTP headers for our requests.
In a nutshell, Postman provides us with every basic service needed to build an API.
So let's start building our API and use Postman for testing it. Besides Postman, there are other similar tools that allow you to test your API, like RapidAPI or Apigee.
⭐ Setting up Express
- Create a directory for your project, open the terminal, traverse to the project directory and use command
npm installto initialize the project. Enter the further details asked as follows -
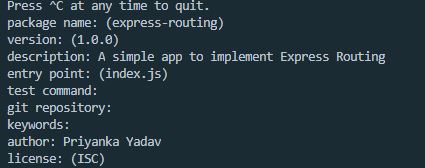
-
After the project is set up, use command
npm install expressto install Express. You can find all the installed dependencies of your project inpackage.jsonunder the fielddependencies. -
Now create a file called
app.js. App.js serves as a configuration file for express.js -
Require express -
const express = require("express"); const app = express(); -
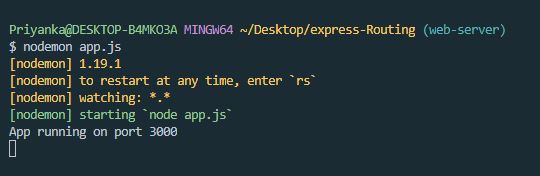
Now, let's create our local server using express. We use the method
listen()to create the server.const port = 3000; app.listen(3000, () => { console.log(`App running on port ${port}`); });Now, save the file, open terminal and use
nodemon app.jsto run the module. You'll see the following in the terminal -
- Now, let's do some basic routing in Express. We simply use the syntax
app.<http header>("<route>",(req,res)=>{
<Callback function that specifies what we need to do when the sepcific route is accessed>
});
Here, we are telling Express that whenever someone uses that specific http header for that specific route, do what's specified in the callback function.
The callback function accepts two parameters - the request(req) and the response(res).
The request refers to the incoming data, and response refers to the outgoing data.
We'll learn this with some examples -
📝 Handling GET REQUESTS -
app.get("/", (req, res) =>
res.status(200)
.send({ message: "Hello from the server !"}));
Here,
We have specified the http Header (GET), and told Express that whenever someone makes a request on the / route(which is the root route basically), with the GET header, send a response(res) with status - 200 that means (OK) and a json response with the message field.
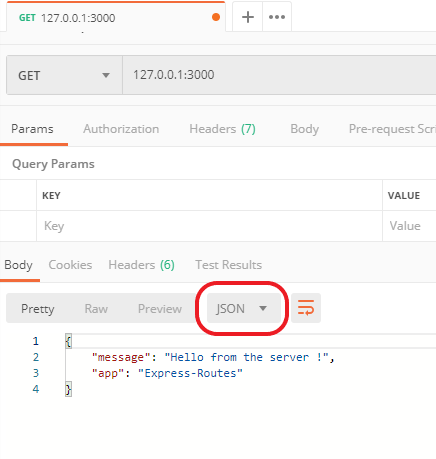
Save the file and let's try it out in Postman. Open Postman and enter the URL 127.0.0.1:3000 and specify GET as the HTTP header.
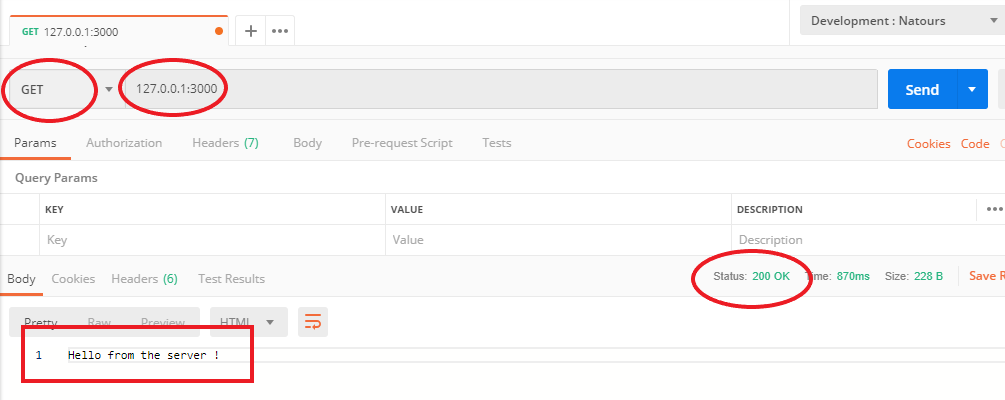
You can see that we got the correct reponse, with the status code that we sent.
Note: If we want to send JSON as the response, we need not specify Content-type , we can simply use .json on the response object.
app.get("/", (req, res) =>
res.status(200)
.json({ message: "Hello from the server !",
app:"Express-Routes"
}));
We can check the Content-type from Postman here -
Now, let us try for POST requests.
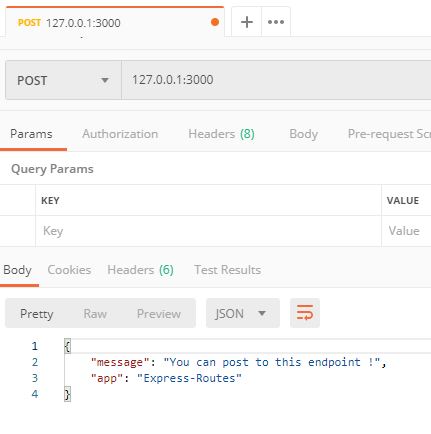
📝 Handling POST REQUESTS -
app.post("/", (req, res) =>
res
.status(200)
.json({ message: "You can post to this endpoint !",
app:"Express-Routes"}));
Here, we have just changed the HTTP header to POST. Save the file and let's test it -
We get the following result in Postman
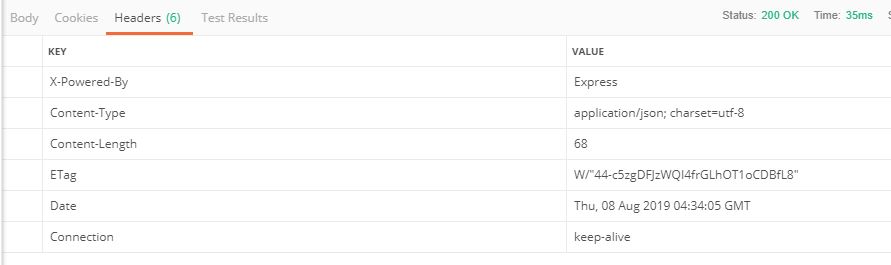
We can also check Headers of our app in Postman,
📝 Handling POST Request with some data -
With POST request we can send data from client to the server, and this data is present in the request(req) object.
In order to use the data available in the req.body we will have to use a middleware express.json().
So, specify the middleware just after the express configuration i.e just after the line const app = express();
app.use(express.json());
Now, write the folllowing code -
app.post("/data", (req, res) => {
console.log(req.body);
res.status(200).json({ status: "Success !", data: { body:
req.body } });
});
Here, we will be reading data from the client which is present in req.body and sending the data as a response also.
You can send data in Postman under the Body field. So, here we will be sending data in JSON format, so we'll specify the Content-type in body as JSON too.
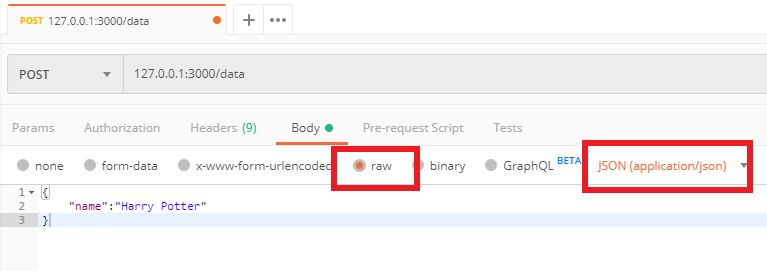
Now, save the file and test it on Postman, we get the following response -
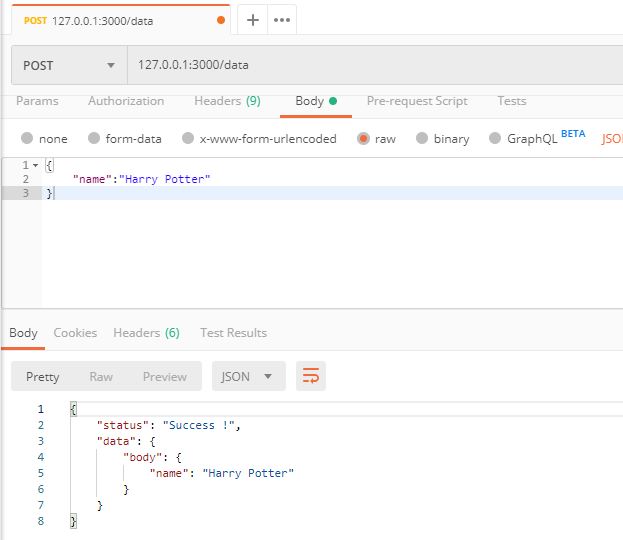
Fabulous ! 🎉
But we are yet not done. Let's learn to handle non-existing routes in Express too.
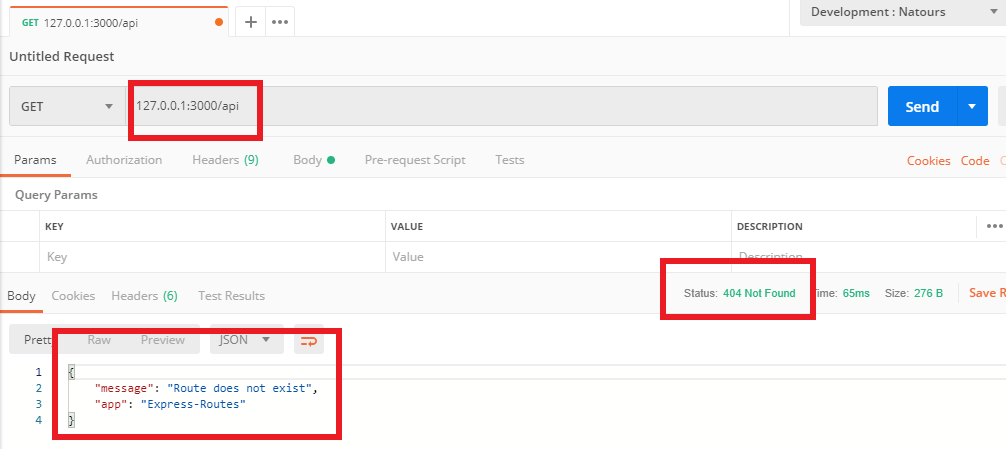
📝 Handling non-existing routes
Include the following code to handle routes that we did not specify in our app,
app.get("*", (req, res) =>
  res
    .status(404)
    .json({ message: "Route does not exist", app: "Express-Routes" })
);
Here, * refers to all. Make sure you add this piece of code after all the routes
Note that we specified the status code as 404 which means Not Found.
Now, if we try for a route that does not exist, Postman gives us the following reponse -
Congratulations ! 🎉 Now you are all ready to use Express for your real world applications.
Note : In case you missed anything, you may refer this code.
Do not forget to use npm install to install all the required dependencies before you run it.
⭐ References / Further Reading -
1.https://expressjs.com/
2.https://www.npmjs.com/package/express