Getting started with Django

Django is a Python web framework that is used to build several real life high performance systems. In this article, we have covered the basics of how to set up a simple web application in Django.
Table of contents:
- What is Django ?
- Are there any popular sites using it ?
- Getting started with Django
- Starting your first Django web application
Let us get started with Django.
What is Django ?
Django is a high-level Python Web framework that encourages rapid development and clean, pragmatic design. Django follows MVC(Model View Controller) pattern.
The coolest part about django is, it's got lot of features. Actually people made too many feature requests from django. It was not uncommon to make a request for a pony.
Model–View–Controller (MVC) is an architectural pattern commonly used for developing user interfaces that divides an application into three interconnected parts.
Are there any popular sites using it ?
Top 3 popular sites built on Django are:
- Disqus
Getting started with Django
Now, let's dive into the real part: Configuring your system for Django development.
Make sure you have your Python distribution installed in your system.
To do this:
- Windows : Start > Command Prompt
- Linux : Open up your Terminal
- Mac : Applications > Utilities > Terminal
In here, type "python -V" to check if you have python installed in your machine. This should print the version of Python you are using. Like this:
Python 3.5.6
If you don't have one, head here to download it. You do not need to worry about installing pip as pip is already installed if you are using Python 2 >= 2.7.9 or Python 3 >=3.4.
Next up, install virtualenv. Copy the below code:
pip install virtualenv
Then create a virtual environment for your project (venv is the name of environment, could be any !):
virtualenv venv
Activate the virtual environment using the below command. (venv) appears in prompt showing succesful activation.
source venv/bin/activate
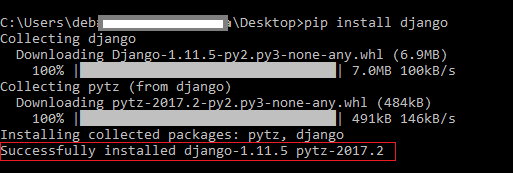
Finally, we need to install django. Execute the following command:
pip install django
Starting your first Django web application
Now we have django installed, it’s time to start up our first project! In command line, type in :
django-admin.py startproject project_name
Here, project_name = name of project. This creates a sub-folder with the name of project and a tree view of project representation is shown below:
project_name
├─project_name
│ ├── __init__.py
│ ├── settings.py
│ ├── urls.py
│ └── wsgi.py
└── manage.py
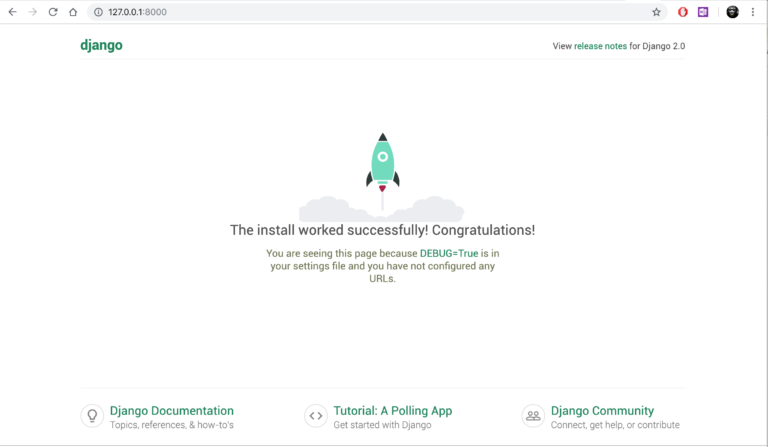
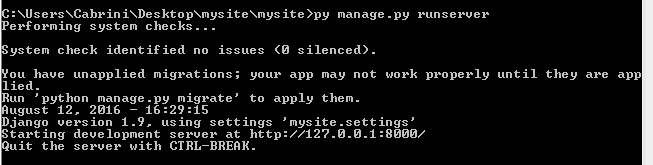
Pulling up the server ( and the wait is over! ):
python manage.py runserver
Type in the web adress: http://127.0.0.1:8000/ to view your web application.