
In this article, we would build a basic application that will display the text "Hello openGenus" on the screen. In this tutorial, we will make use of the following tools and languages:
- A system running on Linux, Windows, Mac or Chrome OS .
- Android Studio: This is an Integrated Development Environment (IDE) for Android app development.You can download Android studio from here https://developer.android.com/studio. The OpenJDK (Java Development Kit) is bundled with Android Studio. Android studio installation can take some time depending on the internet speed, so you have to be a little patient.
- Kotlin: This is the official programming language for android development.In this tutorial, It is assumed you know either Java or Kotlin programming language.
Once we have all this settled. We can move on to building our app!
Steps to Creating a Basic Android app
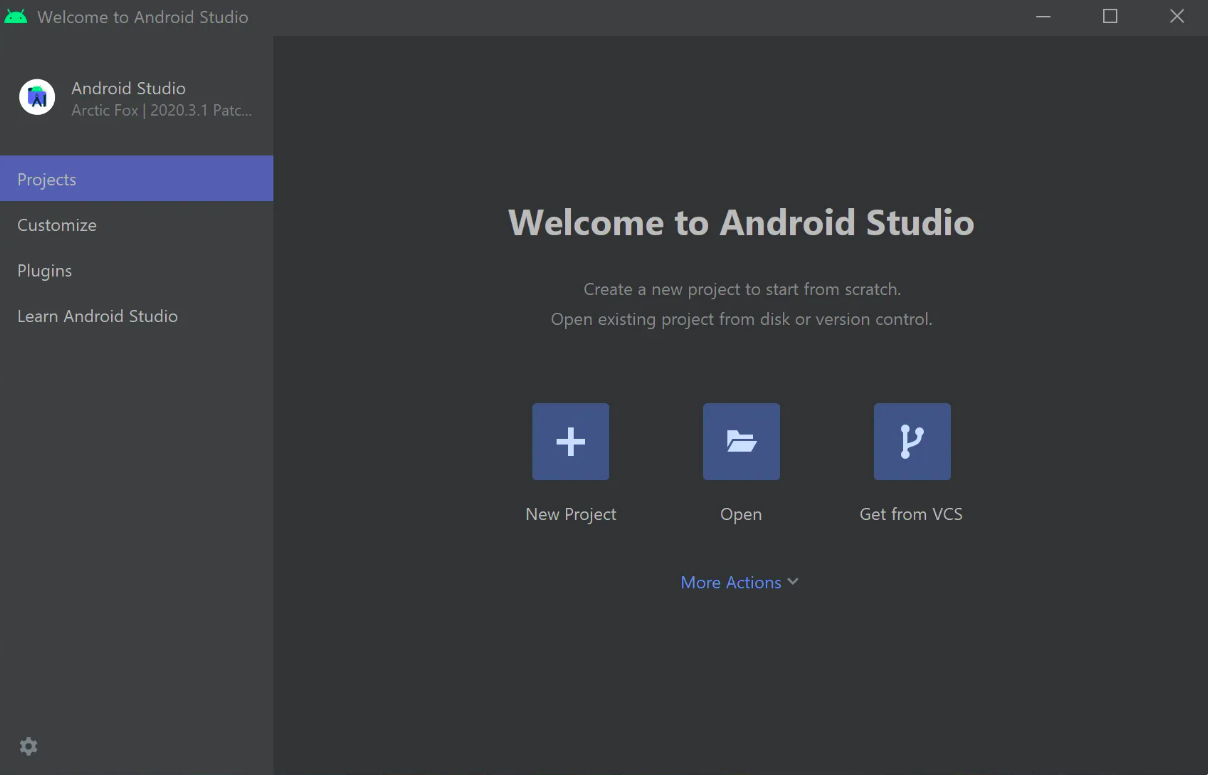
Step 1: Open Android studio on your system. You will see a screen like the image below. Select the option "New project"
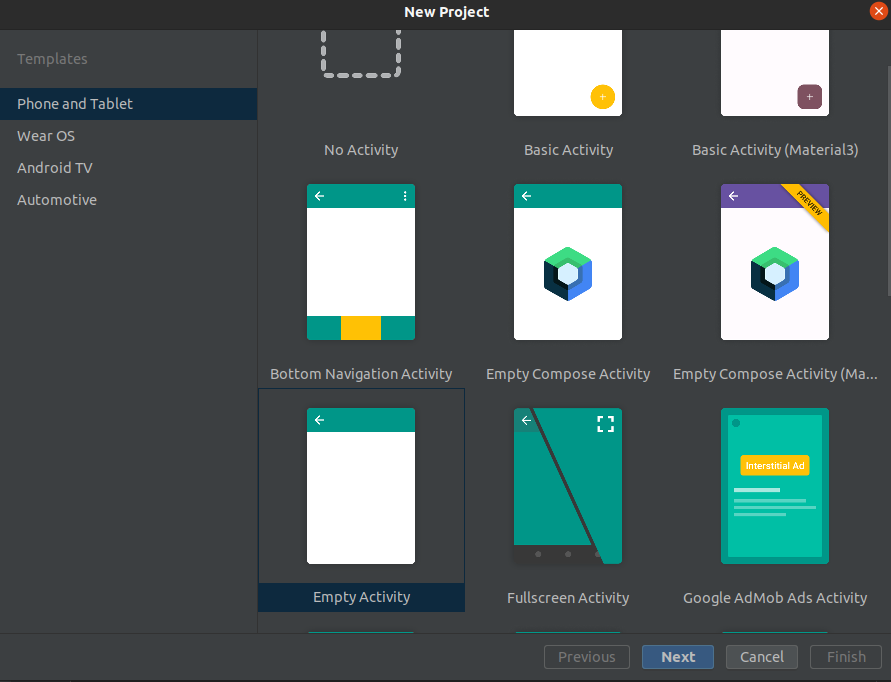
Step 2: You will be taken to a screen like this below which contains various project templates. Select "Empty Activity" and click the "Next" button.
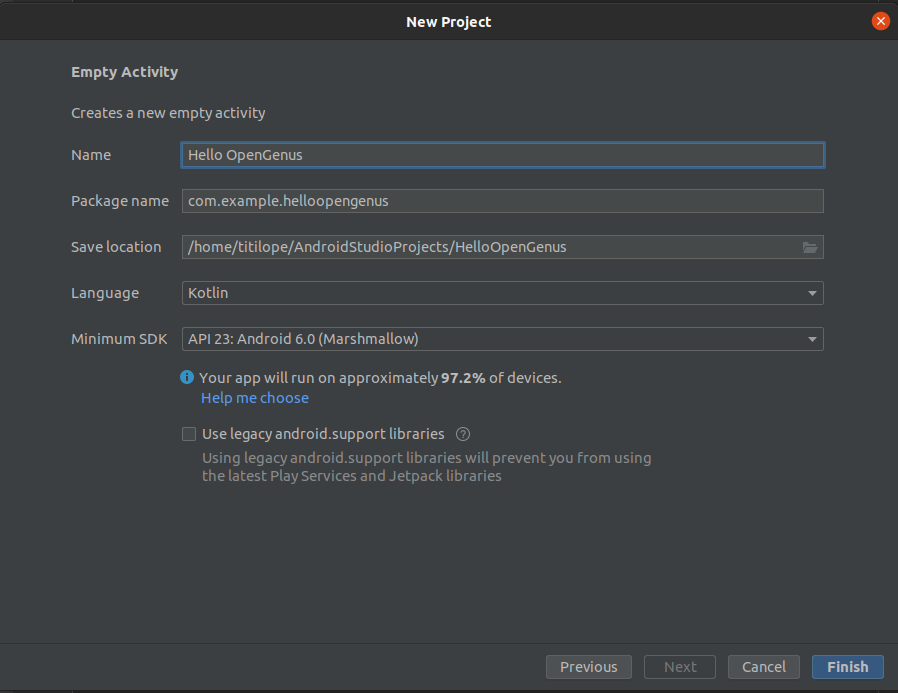
Step 3: On this page below, enter information about your application :
- Name: Enter the name of the application (in my case "Hello OpenGenus")
- Package name: Enter a package name. If you own a domain name (for example, mydomain.com), you can use it as the root of your package name. But for now, just leave it as it is.
- Save Location: Android Studio creates a folder on the system called "AndroidStudioProjects".This contains the location where all the files related to your project are saved. Leave it as it is.
- Language: In the drop-down menu, select kotlin as that is the language we will be using in this tutorial.
- Minimum SDK: Minimum SDK indicates the minimum version of Android that your app can run on. Leave it as it is for now.
Step 4: Design the User Interface
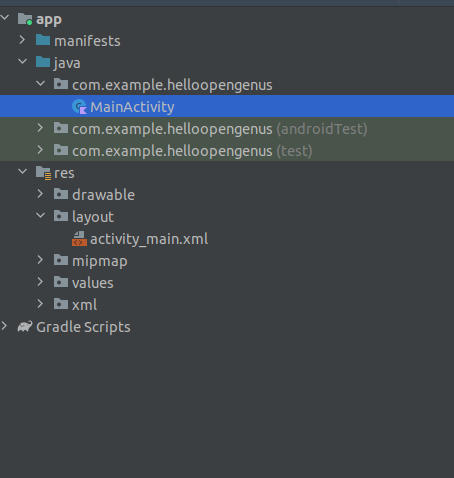
In the left panel of the image below, you will see the files that the application consists of. You will see two files open: the "MainActivity.kt" file and "activity_main.xml" file.
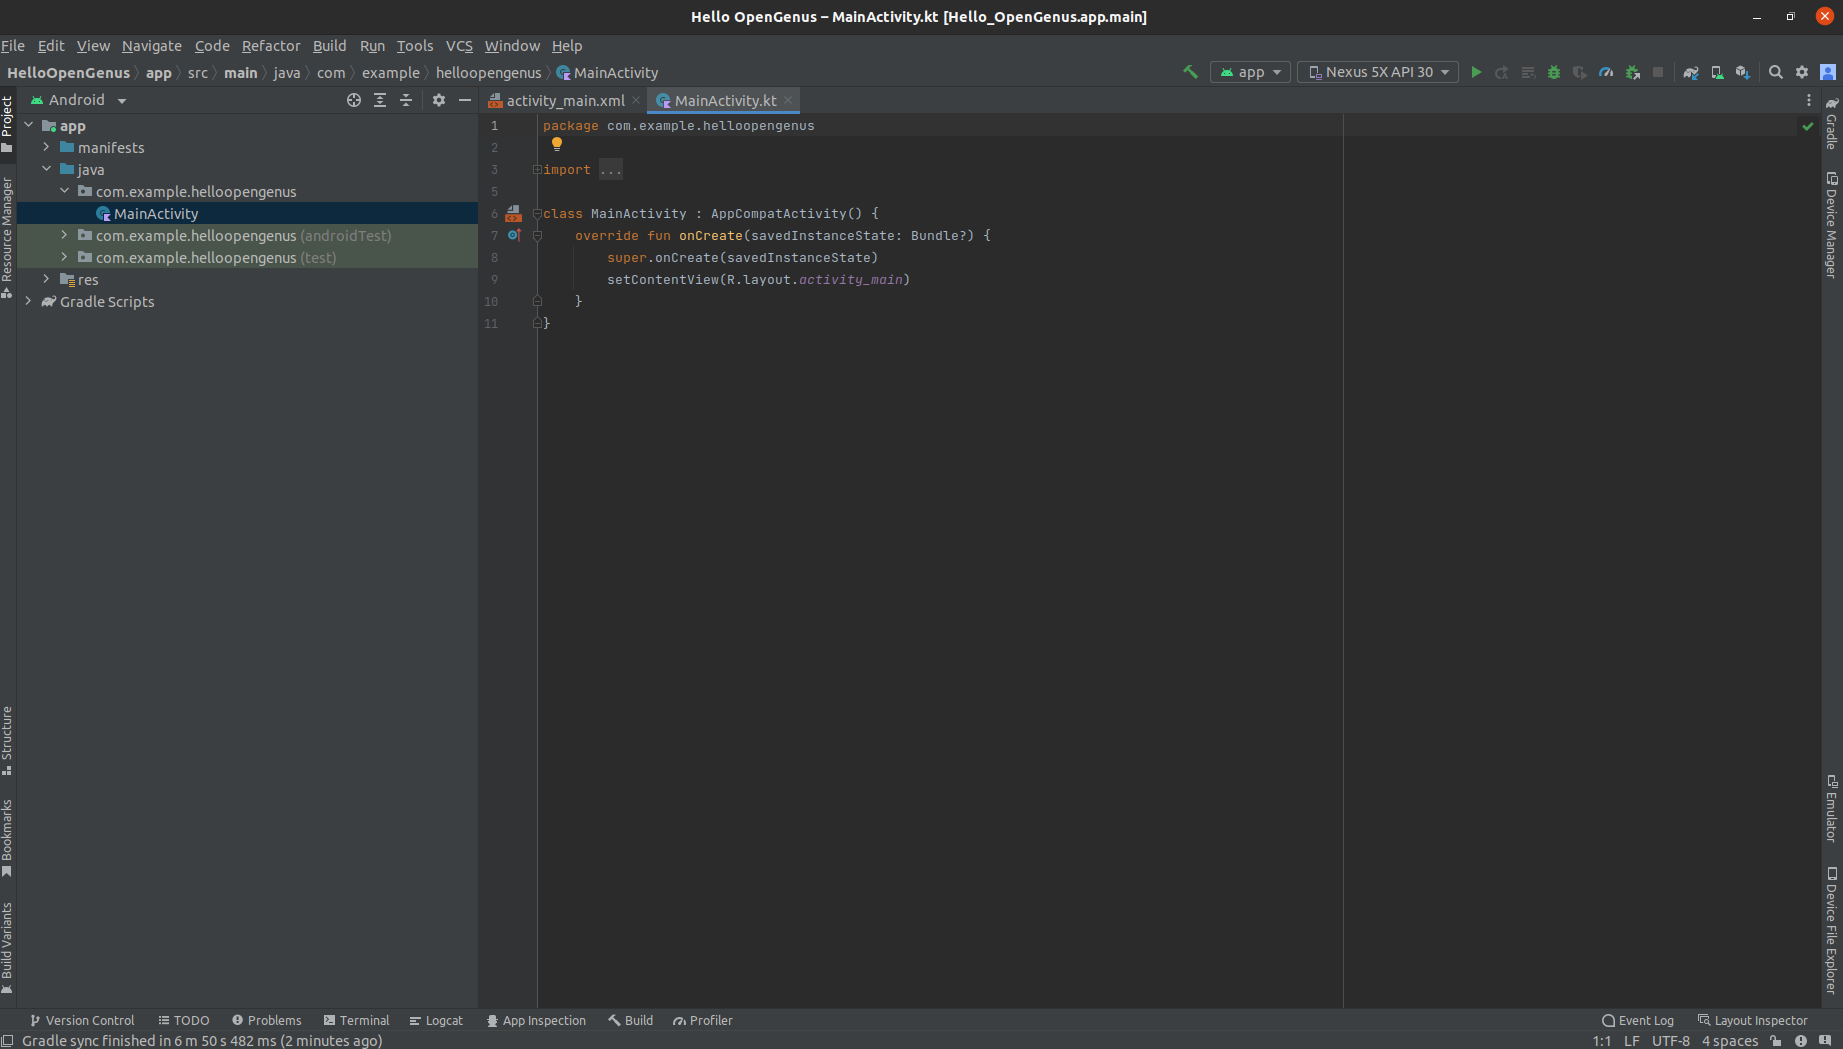
The "activity_main.xml" file is located in the "res" folder under layout. This file will be used to design the layout and UI of the application(It uses Extensible Markup Language(XML).
The "res" folder is used to store non-code resources such as strings, colors, images, and so on.
In the "activity_main.xml" file, you will see a screen like the one below.
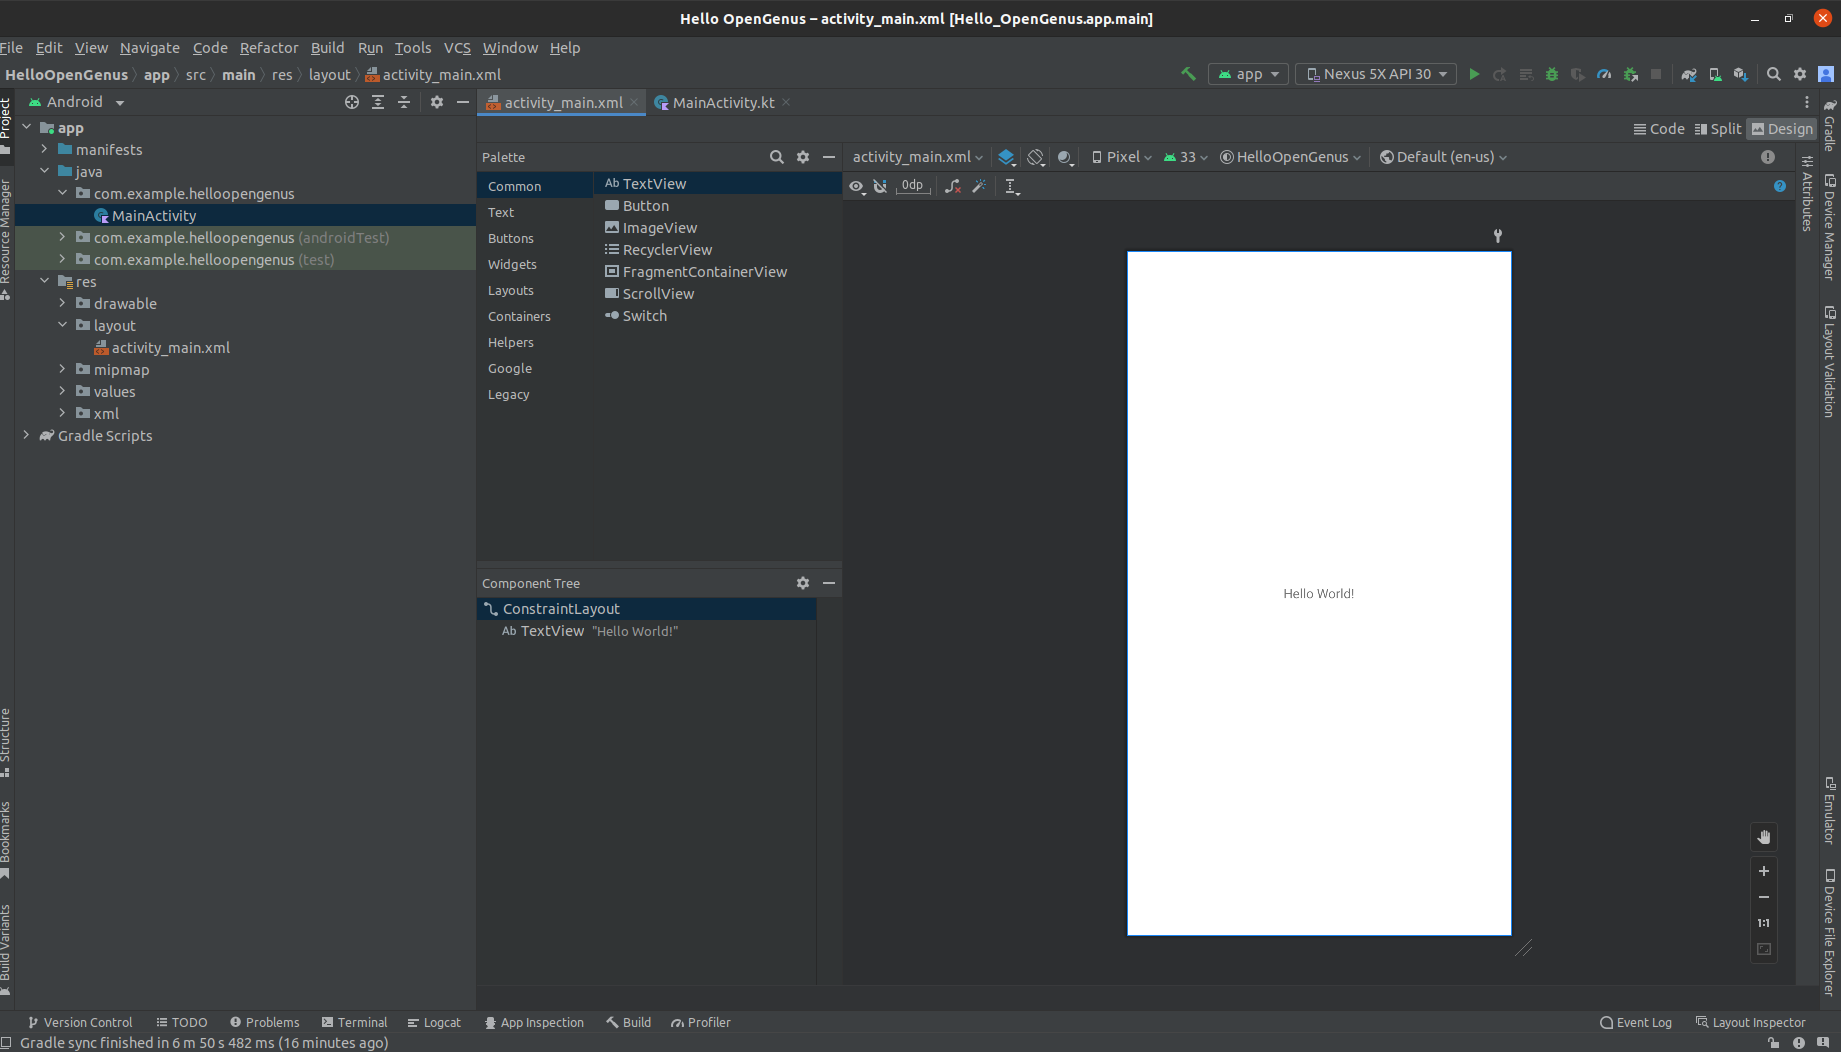
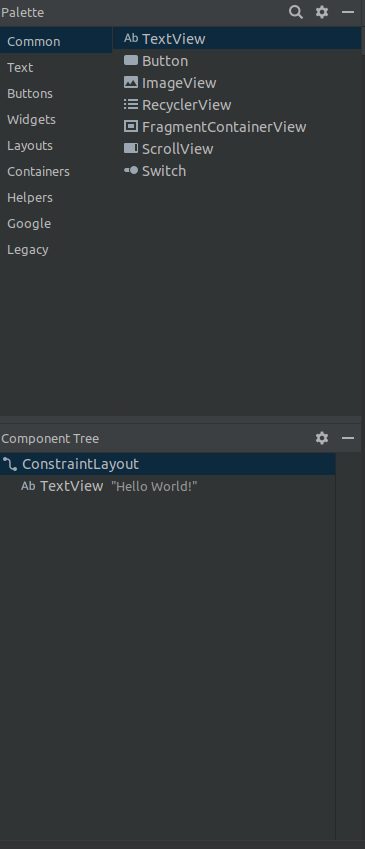
You would see that a text view has already been placed in component tree. You can also drag and drop the TextView from the palette to the component tree.
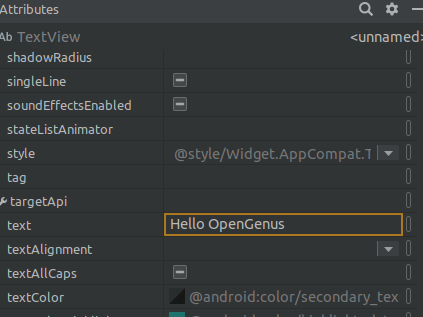
You can change the text to anything you want. In this article, I am changing it to "Hello OpenGenus". To do that, select the text view in the component tree . Then select attributes to open the attributes panel.
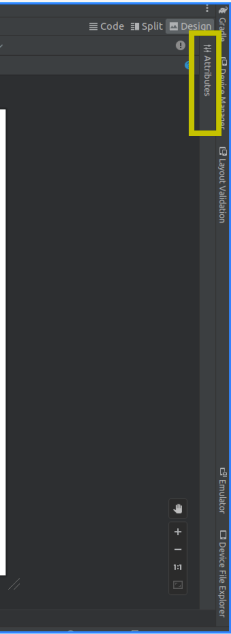
In the panel, change the text to "Hello OpenGenus"
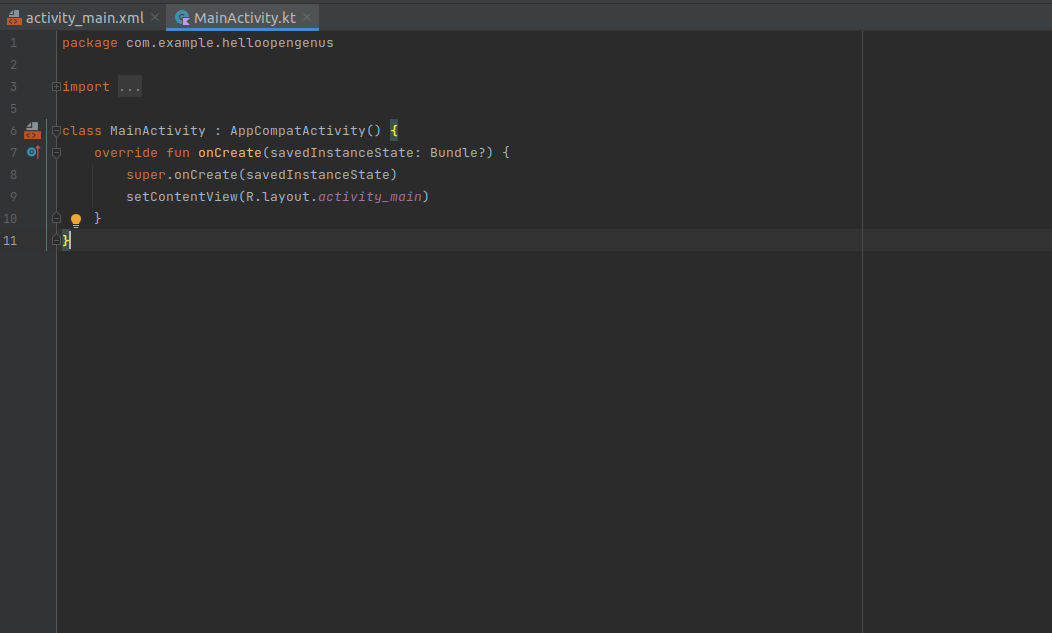
Step 6: Develop the application
select the "MainActivity.kt" file and start to code.
Inside the onCreate method, setContentView to the layout file by adding the following line of code:
setContentView(R.layout.activity_main)
Step 7: Run the application
- To run the device, you can connect to a physical android device or a virtual device using the emulator.go to "Tools" -> "SDK Manager" -> "SDK Tools" and verifying that "Android Emulator" is installed.
To create a virtual device
1.Open the Device Manager by clicking on the Device Manager icon in the toolbar or going to "Tools" -> "Device Manager"
- In the Device Manager, click on the "Create Virtual Device" button.
Select a device definition that matches the desired characteristics of the virtual device, such as screen size, resolution, and hardware specifications(such as Nexus 5X ).Click "Next" and choose a system image for the virtual device. You can select a pre-installed image based on the desired Android version or create a custom one. - Configure additional settings for the virtual device, such as RAM size and device name, if needed.
- Finally, click "Finish" to create the virtual device.
the virtual device name will show here :
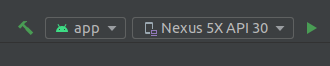
Run the application by clicking the green "Run"icon (Beside the device name)
Connect an Android device to the system
Your app's performance and behavior can be more accurately simulated when tested on a physical device.
-
Go to the "Settings" app on your Android device to enable developer options.
-
Locate "About phone" or "About device" (the precise name may vary) by scrolling down.
-
Search for the "Build version" or "Build number" entry.
-
Tap on the "Build number" entry seven times quickly.A notice stating that you are now a developer will appear.
-
Go back to the primary settings menu in the "Settings" app on the device to enable USB debugging.
-
The "Developer Options" or "Developer Settings" menu should now be accessible; just scroll down and find it.
-
Locate the "USB debugging" option under "Developer options" to the left.
-
Slide the toggle switch to the "On" position to enable USB debugging.
-
Your computer must be connected to the device.
-
Connect your Android handset to your computer using a USB cord.
-
Go to "Run" -> "Run 'app'" in Android Studio and click the "Play" button on the toolbar.
-
Your connected device should be mentioned in the "Select Deployment Target" window that displays.
-
From the list, select your device.

-
To begin the app's creation and installation on the linked device, click "OK."
-
The code will be compiled by Android Studio, which will also produce an APK and install it on the actual device.
-
The app will launch automatically on the device after installation is finished.
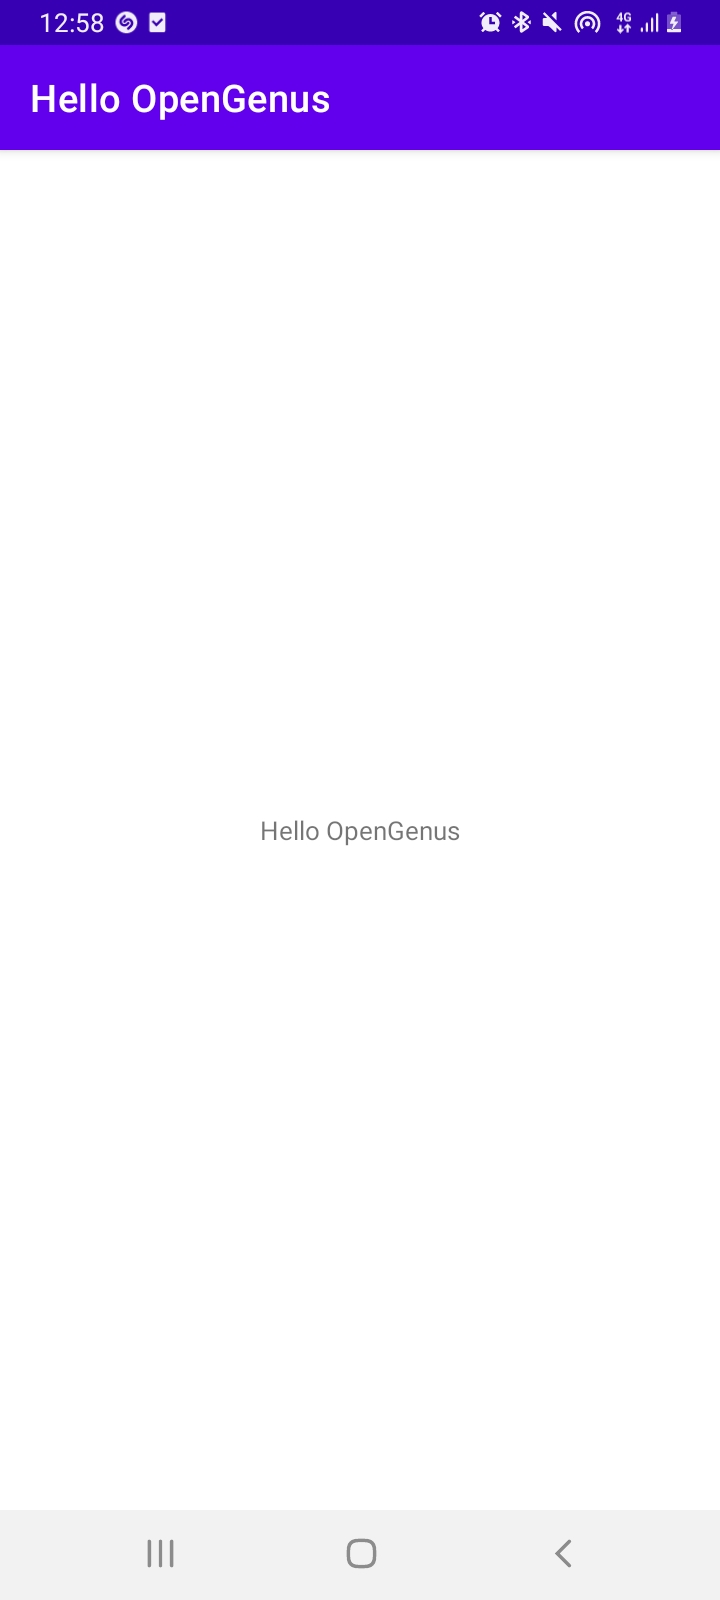
Congratulations! You have created a basic "Hello OpenGenus" app using Android Studio and Kotlin.