
Hello everyone in this article we are going to see how to create a custom table view in iOS using Swift.
What is tableview?
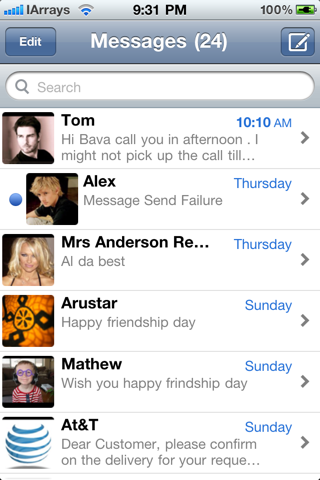
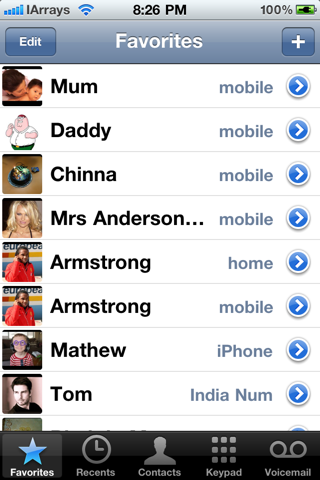
A table view is a simple list view which is used to represent a collection of data in a list form.It is used extensively used in iOS.For example Messages app in iOS list all the conversations which has a custom cell with sender image and sender name. Another example is iOS Phone app which list recent calls in a table view which has a default type cell with a label for phno,time and a disclose indicator.
What we are going to build
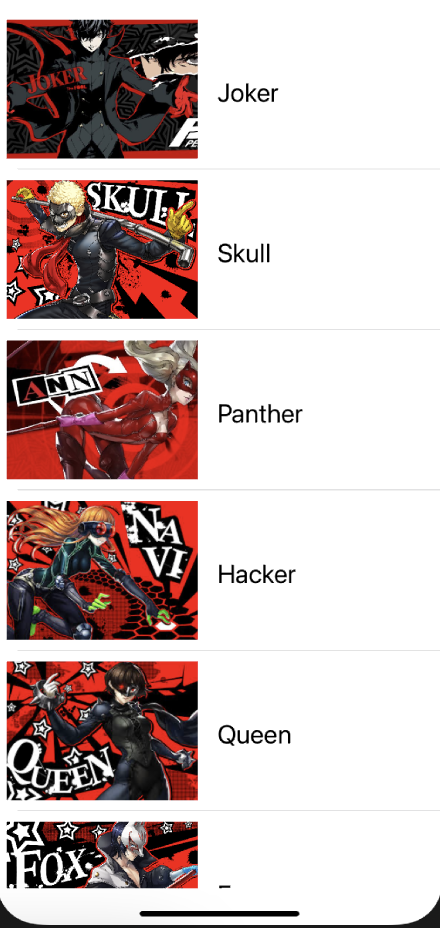
We are going to build a simple app which uses custom table view to display P5 characters.Here each cell has an image view and a label.
You can download the project image resources from here drag them to XCAssests folder.
-
Open up Xcode and Create a blank iOS project
-
Open Main.storyboard and add a table view

-
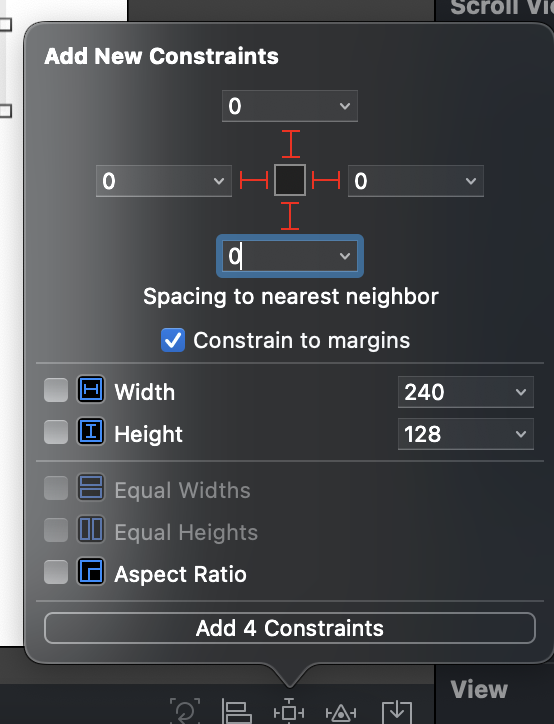
Select the table view and open pin menu at bottom and set constraints on four sides
-
Now add a TableViewCell within the table view and add an image view and label inside it.
-
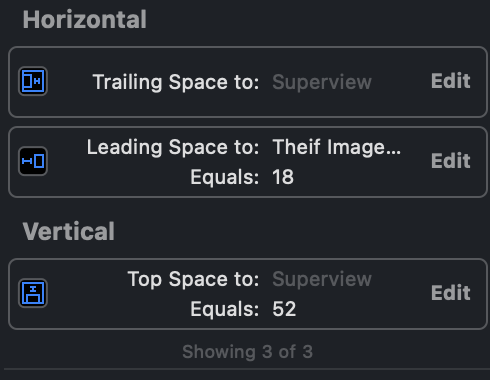
Select the ImageView and Label and add the following constrainsts

ImageView Constrains
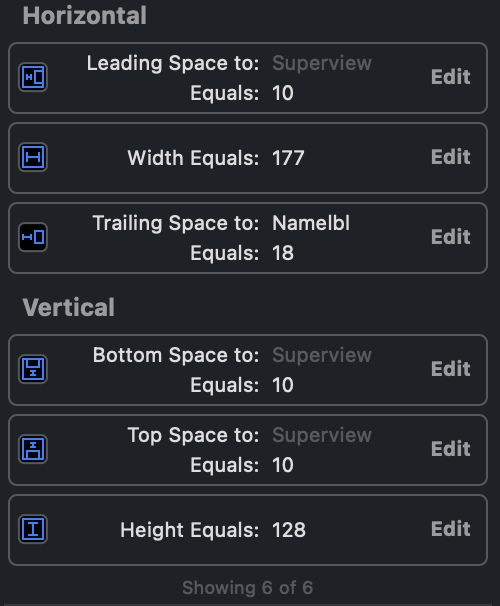
Label Constrains
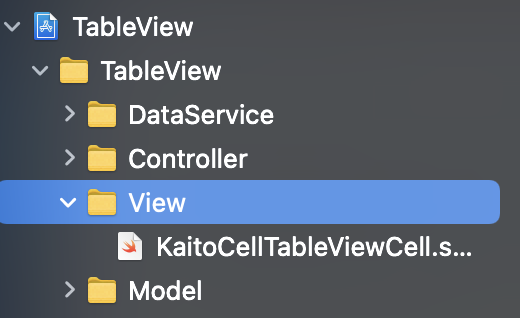
- In project navigator right click and create new group and add these folders DataService,Controller,View and Model.
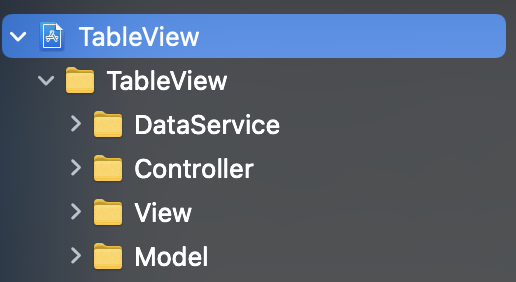
Here we are going to build this app using MVC(Model View Controller) pattern.It is used to organize our project in a well structured manner.It is the Apple Recommended way for building iOS apps.
Model : This folder holds all the data or template of the data needed by the app in our case it has a template which is a struct which is used to store image name and character name in String variables.
View : As the name suggest it is the UI element which is presented to the user.In our case we put our custom table view cell in the view folder
Controller : Controller is nothing but our ViewController.swift file which will be placed in this folder.
DataService : It has a Singleton class which is used to create data based on our Model folder template struct return the data to Controller which in turn send it to the View.
How MVC Works
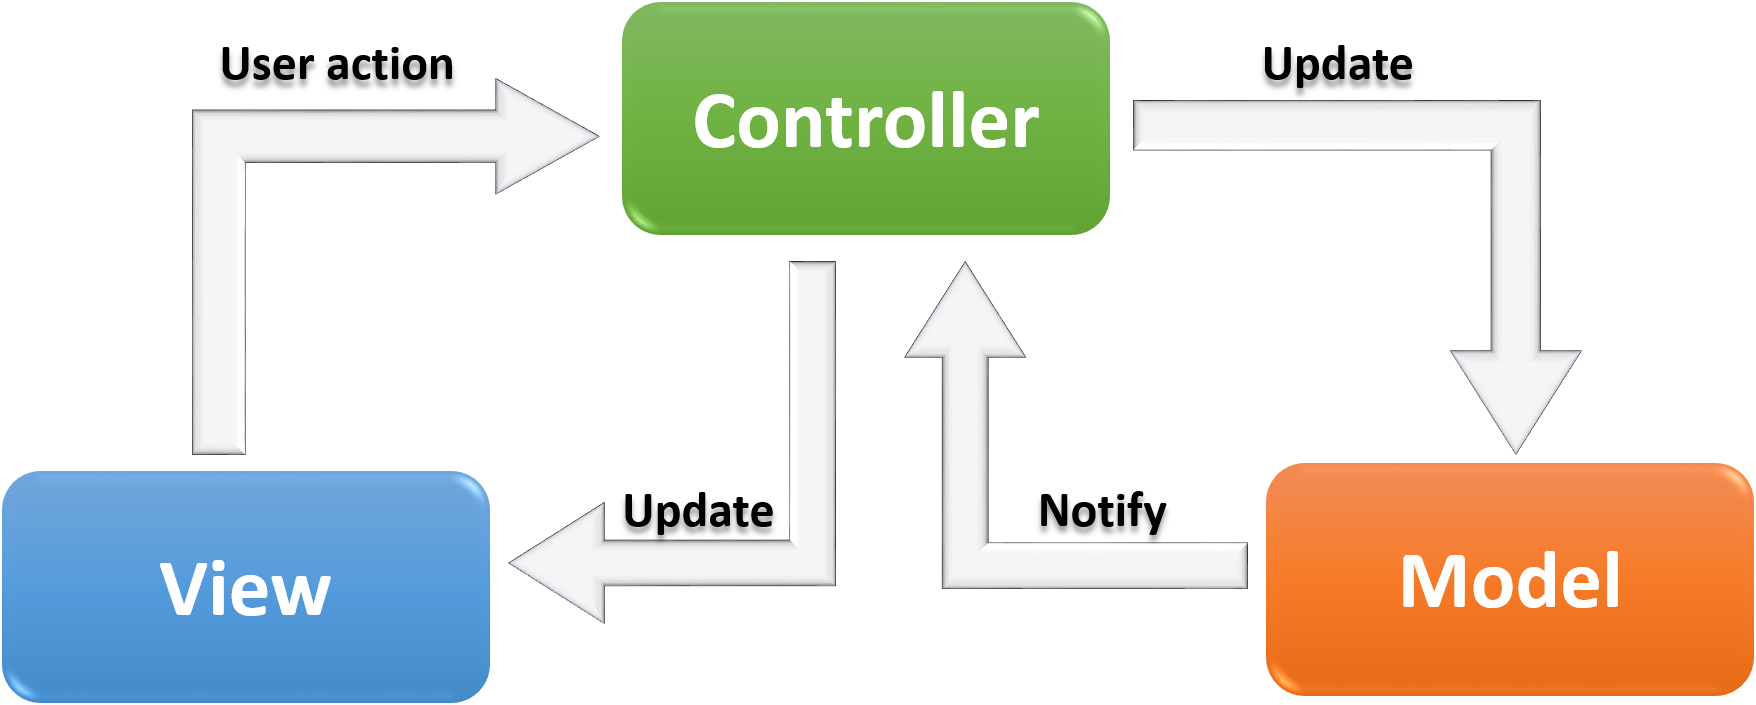
User interacts with View and send requet for particular data to Controller which is the brain for the View. The controller in turn send the request to Model the DataService fetches the data from Model and Notify the Controller. The Controller get the data and update the View(UI) by presenting the data.
In our App when the app is openend the View automatically sends request to Controller for data to fill the table view.The table view send the request to DataService the dataservice send the data created using model template to controller which updates to View by loading the data in the table view.
- Open ViewController.swift and add implement the following protocol. UITableViewDelegate and UITableViewDataSource. Protocols are similar to Interfaces in other languages like Java hence when you implement a Protocol you should also provide implementation for their methods.Simply press Fix to fix this error. Now Xcode will automatically add the methods which are needed to be implemented.

- Right click on View folder add NewFile select CocoaTouch class specify sublclass as UITableViewCell give name to file as KaitoCellTableViewCell.swift and click create.
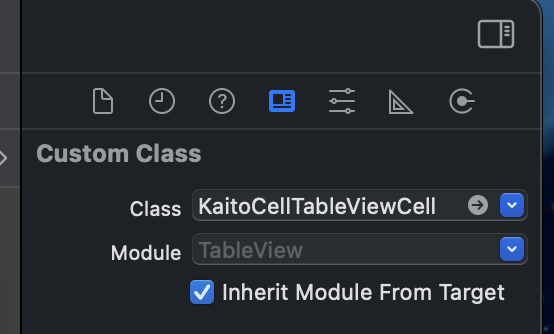
- Now this is our custom table view cell class.All we have to do now is to tell our table view cell to use this custom class.Which can be done by selecting the tableview cell in Main.storyboard and selecting the class in class inspector
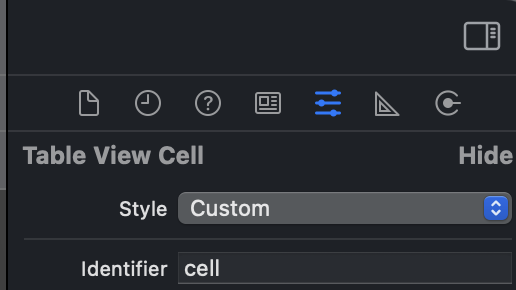
- And also give an Id for your cell which we will use later
- Now create an IBOutlet for our table view cell in KaitoCellTableViewCell.swift file
And add the following code
import UIKit

class KaitoCellTableViewCell: UITableViewCell {


    @IBOutlet weak var TheifImageView: UIImageView!

    @IBOutlet weak var Namelbl: UILabel!


    func updateCell(imgname: String,name: String)
    {
        self.TheifImageView.image = UIImage(named: imgname)
        self.Namelbl.text = name
    }

}
Here we add a function which takes two String parameters as input and set their values to the imageview and label of our table view cell.
- Open the Model folder and add a new Swift file named Phantom.swift add the following code
import Foundation

struct Phantom
{
    var name: String = ""
    var imagename: String = ""
}
This struct Phantom will act as our Model Template for our data.
- Add a new Swift file in DataService folder add the following code in it.
import Foundation

class DataService
{
    public static var sharedobj = DataService()

    let theives: [Phantom] = [Phantom(name: "Joker", imagename: "joker.jpg"),
                              Phantom(name: "Skull", imagename: "skull.jpg"),
                              Phantom(name: "Panther", imagename: "panther.jpg"),
                              Phantom(name: "Hacker", imagename: "hacker.jpg"),
                              Phantom(name: "Queen", imagename: "queen.jpg"),
                              Phantom(name: "Fox", imagename: "fox.jpg")]


    func getTheives() -> [Phantom]
    {
        return theives
    }
}
Here we create a Singleton class named DataService and create an instance and array to hold the Data modelled using Model template.And also a fuction which returns the array.
- Open ViewController.swift and create an IBOutlet for our tableview and we will have two unimplemented methods
numberOfRowsInSection() :
It is a delegate method which returns the no of rows or cells in our table view in a given section.
cellforRowAt() :
This is the delegate function which works Intelligently to ensure the performance of our app.This function adds the rows or cells to our table view.When the user scrolls the table view instead of creating a new cell every time the user scrolls down or up this method recycles the cells or rows which has left the user visibility so that it can preserve the performance of the app by avoiding the need to create a new cells or rows every time user scrolls down or up in the table view.
import UIKit

class ViewController: UIViewController,UITableViewDelegate,UITableViewDataSource {

    @IBOutlet weak var tv: UITableView!
    var theivesarray = [Phantom]()


    override func viewDidLoad() {
        super.viewDidLoad()

        theivesarray = DataService.sharedobj.getTheives()

        tv.delegate = self
        tv.dataSource = self


    }

    func tableView(_ tableView: UITableView, numberOfRowsInSection section: Int) -> Int {
        return theivesarray.count
    }

    func tableView(_ tableView: UITableView, cellForRowAt indexPath: IndexPath) -> UITableViewCell {

        if let cell = tableView.dequeueReusableCell(withIdentifier: "cell") as? KaitoCellTableViewCell
        {
            cell.updateCell(imgname: theivesarray[indexPath.row].imagename, name: theivesarray[indexPath.row].name)

            return cell
        }

        return UITableViewCell()
        }
   }
Here we create an array of type Phantom struct to hold the data returned by the DataService. We get the data in viewDidLoad() method which is called when the app is launched. And make sure you set the table view delegate and datasource as self If not the table view will not be populated with data.
Then in numberofrowsinsection() we return the number of elements in the theivesarray which denotes the number of rows the table view should have.
In cellforrow() we create a row by using if let statement which denotes for some reason if the iOS is unable to recycle the previous cell or create a cell for first time the return emply cell as UITableViewCell() if not dequeue the recycled cell which is denoted by the id which we already set in Main.storyboard and type cast it as KaitoCellTableView and call the updateCell() method by passing the charactername and imagename from theivesarray. The indexpath row denotes the current row index.If current row index is 0 then it denots first row in tableview then populate that row with first element in theives array.
All set now press Command+R run your app in the simulator it will give the following output.
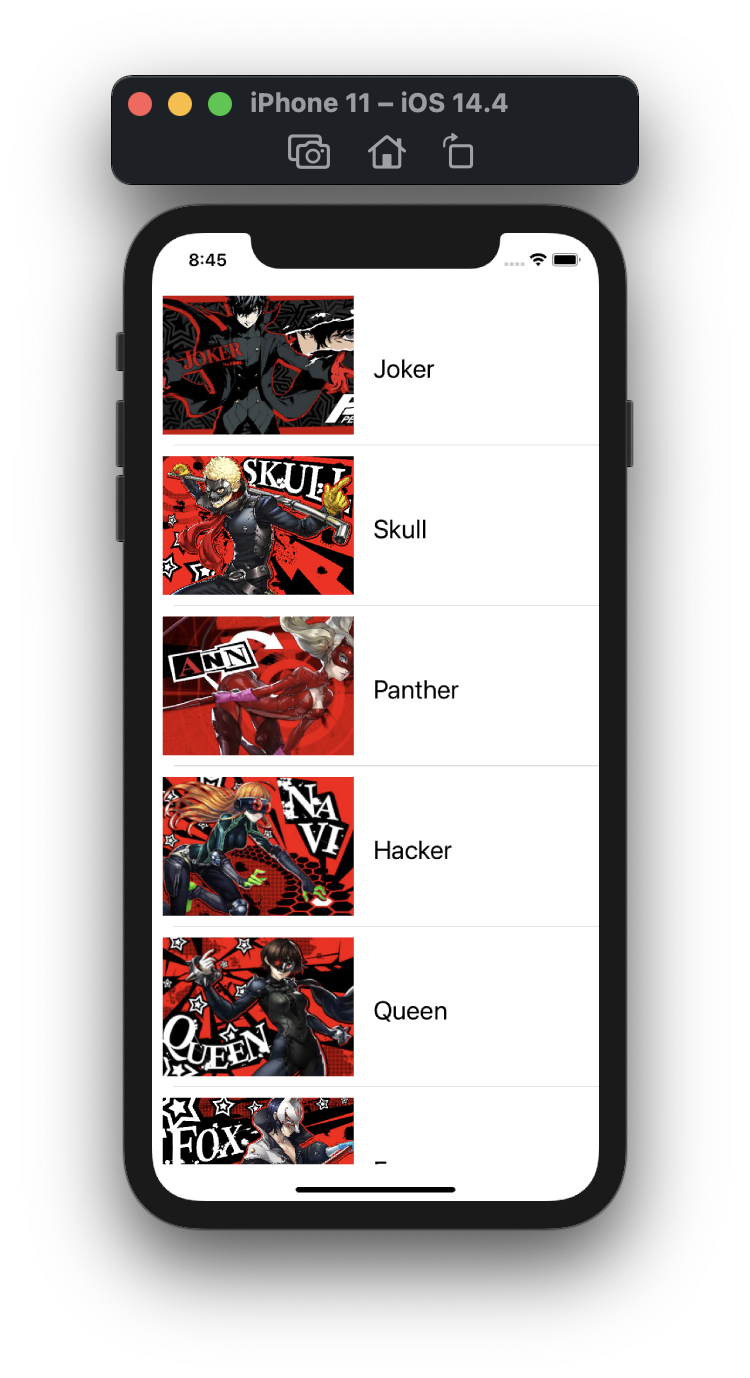
Congratulations you have made an iOS app using Custom Table View and also learned about MVC pattern.
Now let's end this article with a Quiz