
Hello everyone in this article at OPENGENUS, we are going to see how to upload files to FireBase cloud from iOS app. We are going to build a simple app which allow the user to pick an image from their gallery using UIPickerViewController and upload it to firebase cloud storage in png image format.
Lets get started
-
Login to your firebase console and create a new iOS app project and addd your iOS app by specifying Bundle ID and other neccessary details
-
Download the plist file and add it to the project
-
In AppDelegate.swift file add the FireBase.configure() to configure the firebase in iOS app during app launch.
import UIKit
import Firebase
@main
class AppDelegate: UIResponder, UIApplicationDelegate {


    func application(_ application: UIApplication, didFinishLaunchingWithOptions launchOptions: [UIApplication.LaunchOptionsKey: Any]?) -> Bool {
        // Override point for customization after application launch.
        FirebaseApp.configure()
        return true
    }
Designing the UI
Here we are going to design our UI programatically using Swift without using Interface builder.
- Open up ViewController.swift file and add the following closure properties for UIButton and UIImage View
 let ImageView: UIImageView = {
       let imageview = UIImageView()
        imageview.layer.borderWidth = 2
        imageview.layer.borderColor = #colorLiteral(red: 0, green: 0, blue: 0, alpha: 1)
       return imageview
    }()

    let UploadButton: UIButton = {
        let button = UIButton()
        button.setTitle("Upload", for: .normal)
        return button
    }()
- Next add the views to the view controller by using view.addSubView() method inside viewDidLoad()
 override func viewDidLoad() {
        super.viewDidLoad()
        view.addSubview(ImageView)
        view.addSubview(UploadButton)
        SetupAutoLayout()

        navigationItem.rightBarButtonItem = UIBarButtonItem(barButtonSystemItem: .camera, target: self, action: #selector(PickImage))
    }
Here we also create a right navigation bar button item which is used to pick an image from user gallery.
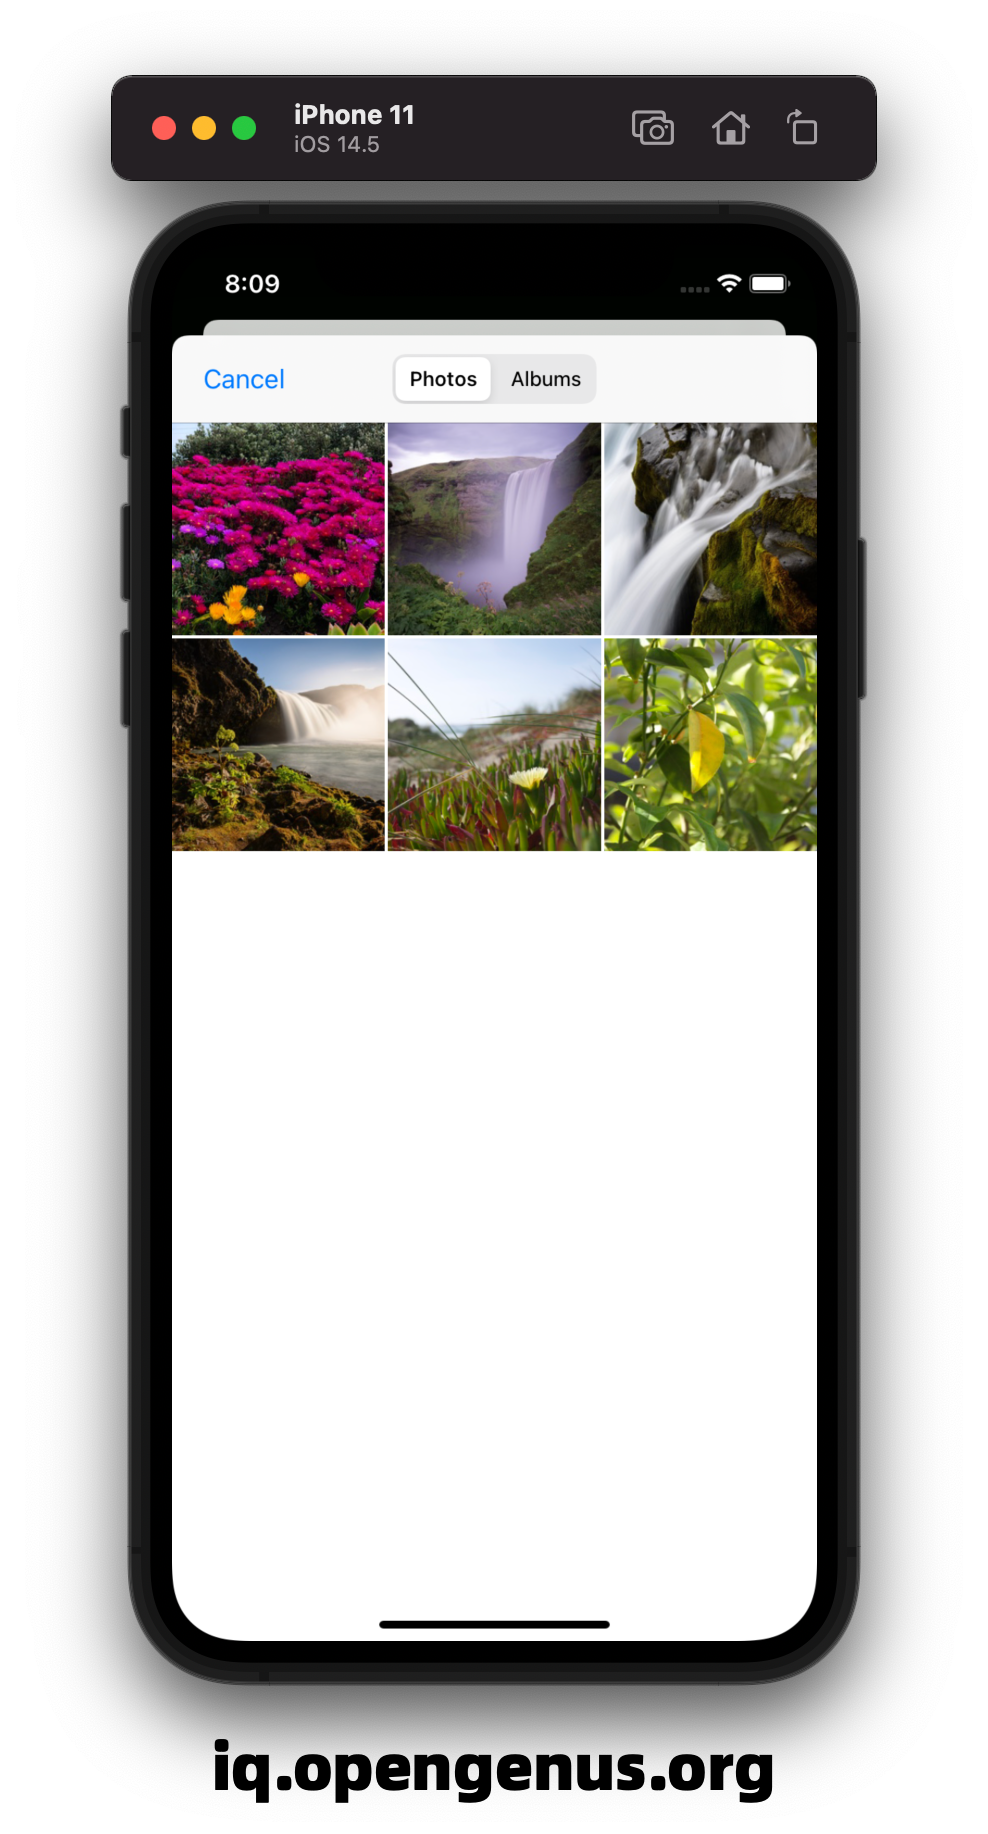
- Create a function named PickImage() which handles picking an image from User photo library
@objc
    func PickImage()
    {
        let imagepicker = UIImagePickerController()
        imagepicker.delegate = self
        imagepicker.sourceType = .photoLibrary
        imagepicker.allowsEditing = true

        present(imagepicker, animated: true, completion: nil)

    }
- Once the user picks the image we need to upload the image to cloud.To notify when the user picks an image we need to implment two delegate methods one for when user picks an image and another one if user cancels the image pick.
   func imagePickerController(_ picker: UIImagePickerController, didFinishPickingMediaWithInfo info: [UIImagePickerController.InfoKey : Any]) {
        if let image = info[.editedImage] as? UIImage
        {
            self.UploadImage(image: image)
            self.ImageView.image = image
            self.dismiss(animated: true, completion: nil)
        }
    }


    func imagePickerControllerDidCancel(_ picker: UIImagePickerController) {
        self.dismiss(animated: true, completion: nil)
    }
-
Here the first method get called when user picks an image all the image data are stored in a dictionary named info we access the image using .editedImage key and convert the image to UIImage and then call a function which will upload the image to cloud along with setting the image to image property of the UIImageView.
-
The second method gets called when user cancels the image picker view.
-
Uploading the image to cloud is actually simple just create a function named UploadImage and add the following code
 func UploadImage(image: UIImage)
    {
        let storageref = Storage.storage().reference()
        let imagenode = storageref.child("\(UUID().uuidString)")

        imagenode.putData(image.pngData()!)


    }
Here we first obtain the reference to the firebase storage object and then create a node since all the data are stored in a NoSQL database in form document format similar to MongoDB.We pass the uuid string which act as the random file name generator for the images uploaded to the cloud.Next we obtain the png data of the UIImage and upload it to the cloud.
Here is the entire ViewController.swift code
import UIKit
import FirebaseStorage

class ViewController: UIViewController, UIImagePickerControllerDelegate & UINavigationControllerDelegate {

    let ImageView: UIImageView = {
       let imageview = UIImageView()
        imageview.layer.borderWidth = 2
        imageview.layer.borderColor = #colorLiteral(red: 0, green: 0, blue: 0, alpha: 1)
       return imageview
    }()

    let UploadButton: UIButton = {
        let button = UIButton()
        button.setTitle("Upload", for: .normal)
        return button
    }()


    override func viewDidLoad() {
        super.viewDidLoad()
        view.addSubview(ImageView)
        view.addSubview(UploadButton)
        SetupAutoLayout()

        navigationItem.rightBarButtonItem = UIBarButtonItem(barButtonSystemItem: .camera, target: self, action: #selector(PickImage))
    }

    func SetupAutoLayout()
    {
        ImageView.translatesAutoresizingMaskIntoConstraints = false
        ImageView.widthAnchor.constraint(equalToConstant: view.frame.size.width ).isActive = true
        ImageView.heightAnchor.constraint(equalToConstant: view.frame.size.height/2).isActive = true
        ImageView.centerYAnchor.constraint(equalTo:view.centerYAnchor).isActive = true
        ImageView.centerXAnchor.constraint(equalTo: view.centerXAnchor).isActive = true


    }

    @objc
    func PickImage()
    {
        let imagepicker = UIImagePickerController()
        imagepicker.delegate = self
        imagepicker.sourceType = .photoLibrary
        imagepicker.allowsEditing = true

        present(imagepicker, animated: true, completion: nil)

    }


    func imagePickerController(_ picker: UIImagePickerController, didFinishPickingMediaWithInfo info: [UIImagePickerController.InfoKey : Any]) {
        if let image = info[.editedImage] as? UIImage
        {
            self.UploadImage(image: image)
            self.ImageView.image = image
            self.dismiss(animated: true, completion: nil)
        }
    }


    func imagePickerControllerDidCancel(_ picker: UIImagePickerController) {
        self.dismiss(animated: true, completion: nil)
    }

    func UploadImage(image: UIImage)
    {
        let storageref = Storage.storage().reference()
        let imagenode = storageref.child("\(UUID().uuidString)")

        imagenode.putData(image.pngData()!)


    }

}
All set now run the app in the simulator
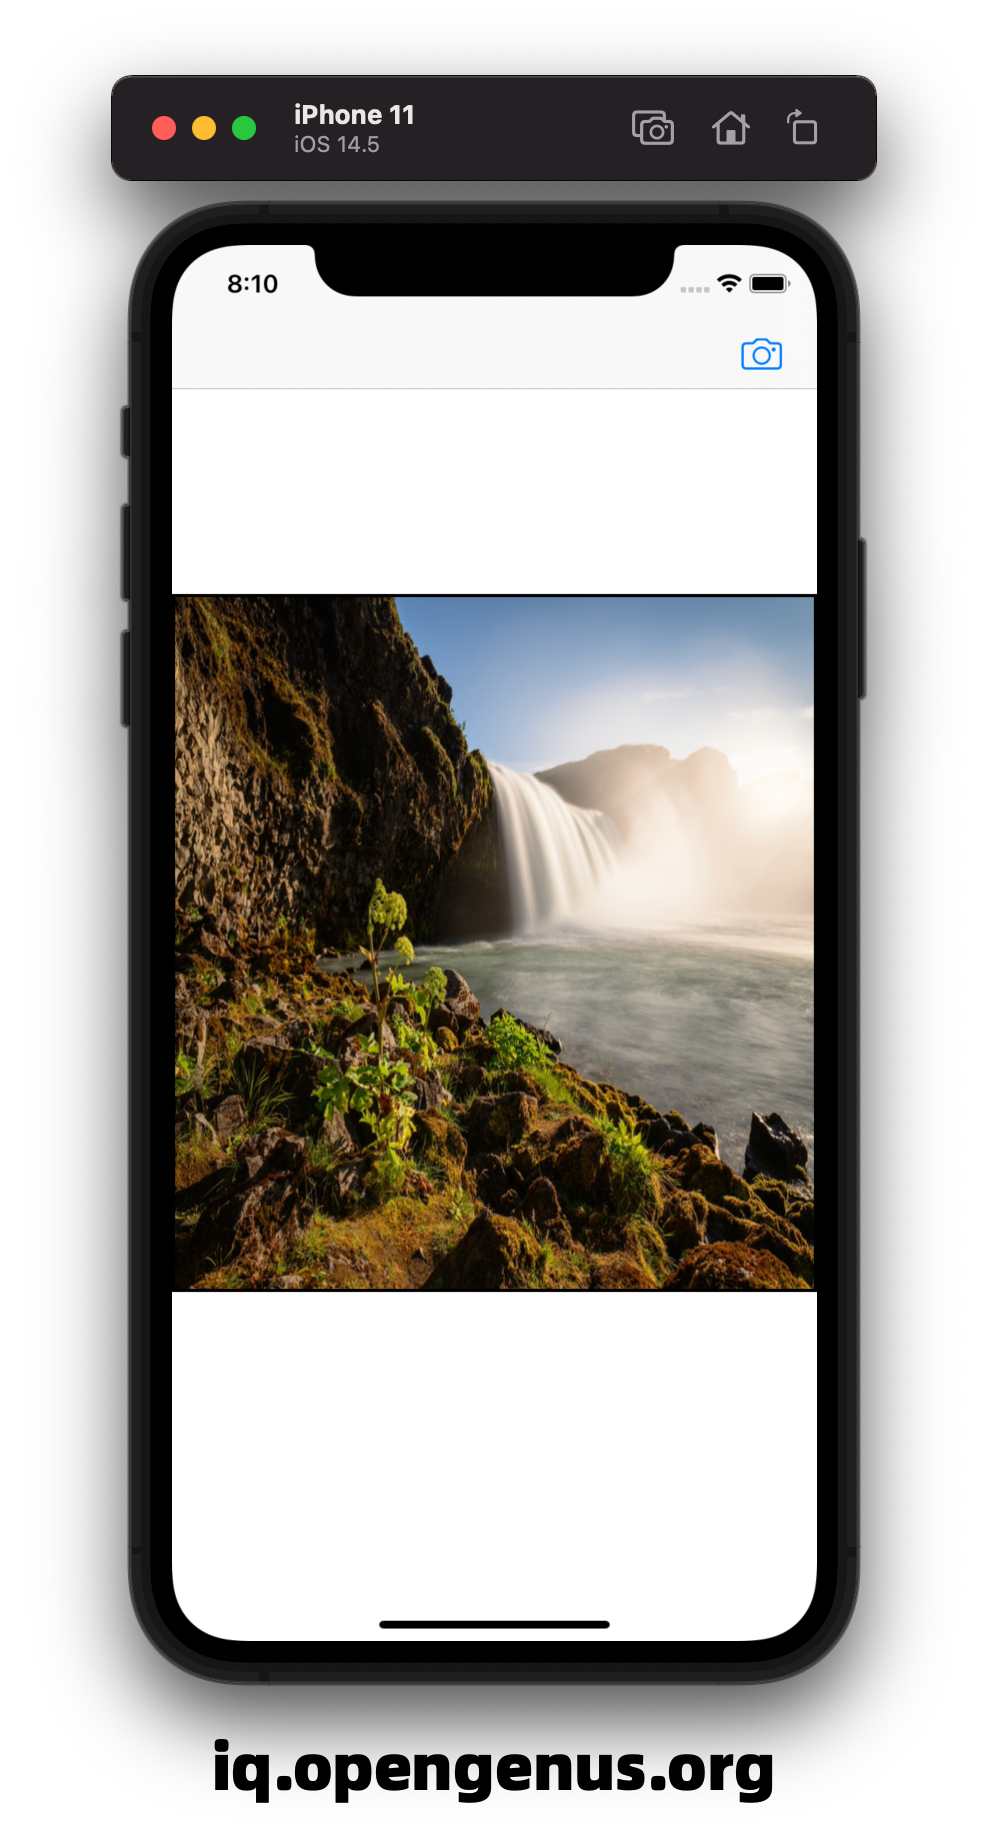
As you can see the image is stored in a random name you can also download and view the file

Let's end this article with a Quiz