
Open-Source Internship opportunity by OpenGenus for programmers. Apply now.
Starting your first application may feel overwhelming if you are new to web development, but by beginning with basic web pages using HTML, CSS, and some JavaScript and connecting them together, you can create your very own functional website hussle free. There is nothing more satisfying in programming than seeing your idea become a reality.
In this article, I will show you how to create a simple but functional website using HTML, CSS, and JavaScript. This article is designed for complete beginners in the world of web development and will be particularly helpful for those who are new to programming.
Development Environmnet
Without further ado, let's get into it. First, we need to set up our development environment. Here are the tools we need to set up our development environment:
- Text editor: Any simple text editor like Notepad works, but for the best experience and feature-rich development environment, I recommend Visual Studio Code. Throughout this article, we will be using VS Code. VS Code is free to download and use. You can download VS Code here if you have not already done
- Web browser to run your website. Again, any modern web browser will be suitable. I will be using Google Chrome.
Creating files and directories
Now that we have our development environment ready, let's begin creating our website project.
We will start by creating our project folder and name it "website" (you can name it whatever you want, and for easy access, I create my folders on my Desktop). This is where all of our project files will sit. Next, we will create four files inside this folder. Two of those files will be HTML files, and the other two will be CSS for styling our HTML files and JavaScript to give our website a little bit of interactivity. To create the files, we will open our VS Code and open the explorer on the left-hand side sidebar, alternatively, click Ctrl + Shift + E. When you open explorer for the first time, it will open with some options. One of them is "open folder." Click on "open folder" and navigate to the location where you saved the website folder and open it.
Now that we have our website folder on our code editor, we need to create web files inside it. We will start by creating an index file. Hover your cursor in your project folder, and a couple of clickable options will appear; one of them is "create file." Click on "create file" and name it index.html. "index.html" is a naming convention that is used in web development to name a home page. This is the default page web servers look for in a website. The other HTML file we will create is an "about.html" file. Go ahead and also create JavaScript and CSS files. We will name the JavaScript file "index.js" and our CSS file "style.css." You can name these files however you want.
Writing code
Next, we are going to write code inside each of our files. HTML is the building block of any web page, so we will start by creating that building block. Click on the "index.html" file to open it and write the following code:
<!DOCTYPE html>
<html lang="en">
<head>
<meta charset="UTF-8">
<meta name="viewport" content="width=device-width, initial-scale=1.0">
<title>Simple Website with HTML,CSS and JavaScriot</title>
<link rel="stylesheet" href="style.css">
</head>
<body>
<header>
<h1>Welcome to My Simple Website</h1>
<nav>
<ul>
<li><a href="index.html">Home</a></li>
<li><a href="about.html">About</a></li>
</ul>
</nav>
</header>
<main>
<section>
<h2>Introduction</h2>
<p>This is a simple website built with HTML, CSS, and JavaScript.</p>
</section>
</main>
<footer>
<p>© 2024 </p>
</footer>
<script src="index.js"></script>
</body>
</html>
Note that we have linked the CSS and JavaScript files that we have created in our website folder and they are in the same folder as our HTML files. Had we created subfolders for our CSS and JavaScript files, repectively, inside our project folder we would specify the sub-folder in our link code. But for simplicity we just saved all the files in the root directory.
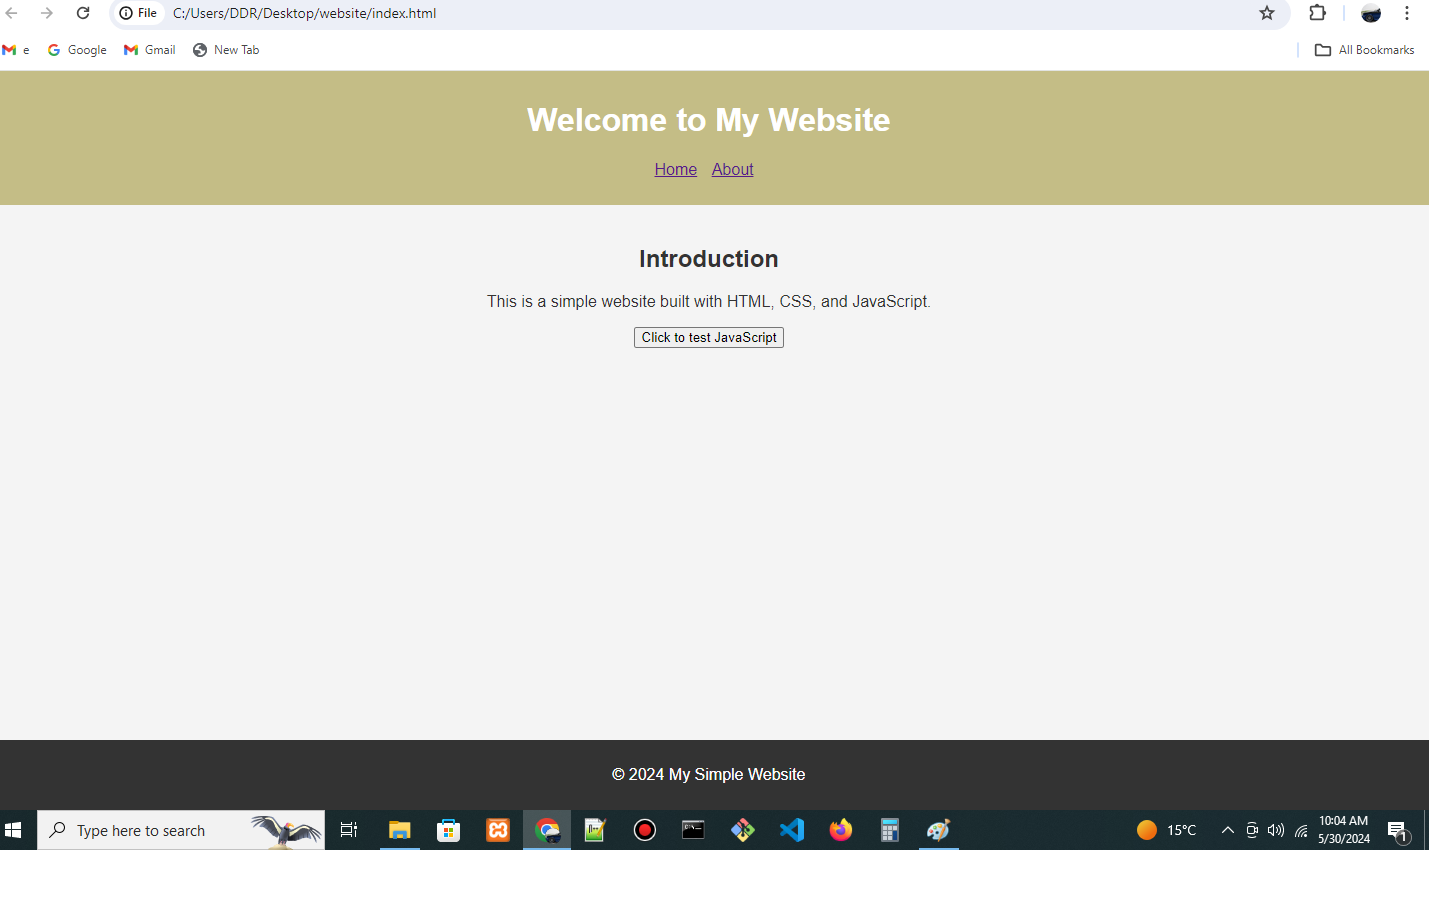
This is the HTML code for our "about.html" file:
<!DOCTYPE html>
<html lang="en">
<head>
<meta charset="UTF-8">
<meta name="viewport" content="width=device-width, initial-scale=1.0">
<title>My Simple Website</title>
<link rel="stylesheet" href="style.css">
</head>
<body>
<header>
<h1>Welcome to My Website</h1>
<nav>
<ul>
<li><a href="index.html">Home</a></li>
<li><a href="about.html">About</a></li>
</ul>
</nav>
</header>
<main>
<section>
<h2>Introduction</h2>
<p>This is a simple website built with HTML, CSS, and JavaScript.</p>
<button id="btn">Click to test JavaScript</button>
</section>
</main>
<footer>
<p>© 2024 My Simple Website</p>
</footer>
<script src="index.js"></script>
</body>
</html>
The next step is to write code in our CSS file to give style to our website. Here is the code for our CSS file:
body {
    font-family: Arial, sans-serif;
    margin: 0;
    padding: 0;
    background-color: #f4f4f4;
    color: #333;
}

header {
    background-color: #c4bd86;
    color: white;
    padding: 10px 0;
    text-align: center;
}

nav ul {
    list-style-type: none;
    padding: 0;
}

nav ul li {
    display: inline;
    margin-right: 10px;
}

main {
    padding: 20px;
    text-align: center;
}

footer {
    background-color: #333;
    color: white;
    text-align: center;
    padding: 10px 0;
    position: absolute;
    bottom: 0;
    width: 100%;
}
Now we have a complete website with styling but we need some JavaScript to give it some interactivity.Below is our simple javascript code and I will explain how it works in a moment. Javascript code:
document.getElementById('btn').addEventListener('click', function() {
    alert('Button clicked! That means you have succesfully created a functional website :)');
});
This is a built-in JavaScript function that shows a pop-up message on the screen. The message can be anything you write inside the parenthesis. We then add an event listener to a button that we named "btn" in our index.html file. The button will listen to a click event, and when that happens, the alert function will be invoked, and the message will be displayed.
That is how you create a simple website with just HTML, CSS, and JavaScript. The next step is to test our website on a browser.
Testing Website on browser
All you need to do to test your website on a browser is to navigate to the project folder and find the index.html file. Right click it and choose open with a browser. Any modern browser should be able to open your website.

Key notes: You don't need any additional dependencies to run this website on your browser; even the JavaScript code we have written can be rendered by a modern browser.
It is best practice in programming to create sub-folders inside the root folder for CSS, images, and JavaScript files in your project. We did not create those folders for simplicity. The point was to demonstrate how to link all the files together to make a functional website.