
Open-Source Internship opportunity by OpenGenus for programmers. Apply now.
A terminal multiplexer allows us to manage multiple terminal windows and sessions. In this article, we learn about tmux, installation, sessions, windows, synchronization, and more.
Table of contents.
- Introduction.
- Installation.
- Creating sessions.
- Detaching and attaching sessions.
- Windows.
- Splitting windows.
- Switching panes.
- Resizing panes.
- Synchronizing panes.
- Creating sessions.
- Summary.
- References.
Introduction.
A terminal multiplexer is a program that enables us to manage multiple terminal sessions and windows. Commonly used terminal multiplexers are, GNU screen, konsole and terminator, and tmux - our topic of discussion.
In a session, we can have multiple processes or programs running either in the foreground or background by either attaching or detaching them.
We can also manage multiple windows and split them into individual panes, each performing individual tasks.
Let's get started.
Installation.
First, we should make sure that tmux is installed. We can check if it is available by executing the command:
$ tmux
The above command starts a new session.
We can also check the currently installed version by writing:
$ tmux -V
In both the above cases, if there is an indication that tmux is not installed. We install it as follows.
Debian, Ubuntu
$ sudo apt-get install tmux
RHEL, Fedora
$ sudo dnf install tmux
Creating sessions.
To get started, we can create a new session by executing the command:
$ tmux
We can also write:
$ tmux new
Once either of the above commands is executed, we should expect to see a green bar at the bottom of the terminal screen. This is an indication that we are in a tmux session.
Sometimes, we may have multiple sessions open and need to be able to recognize each of them. In such cases, we can create a named session.
For example, let's create a new session named tutorial:
$ tmux new -s tutorial
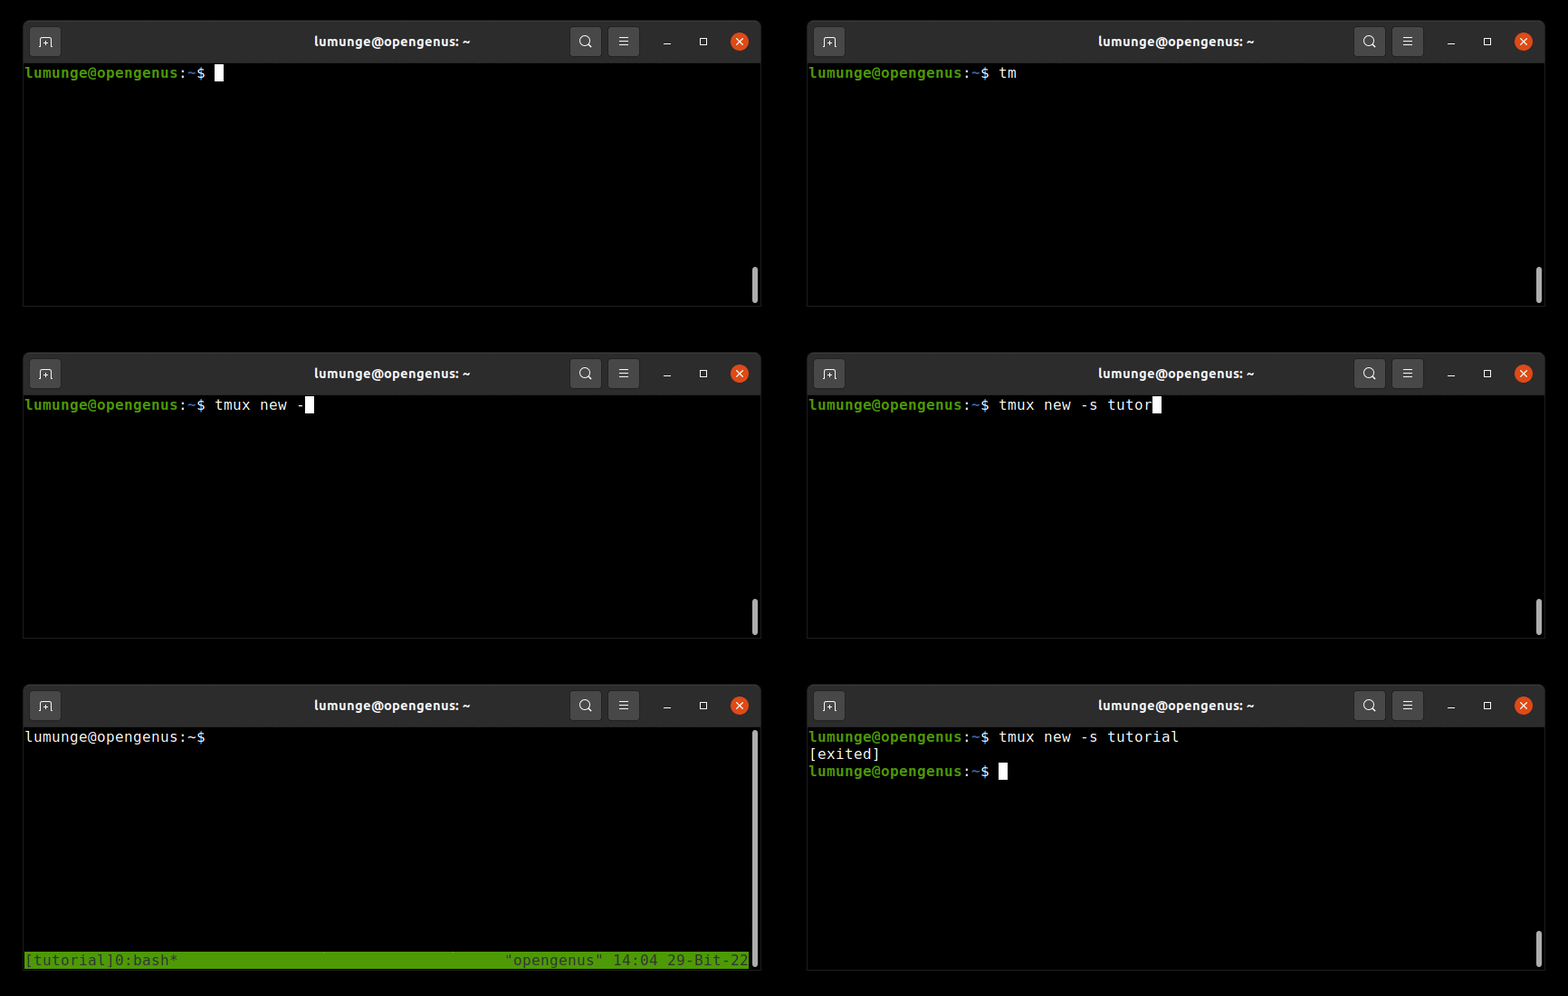
Now, notice the green bar at the bottom. It is named tutorial.
We can list currently open sessions by writing:
$ tmux ls
To destroy a session we write:
$ tmux kill-session -t [session number]
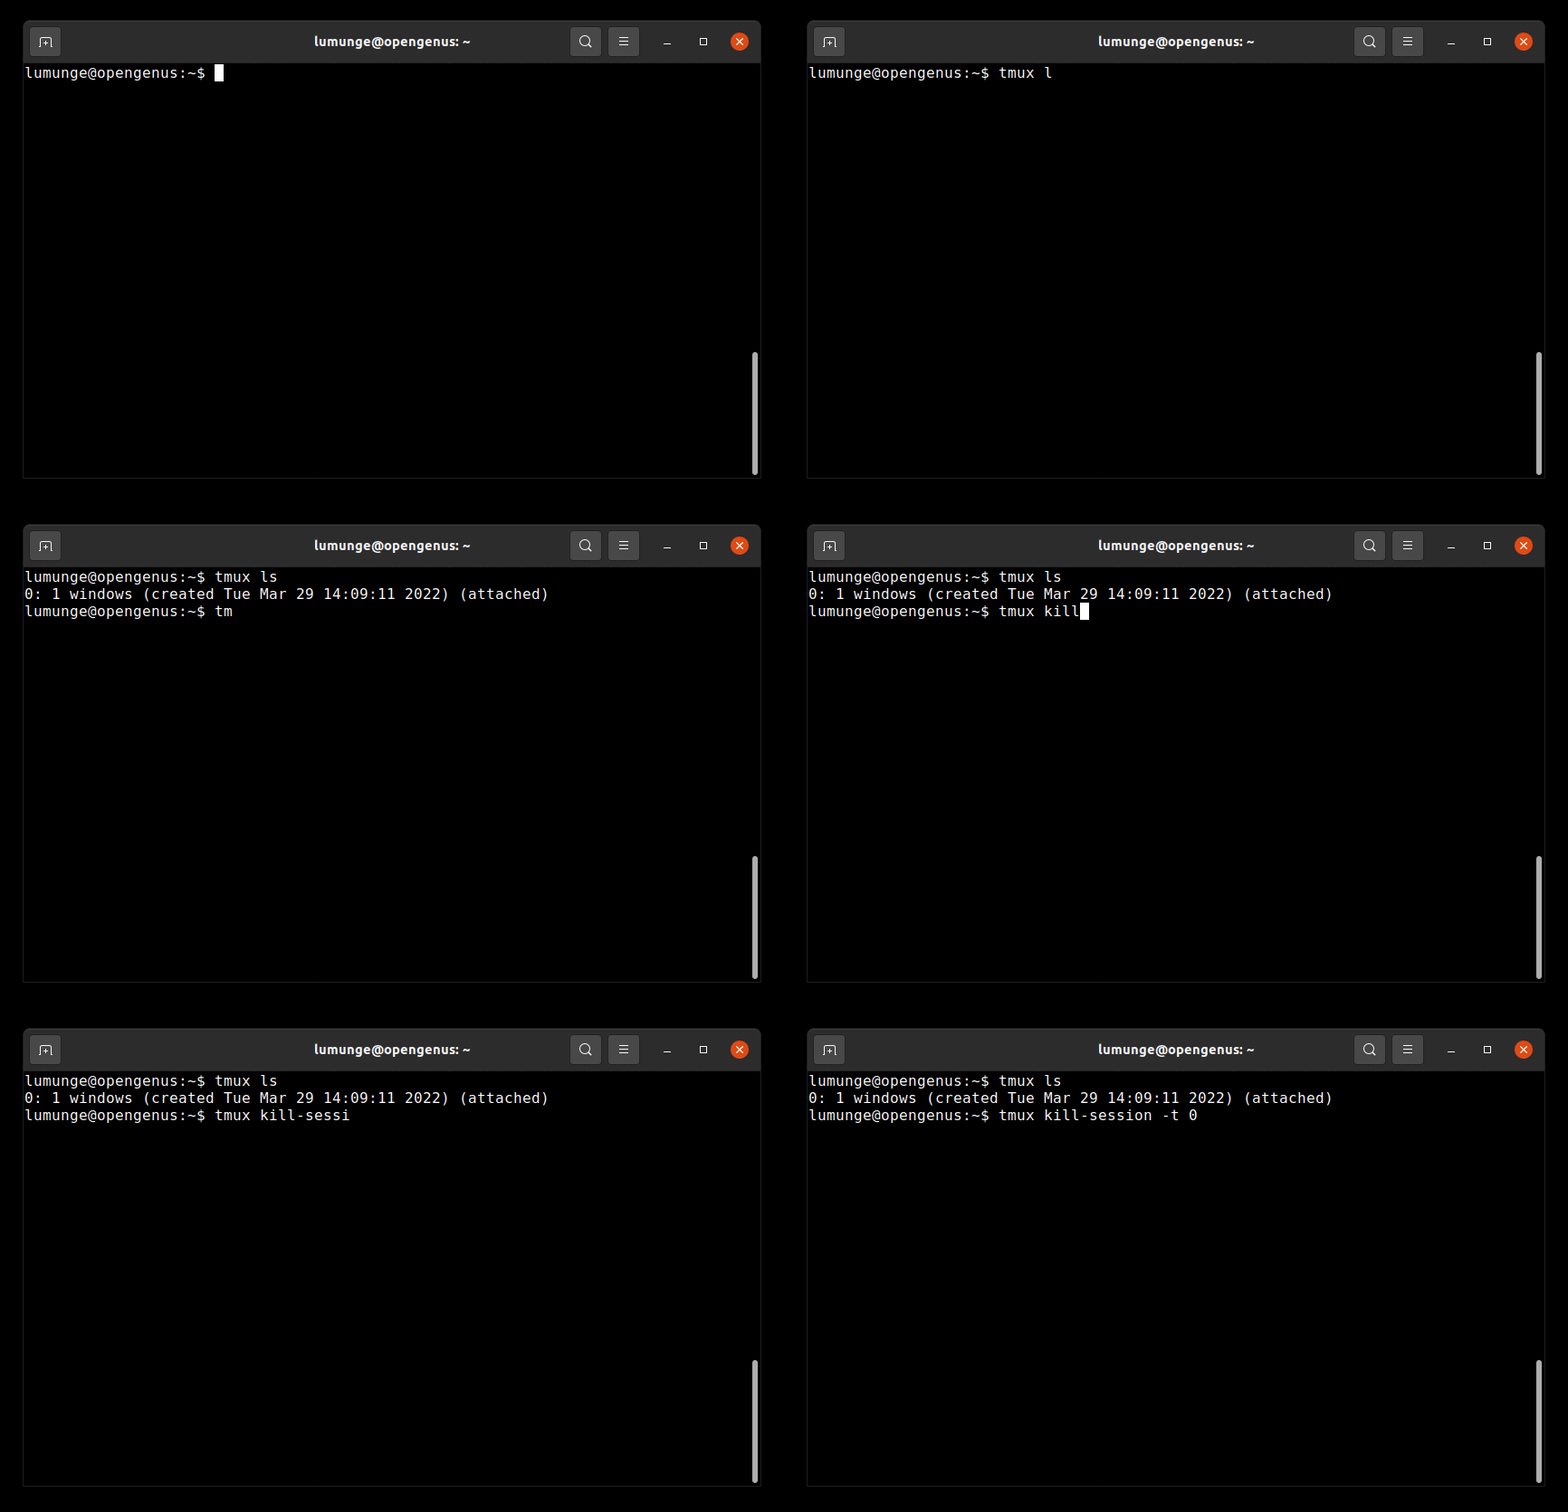
We can also press CTRL + b + x then confirm the action by pressing y followed by the enter key.
To kill everything, that is, the tmux server and all sessions and windows, we write:
$ tmux kill-server
Detaching and attaching sessions.
An attached session is the current one we are on. We can make a session run in the background by detaching it as we will see in this section.
To detach a session we write:
$ tmux detach
And to attach a session we write:
$ tmux attach
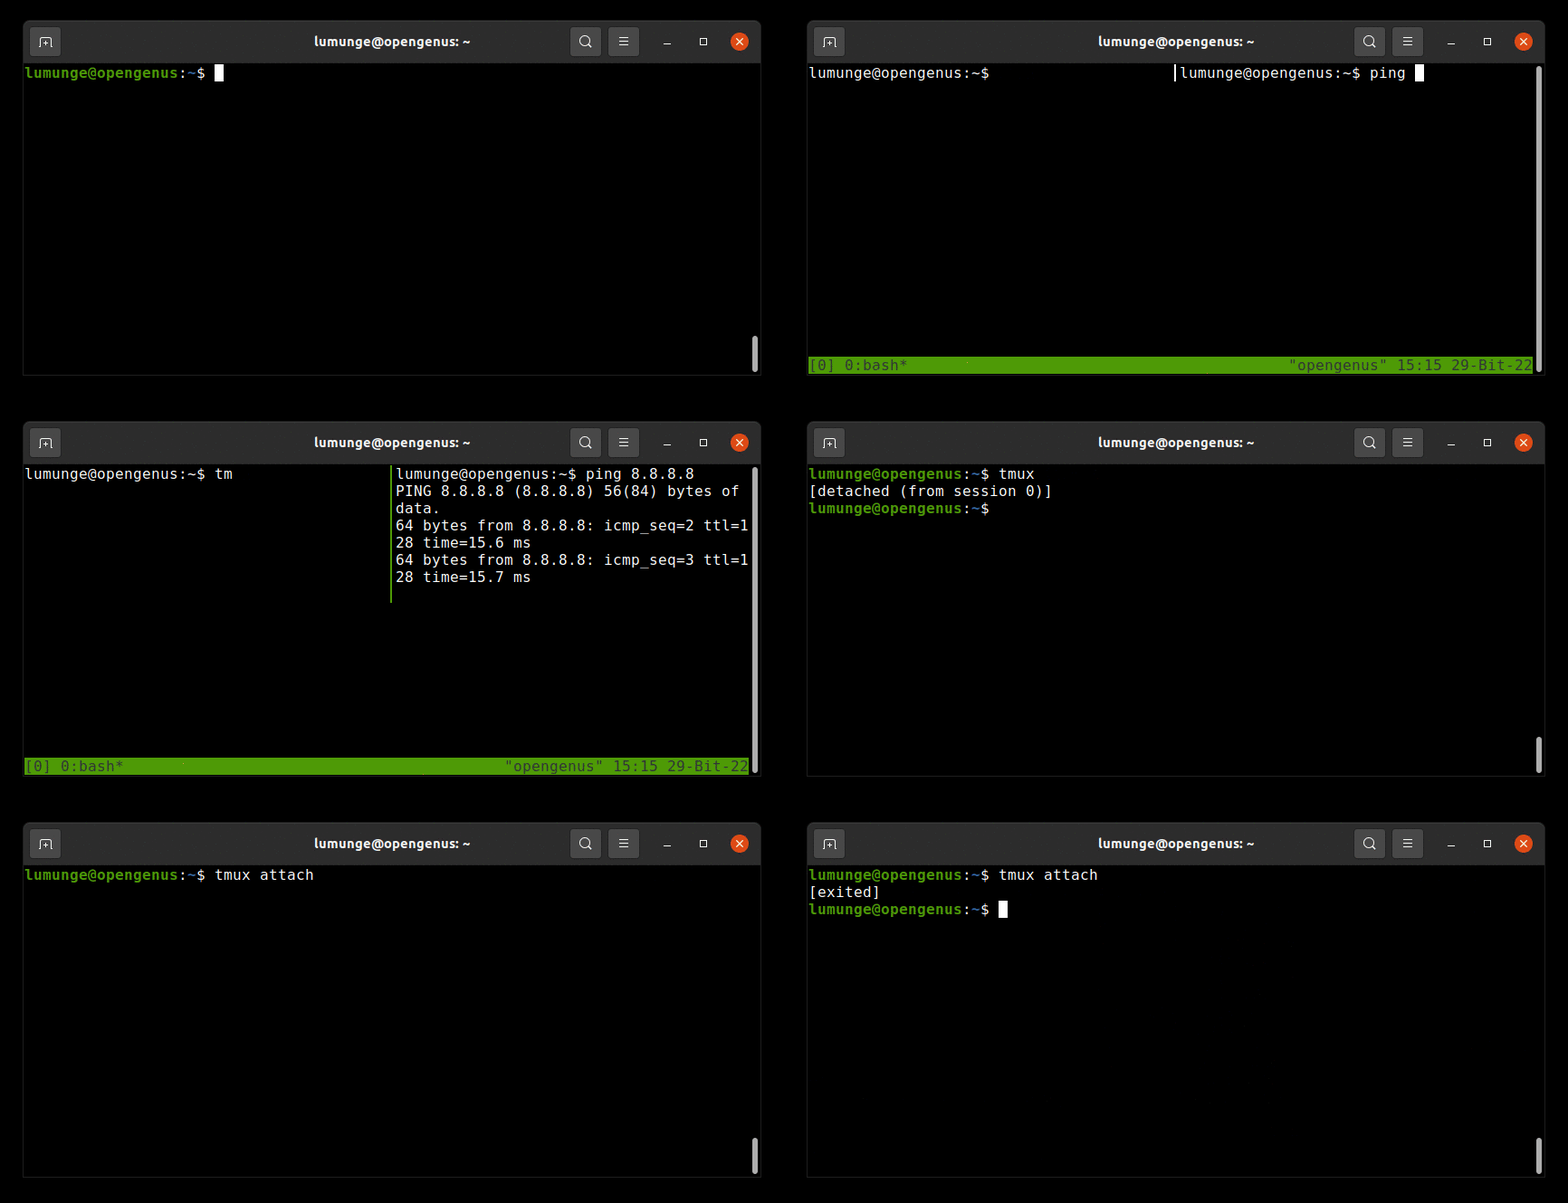
We can also attach a named session by writing:
$ tmux attach -t session_name
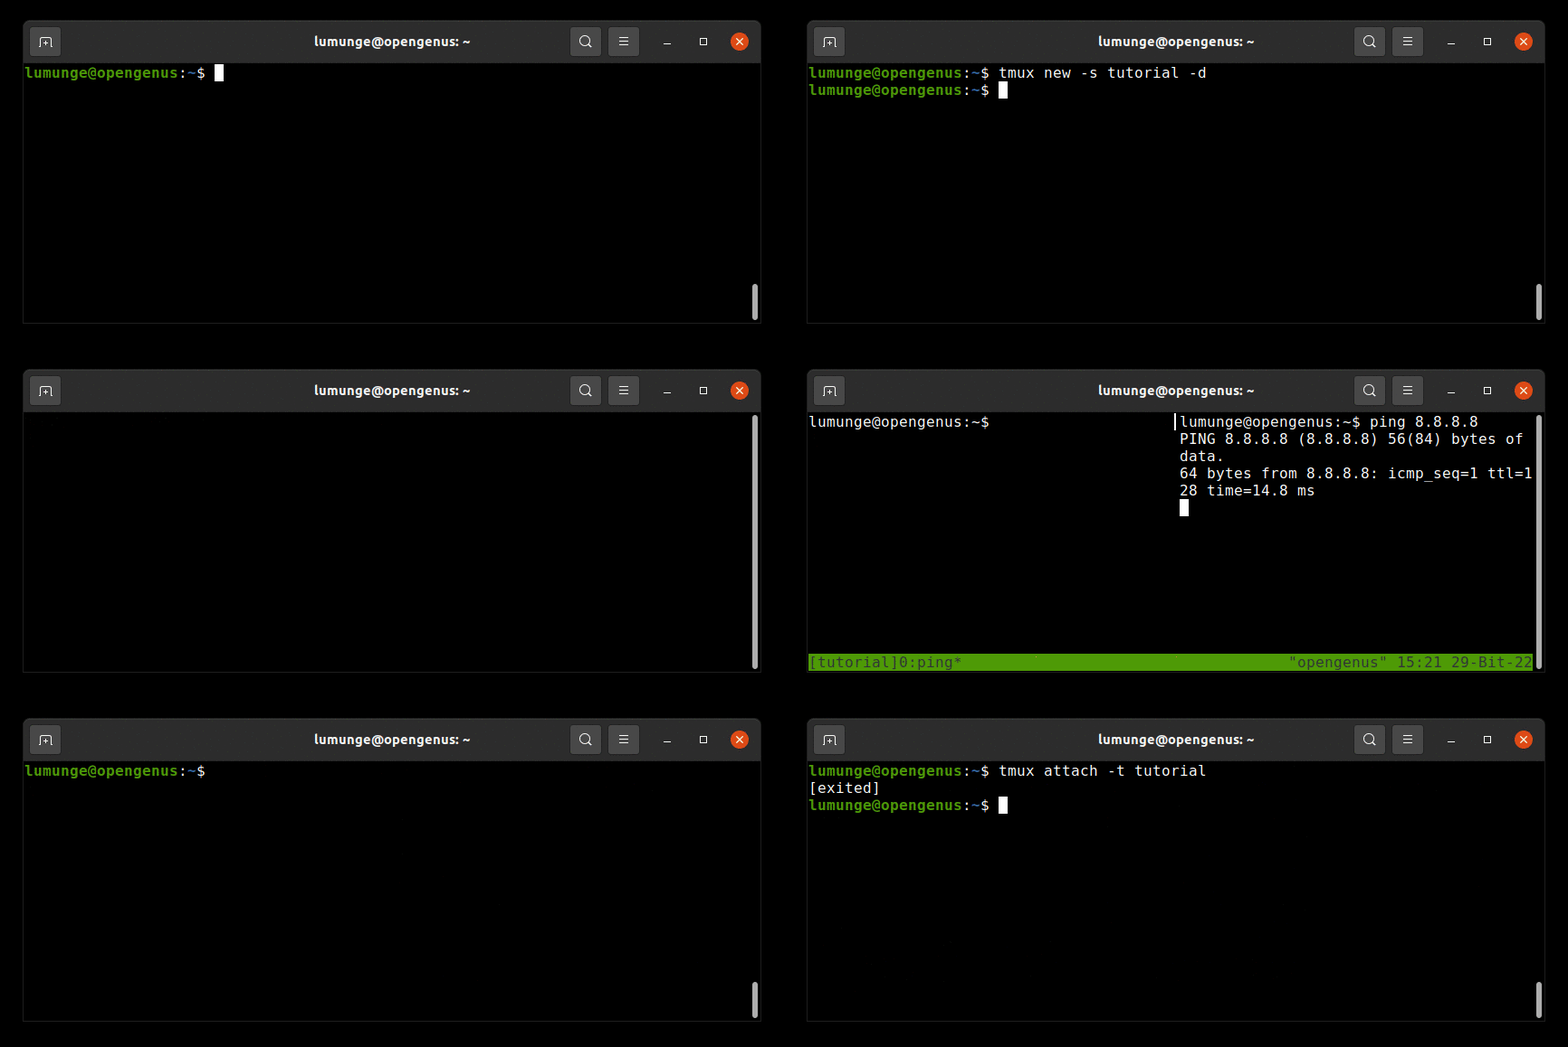
For example, to reattach the tutorial session, we write:
$ tmux attach -t tutorial
We can also create detached sessions. By default when we create a session we are automatically attached. We can avoid this by using the -d option as follows:
$ tmux new -s tutorial -d
Windows.
Windows span the whole terminal screen. Each window represents a separate pseudo-terminal.
To create a window we press CTRL + b, followed by c.
We can change the name of a window by pressing CTRL + b, followed by a comma , after which we type in a new name and press enter.
We can confirm this by listing the current windows by pressing CTRL + b, followed by w.
To navigate through the list of windows, we can use the up and down arrow keys.
We can switch between windows by pressing CTRL + b then n to go to the next window and CTRL + b then p to switch to the previous window.
We can also switch windows by pressing CTRL + b followed by a window number. For example, to switch to window number 3 we press CTRL + b then 3.
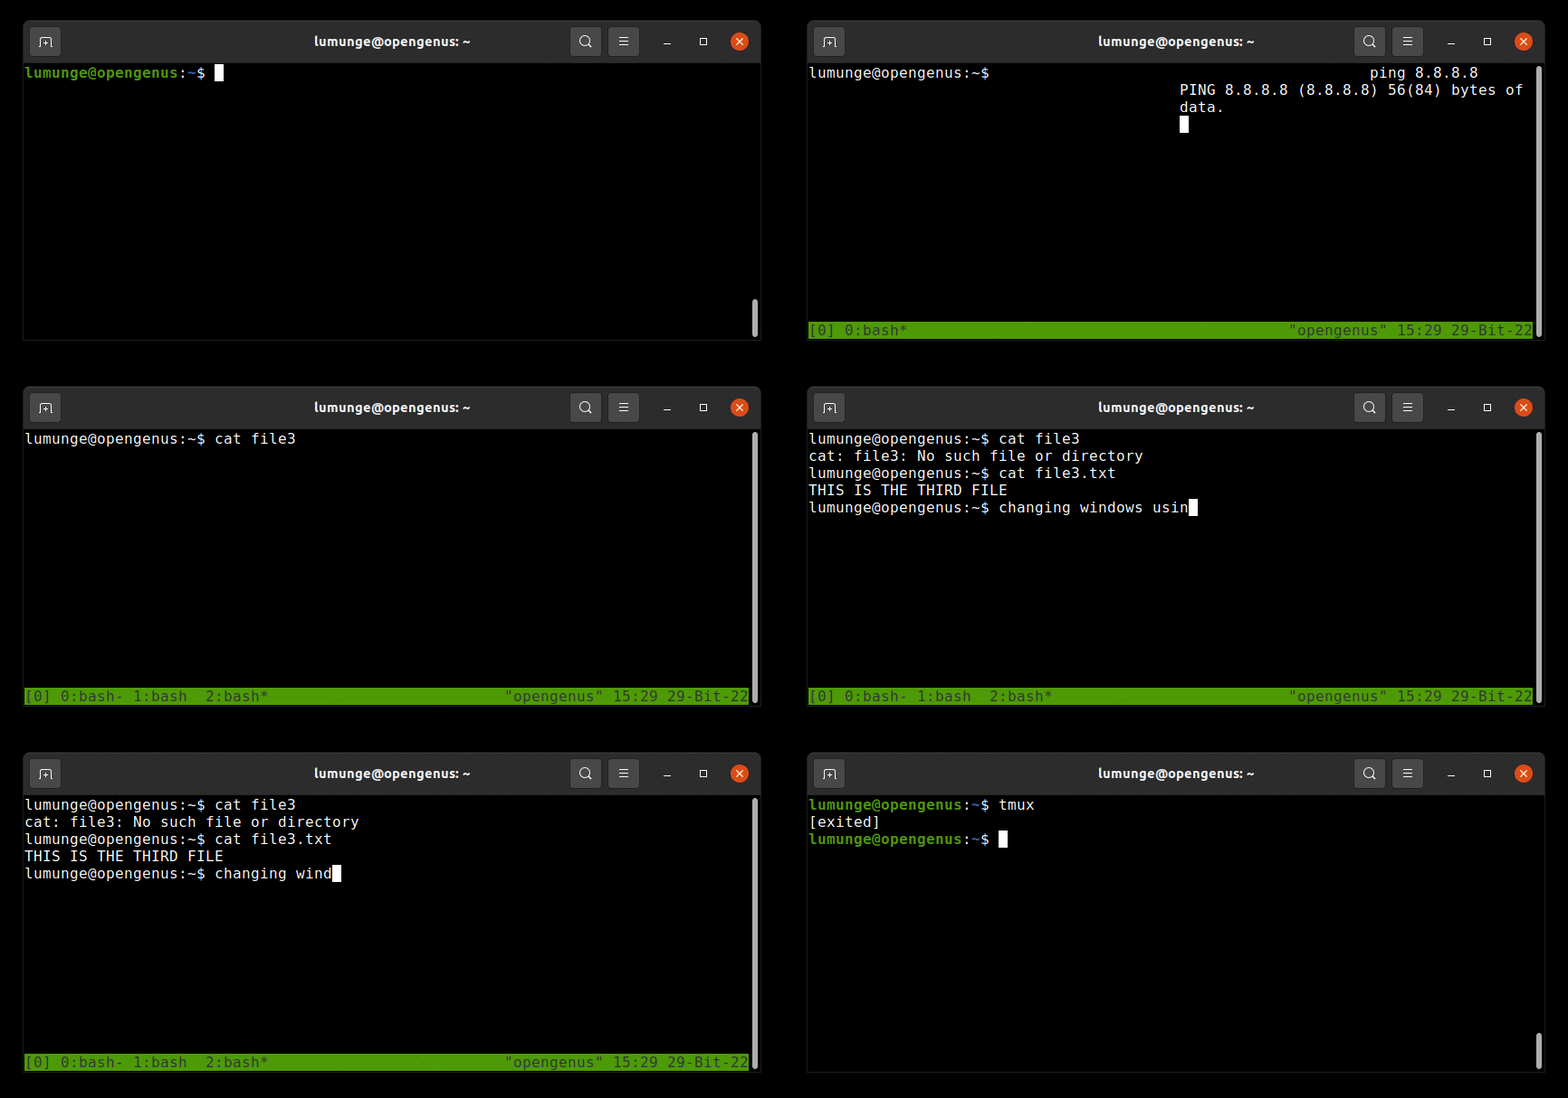
We can close a window by pressing CTRL + b then & and confirm by pressing y for yes.
Splitting windows.
Once we have created a new session, we can split the window into multiple panes either horizontally or vertically.
For example, to split the window horizontally we press, CTRL + b + ".
And to split the window vertically we press CTRL + b + %
This time, we press the four keys all at once.
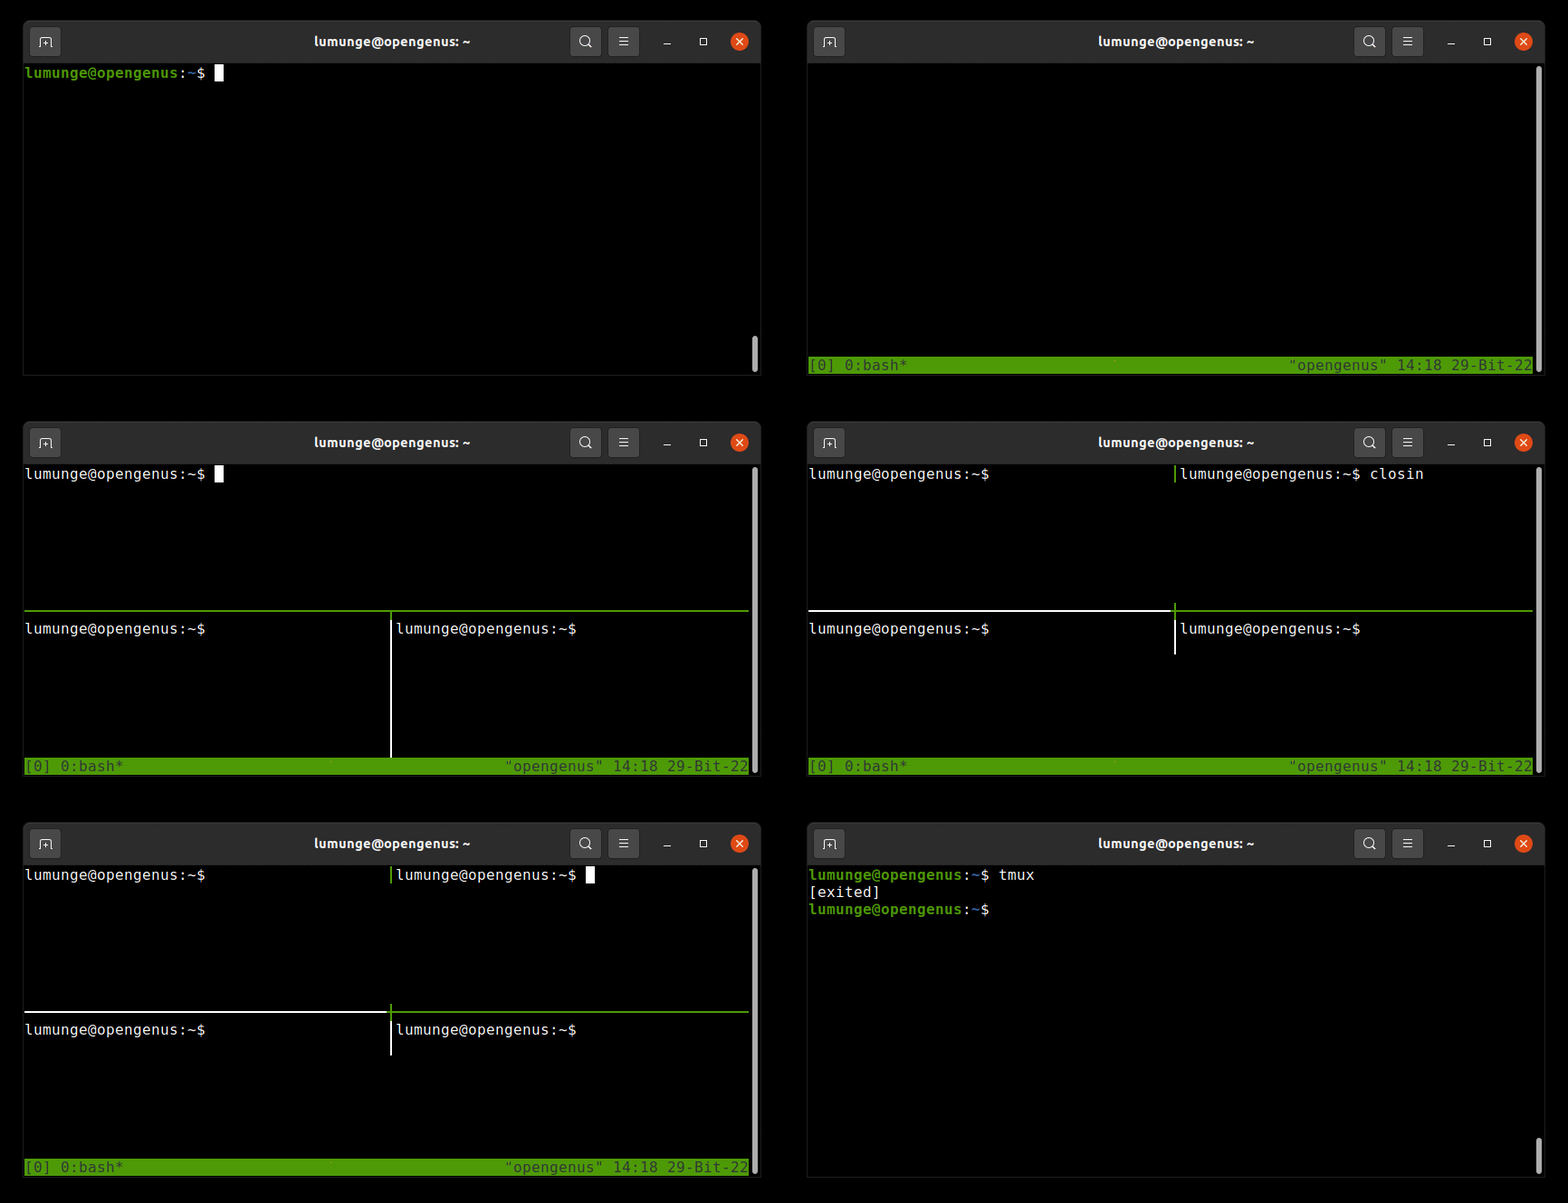
To close a pane, we can either press CTRL + d or execute the command:
$ exit
Switching panes.
Once we have split a window into multiple we should be able to navigate through them. To toggle panes we press CTRL + b then press o.
We can also press CTRL + b followed by ; (semicolon) to switch between two vertical panes.
An easier way to switch between windows is to press the prefix key CTRL + b followed by an arrow key. That is:
- up arrow key - move to the upper pane.
- down arrow key - move to the lower pane.
- left arrow key - move to the left pane.
- right arrow key - move to the right pane.
Note that the above shortcuts require a millisecond interval between the prefix key and the arrow keys, That is, we press CTRL + b then after a couple of milliseconds we press the desired arrow key to switch panes. When we press all three keys, that is CTRL + b + [arrow key] the command moves the border depending on the pane, therefore, resizing the pane.
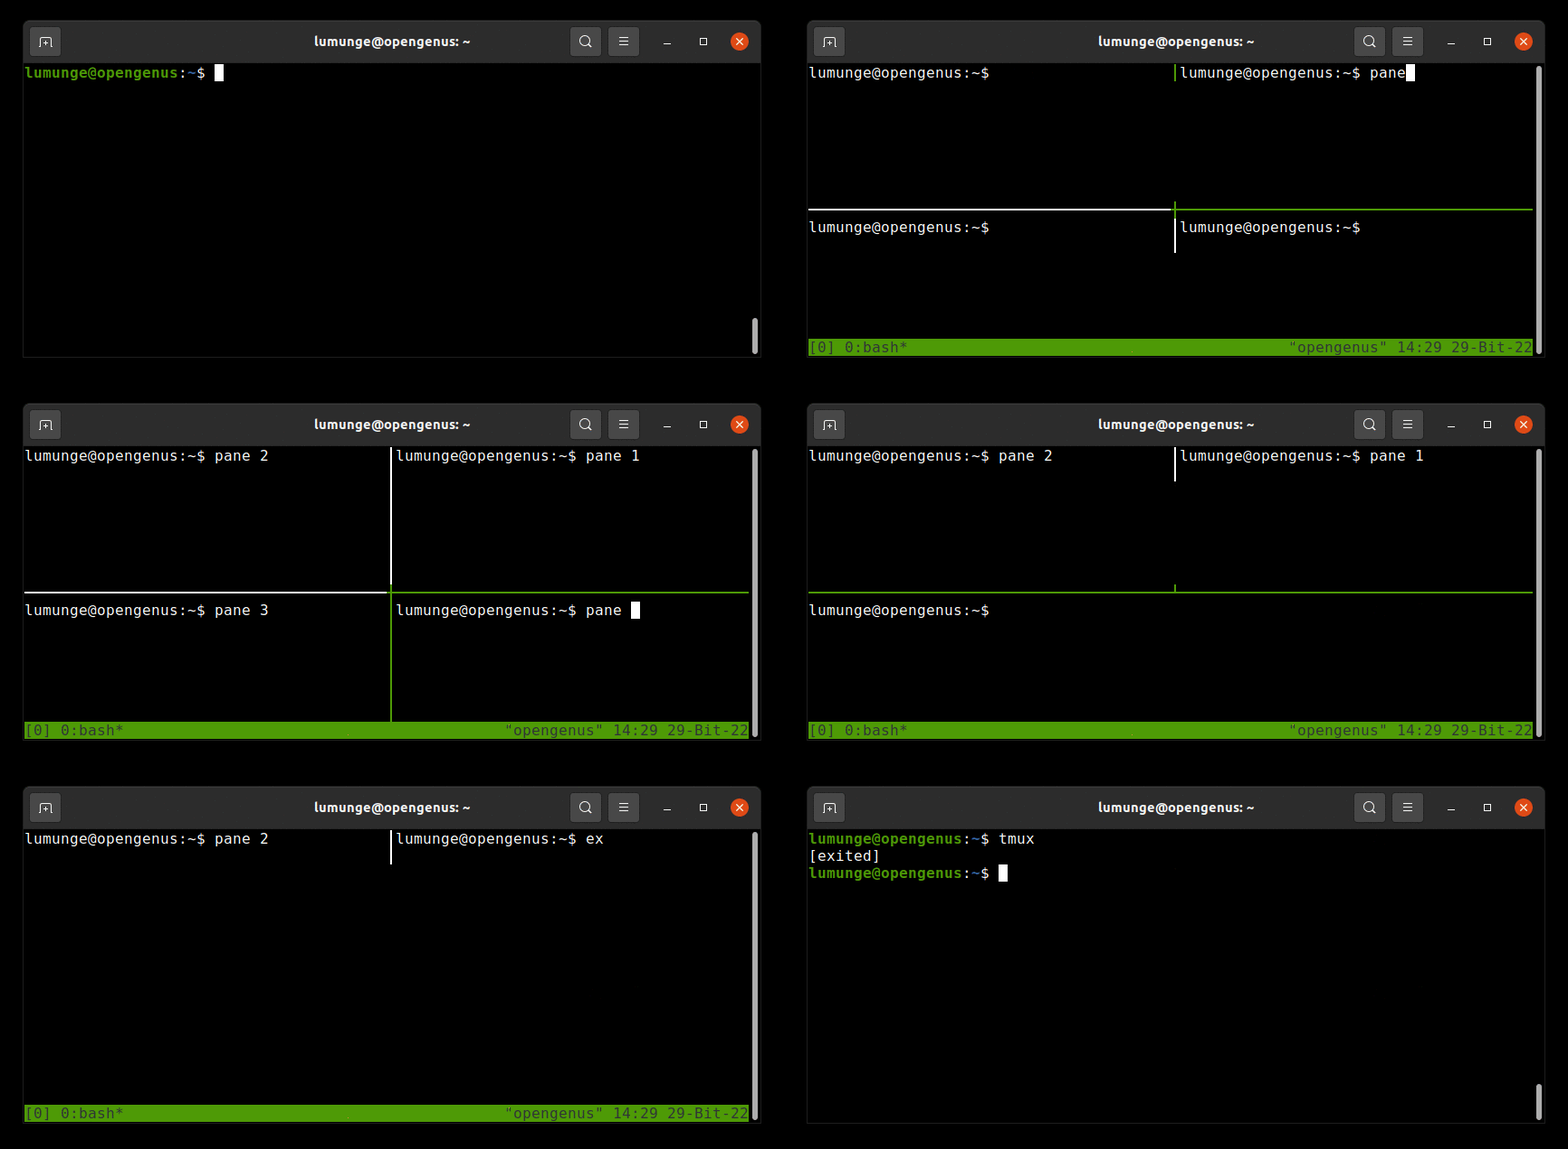
The above shortcuts are used for switching panes. At times we may want to operate on a single pane. Such cases require us to swap panes. We swap panes using the key CTRL + b + o. In this case instead of pressing CTRL + b followed by the letter o with a millisecond interval. We press the keys all at once.
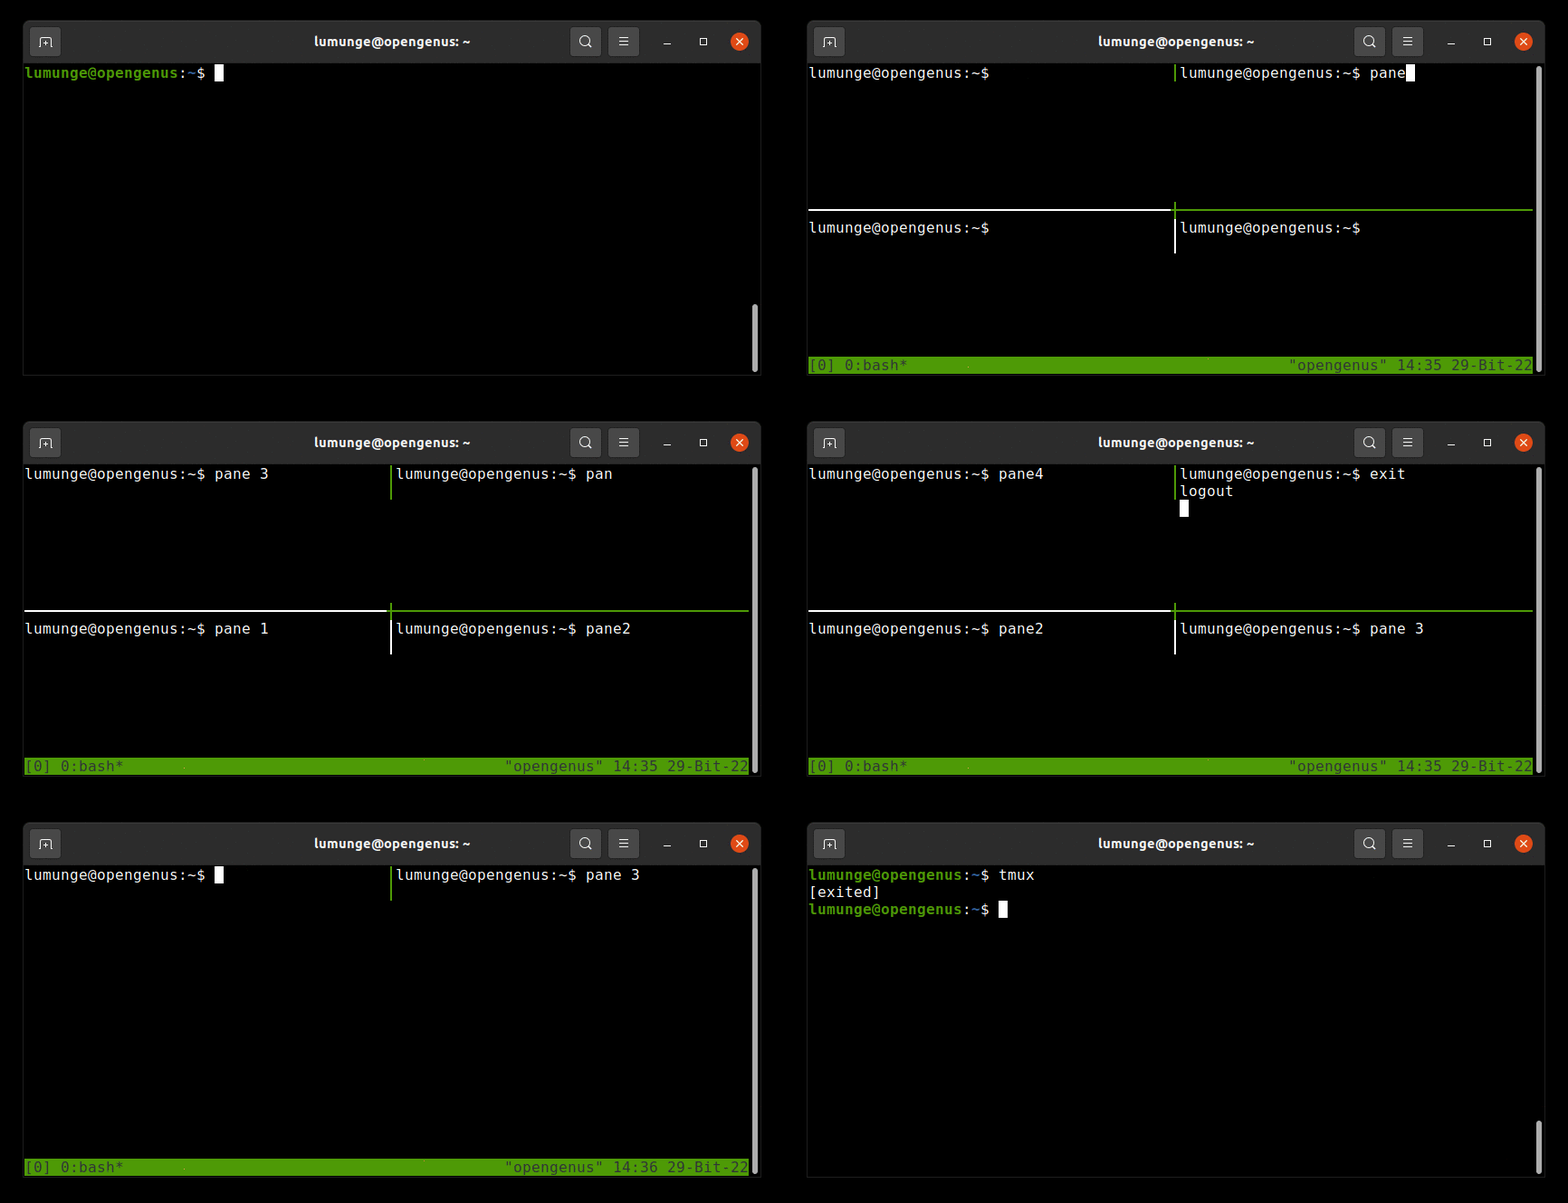
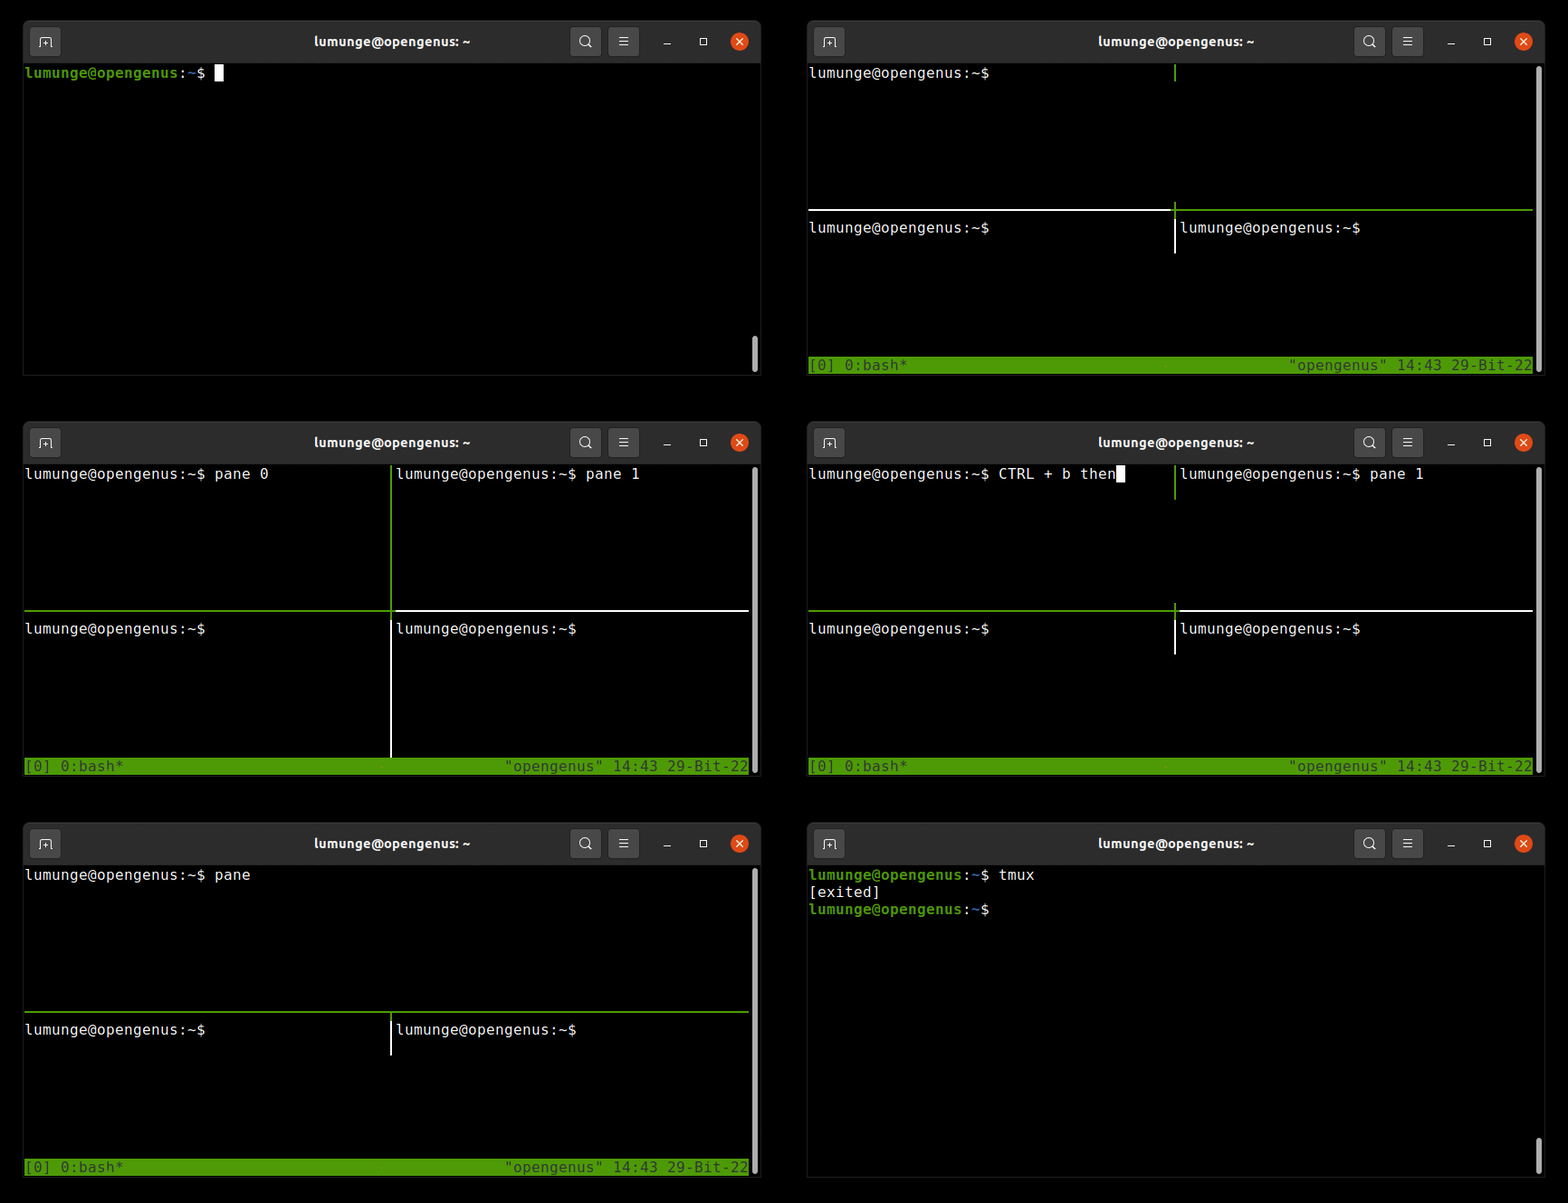
Another useful shortcut is CTRL + b then q which displays pane numbers using different colors:
Resizing panes.
Apart from switching panes, we can also resize the panes according to our needs. For example, to fit printed text from a file or a command into a pane. We can resize tmux panes using the following shortcuts. First, we have to press the tmux prefix key CTRL + b followed by a colon :. That is, CTRL + b + :. Then to resize the windows we write either of the following in the bottom bar:
- resize-pane -D, to increase the size of the upper pane by moving the border down.
- resize-pane -U, to increase the size of the bottom pane by moving the border upwards.
- resize-pane -R, to increase the size of the left pane by moving the border to the right.
- resize-pane -L, to increase the size of the right pane by moving the border to the left.
We can also use to arrow keys to resize the pane. That is;
- up arrow key - to push border upwards.
- down arrow key - to push border downwards.
- left arrow key - to push the border to the left.
- right arrow key - to push the border to the right.
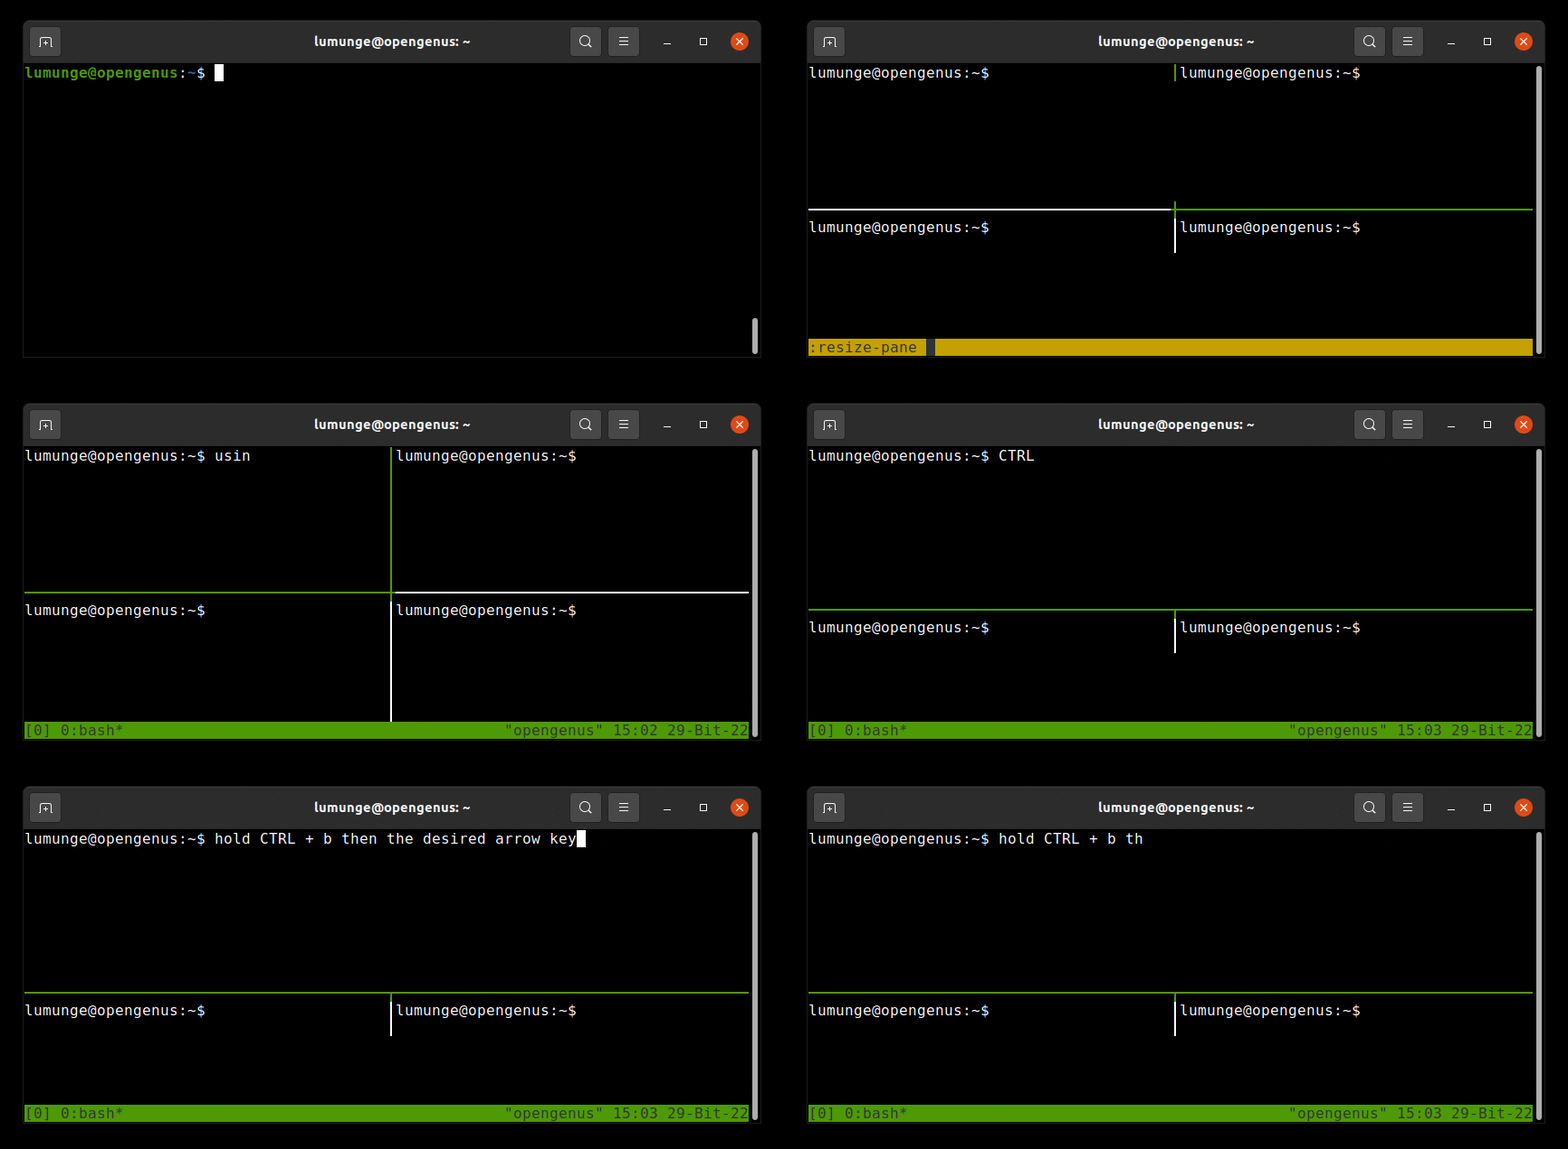
We can also be specific and resize a pane by a specific number of cells. For example to increase the bottom pane by 5 cells we write:
resize-pane -U 5
Note that, a pane can only be resized if it has a boundary. This is to say that, if it is full-width in height, there exists no boundary and therefore it cannot be resized. Also, horizontally split panes can be resized upwards or downwards while vertically split panes left or right.
We can also switch/zoom to a single pane by pressing CTRL + b + : then we type resize-pane -Z in the bottom green bar and press enter.
This will make the current pane the main pane.
To undo this we repeat the same shortcut.
Synchronizing panes.
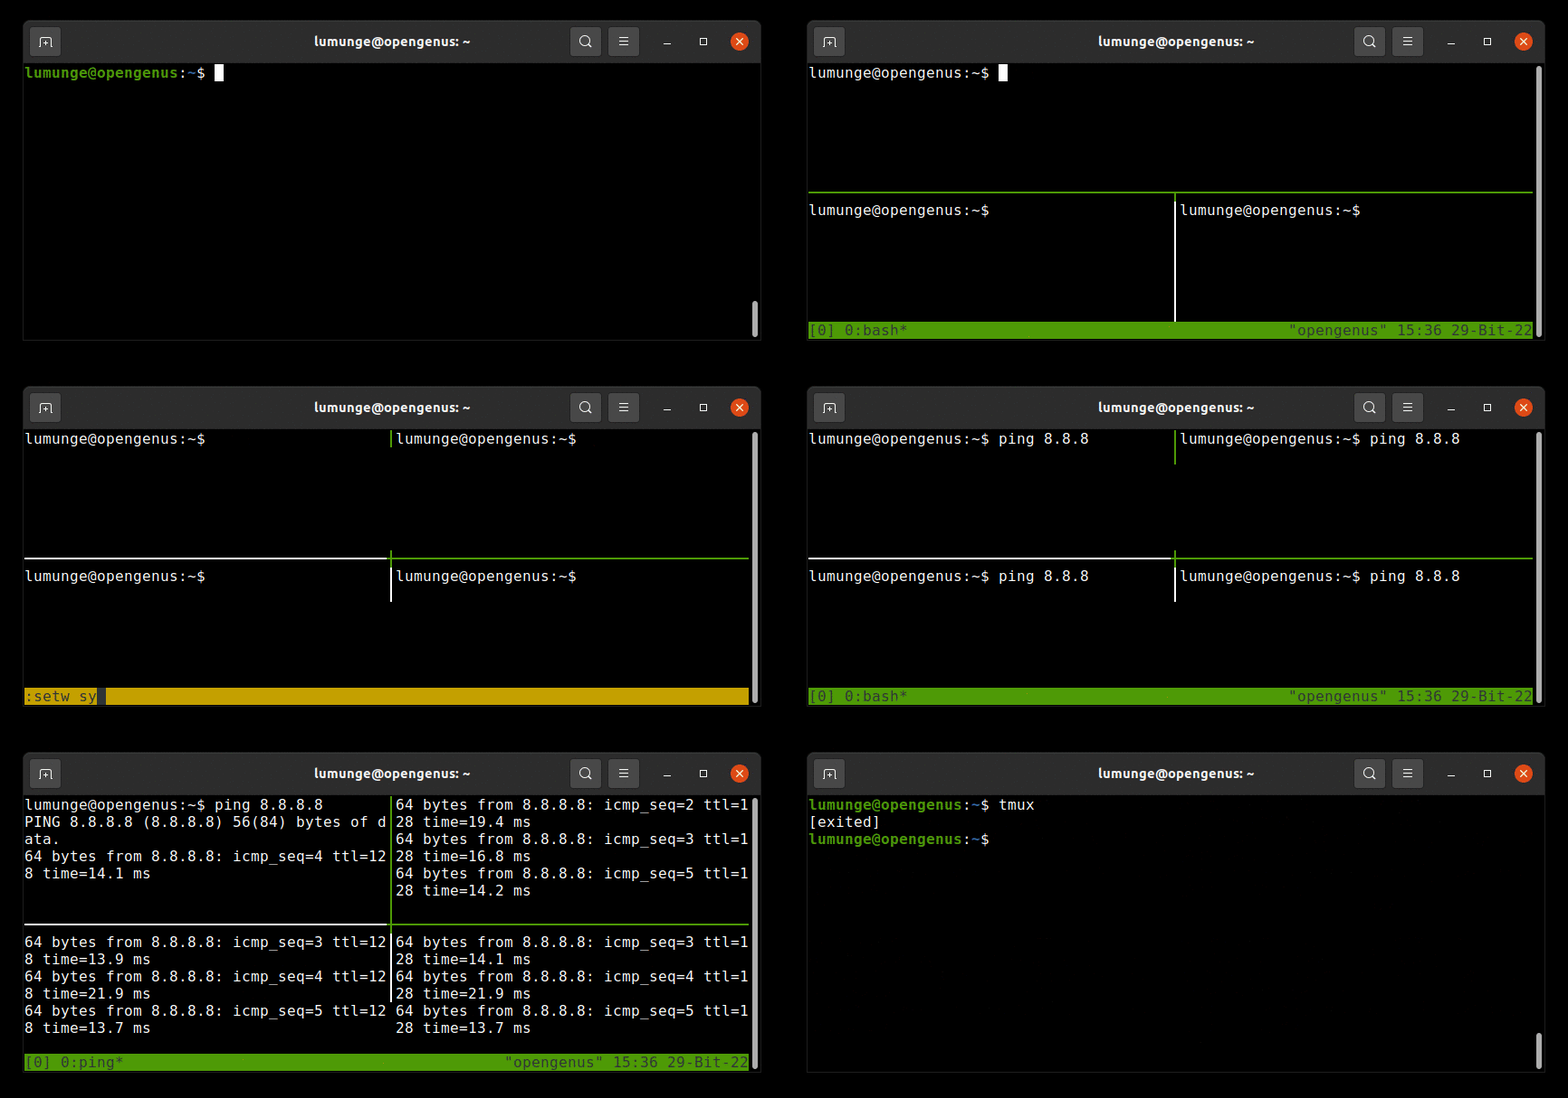
We can also execute the same command on all panes by pressing CTRL + b + : then typing in the following:
:setw synchronize-panes
After typing the above command we press enter. Then for any command we write in the current window it is mirrored in all windows.
Summary.
A terminal multiplexer allows us to manage multiple terminal windows and sessions. We are also able to detach sessions so they can run in the background and reattach them later. Apart from tmux we also have screen terminal multiplexer.
In this article, we have learned about sessions, windows, how to attach and detach sessions, how to split and switch between windows, and more.
References.
For a comprehensive guide on tmux we can press CTRL + b followed by ?. This will display the help screen with all tmux shortcuts.
We can also read its manual by executing the command $ man tmux.
