
GRUB is one of the many Linux boot loaders responsible for loading an operating system into memory during startup. In this article, we discuss the booting process involving GRUB and how to configure and customize GRUB.
Table of contents.
- Introduction.
- The boot process.
- Configuring GRUB.
- Customizing GRUB.
- Summary.
- References.
Introduction.
The GNU GRand Unified Boot Loader/GRUB is firmware that is used to load an operating system such as Linux into memory during startup.
It provides both a graphical user interface and a command-line interface all of which are accessible while the system boots and even during running.
In the graphical interface, we have menu options where we select an operating system
GRUB comes has two versions, the first, called GRUB Legacy is the oldest while the second - GRUB2 is the latest version, it comes with
GRUB uses kernel parameters to determine where the kernel is located and other important actions. Some of these parameters are;
- initrd: This determines the initial RAM disk.
- BOOT_IMAGE: where the Linux kernel image is stored.
- ro: used to mount the file system, in read-only mode.
- root: determines the location of the root file system.
- splash: used to display splash screens during startup.
- quiet: For when we don't need debugging messages during system boot-up.
The boot process.
The boot process in Linux involves four stages, the first is;
BIOS which is responsible for loading the boot-loader during startup, this comes after it has performed a POST to ensure the hardware is working correctly.
Its main function is to load and execute the MBR boot loader located on the USB stick or hard disk or CD-ROM.
MBR: The Master Boot Record loads and executes the GRUB boot loader. The first sector of the hard disk or USB stick or any bootable device is usually reserved for MBR.
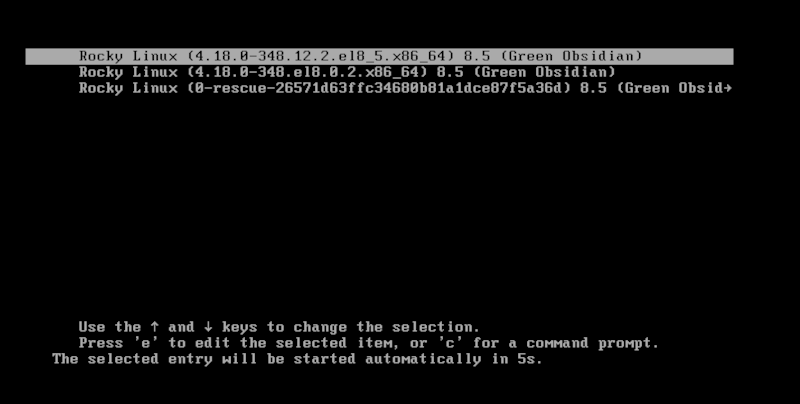
GRUB: First we see a splash screen with a simple menu. We select the appropriate OS and boot into it here. This screen gives as seconds to select an OS before it proceeds to the next step.
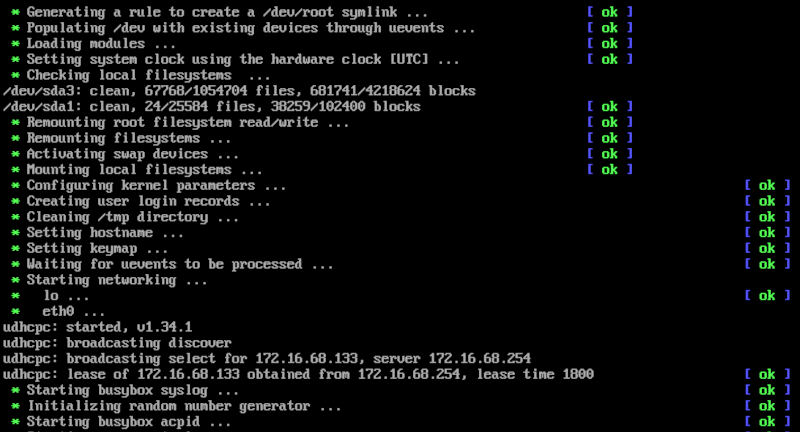
Kernel: This is the most important part of the operating system as it has control over everything. The kernel we selected in the previous section mounts the file system specified in the grub config file
Then init is executed, whose function is to start and stop services on the system. This is is the one where all other processes start from, its PID is usually 1.
Init: The system is now executing runlevel programs, it chooses an init file that decides the run level. The default run level for Linux systems is usually 5.
We can confirm this by writing:
$ who -r

Run level programs: Now run level programs are started
Depending on the run level, different directories are used to store these run-level programs.
These directories are:
$ ls /etc/ | grep rc.

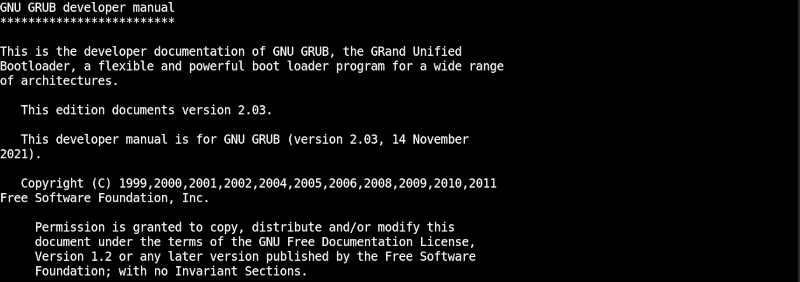
We can view useful information about GRUB and its configuration options by writing:
$ info -a grub
Configuring and customizing GRUB.
The main GRUB configuration file - grub.cfg is stored in the /boot/grub directory.
To make changes we should edit the grub config file located in the /etc/default/grub directory.

The flexibility GRUB offers allow us to change a lot, for example, we can change the background image for a GRUB screen or the default timeout period from 5 seconds to another time.
In order to make these changes, it is wise to create a backup file which we will use when things get messy.
We create a backup file by writing;
$ sudo cp /etc/default/grub /etc/default/grub-backup

1. Changing the default OS.
During booting, GRUB will present us with a flash screen where we select an operating system. When we fail to select an OS GRUB loads the default operating system.
To make this change we change the value of GRUB_DEFAULT in the GRUB file. Usually, the systems are indexed from 0 onwards, That is, the first operating system on the list in the flash screen is index 0 and the second is index 1, and so on.
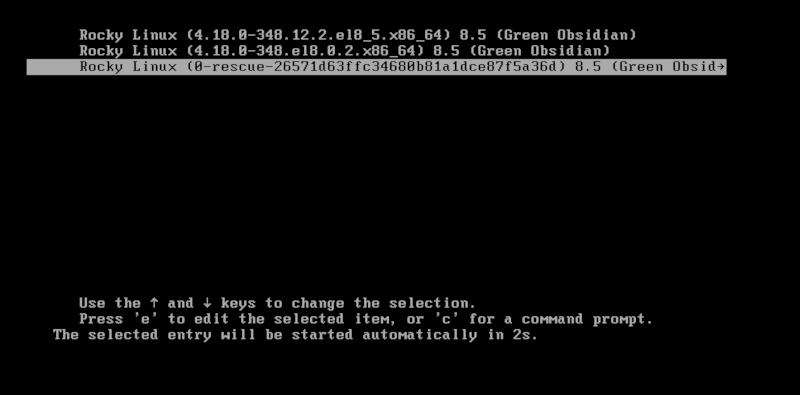
Now let's make the default be rescue mode.

Now by default, system 2 in the list will be highlighted as the default system.
We can also change the number of seconds in which the flash screen is displayed, the default is five seconds.

We save this file and execute the following command so that the changes take effect:
For Debian and Ubuntu:
$ sudo update-grub
For CentOS:
$ sudo grub2-mkconfig -o /boot/grub2/grub.cfg

Now we can reboot to see if these changes worked.
$ reboot
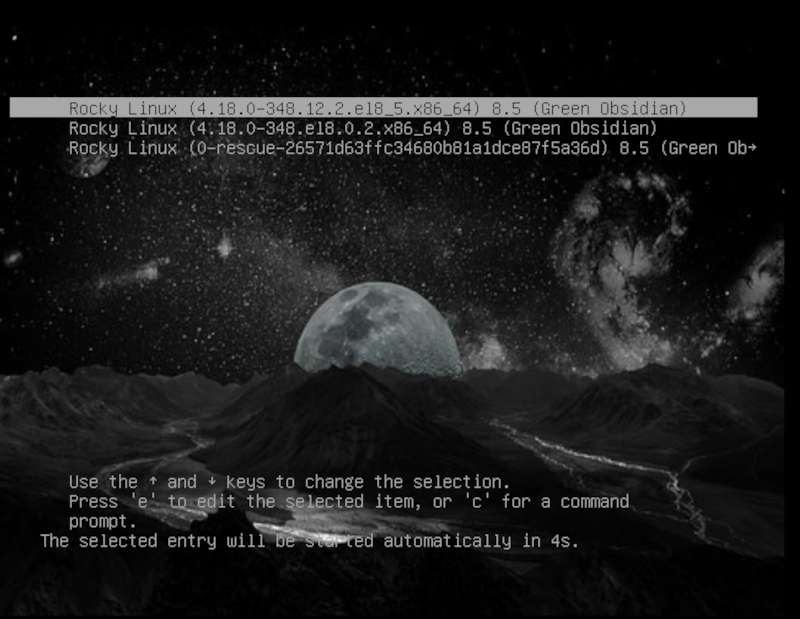
3. Changing GRUB background image.
Let's download a background image or select any other.
$ wget https://cdn.pixabay.com/photo/2017/02/08/12/46/moon-2048727__340.jpg
Before we set its path in the grub config file, we first use GIMP to convert it into a .tga file.
Now to set its path as a value for GRUB_BACKGROUND in the GRUB config file.
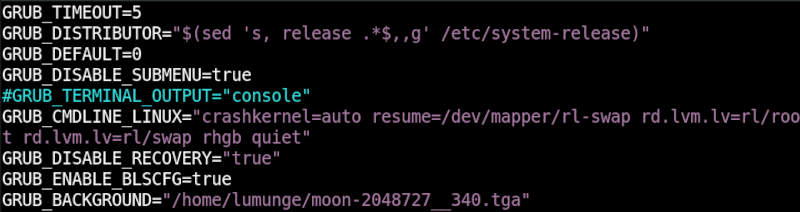
Also note that we have commented the GRUB_TERMINAL_OUTPUT="console" line in the GRUB config file.
Finally, we update the grub as we previously did before for the changes made to take effect:
For Debian and Ubuntu:
$ sudo update-grub
For CentOS:
$ sudo grub2-mkconfig -o /boot/grub2/grub.cfg

We reboot the system to see the changes.
Summary.
A boot loader is a very important piece in the start-up process as it loads the most important piece - kernel into RAM, the boot loader is also responsible for displaying a user interface during start-up for users to select the operating system in which to boot to.