
We use the dmesg command to print log messages stored in the kernel ring buffer. In this article, we learn about this command through various examples.
Table of contents.
- Introduction.
- Syntax.
- Command usage.
- Formatting output.
- Levels and facilities.
- Real-time monitoring.
- Clearing the ring buffer.
- Summary.
- References.
Introduction.
The kernel produces diagnostic messages about hardware, drivers, and any other information that is useful in troubleshooting issues from when it is booted to shutdown. An example, when we plug in a USB stick, a pop-up might be displayed stating that the operation was successful. This information however might not be enough for troubleshooting or diagnosing the system and therefore it is stored in log files.
In Linux, we use the dmesg command to print or control the kernel ring buffer. A kernel ring buffer is a data structure holding all messages regarding kernel operations since the device was last booted.
Syntax.
We write dmesg command using the following format:
$ dmesg [options]

The following are commonly used options with this command:
- -C, to clear the ring buffer. A ring buffer is a buffer of constant size. It removes old messages as new ones are received, we can think of it as a 'circular' ring.
- -c, to read and clear the ring buffer.
- -D, to avoid printing messages as output.
- E, to allow printing of messages as output.
- F, to read messages from a specified file.
- k, to print kernel messages.
- -t, to exclude timestamps in the output.
- u, to print userspace messages.
Command usage.
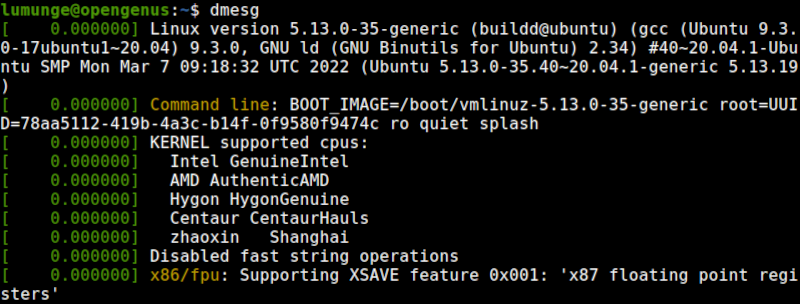
To get started we execute the command without any options.
$ dmesg
Note that this may require sudo privileges. To allow any user to read logs without needing elevated privileges we execute the command:
$ sudo sysctl -w kernel.dmesg_restrict=0
Once the dmesg command is executed, we have a lot of output. In most cases we will pipe the command output to the grep, less, head or tail commands to filter the output.
That is:
$ dmesg | less
Furthermore, while using these text filtering commands such as less command, we can search for specific strings by typing /search_string then pressing enter key. After this, all matched strings are highlighted.
We can also use the head or tail commands and print the first or last n lines. The syntax is as follows:
$ dmesg | head -n
Where n is the number of lines. For example to print the first 10 lines of output we write:
$ dmesg | head -10
And to use tail command to print the last 10 lines of output:
$ dmesg | tail -10
Or to search for a specific string:
$ dmesg | grep "search_string"
For example, let's get information about a mouse device:
$ dmesg | grep mouse
We can also use the -i option with grep to ignore the case:
$ dmesg | grep -i search_string
In this case, unlike the previous command, we get all string occurrences be it in uppercase, capitalize, or lowercase. This is useful in situations where we are not sure of the exact case of the string we are searching for.
To get information about plugged in or removed USB devices such as a mouse, keyboards, USB sticks, etc:
$ dmesg | grep -i usb
To print all messages regarding hard disks that have been detected by the kernel, we can filter the output using sda:
$ dmesg | grep -i sda
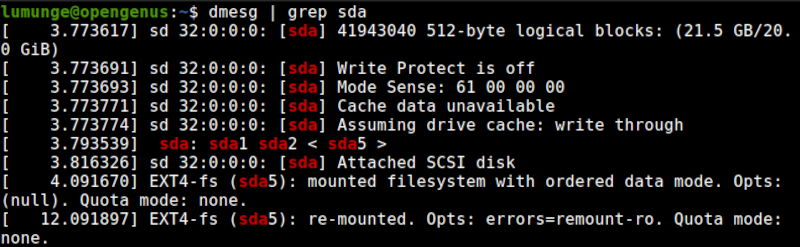
On other systems, hard disks are labeled as hda, therefore we can replace sda with hda.
To print messages concerning network interfaces we write:
$ dmesg | grep -i eth

In this example we are looking for messages concerning the eth0 interfaces, interfaces are specific to a machine, for example, WLAN, eth1, etc.
We can also pass multiple strings to the grep command as search terms as shown:
$ dmesg | grep -E "sda|usb|mouse"
In this example, all strings that match sda or usb or mouse are printed to the output.
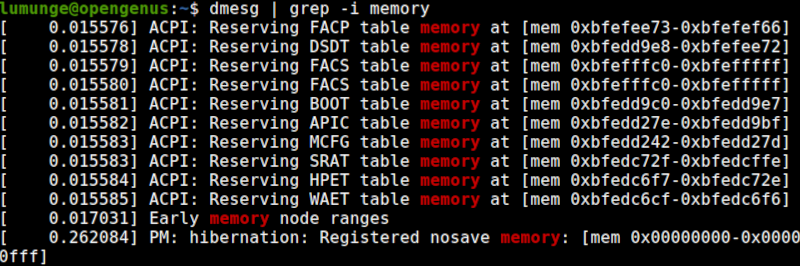
Commonly searched for messages involve memory, harddisk, usb devices, serial ports.
We have seen how to print hard disk and usb messages. For memory and serial port we execute the commands:
# display memory messages
$ dmesg | grep -i memory
# display serial port messages
$ dmesg | grep -i tty

Formatting output.
By default the command output has timestamps in seconds and nanoseconds, this is counted from when the kernel started. To use a human-readable format we use the -H option as shown:
$ dmesg -H
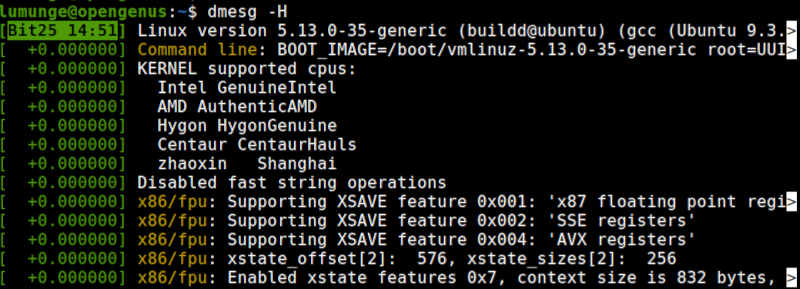
The above command not only prints output while implementing the less command but also the time stamp is more readable, that is, we have a readable month, date, and time.
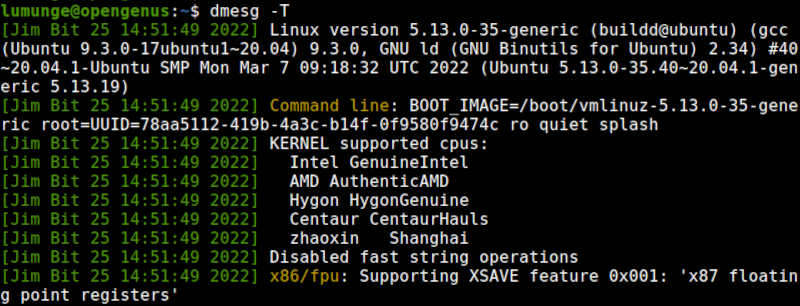
We can also use the -T option for readable timestamps:
$ dmesg -T
Levels and facilities.
All kernel messages are categorized into different levels, these are;
- emerg, for emergency messages. In such cases the system is unusable.
- alert, for messages which require immediate action.
- warn, for warning messages caused by warning conditions.
- crit, for critical messages caused by critical conditions.
- err, for error messages.
- debug, representing debugging messages.
- info, for informative messages
- notice, these are normal messages but are logged for important conditions.
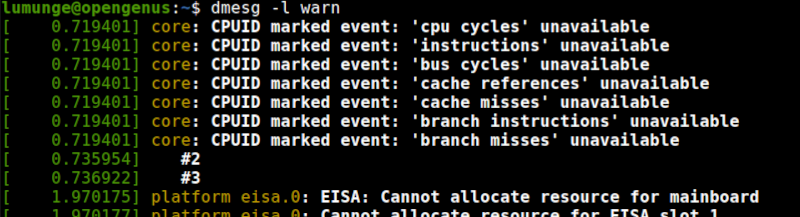
With that, we can display warning messages by writing:
$ dmesg -l warn
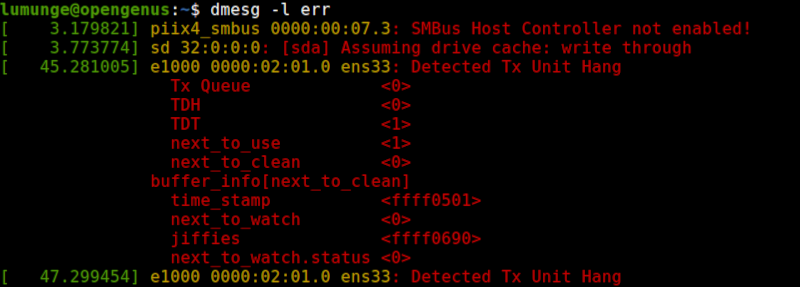
And to display error messages, we write:
$ dmesg -l err
In the above two examples, we use the -l option that represents the level.
We can also print messages involving multiple log levels. For example to print informational and notice messages we write:
$ dmesg -l info,notice
Kernel messages are also categorized into different facilities, these are;
- kern - kernel messages.
- user - user messages.
- mail - mail messages.
- auth - authentication and authorization messages.
- Ipr - line printer subsystem messages.
- news - network news subsystems.
- daemon - system daemons.
- syslog - syslogd messages.
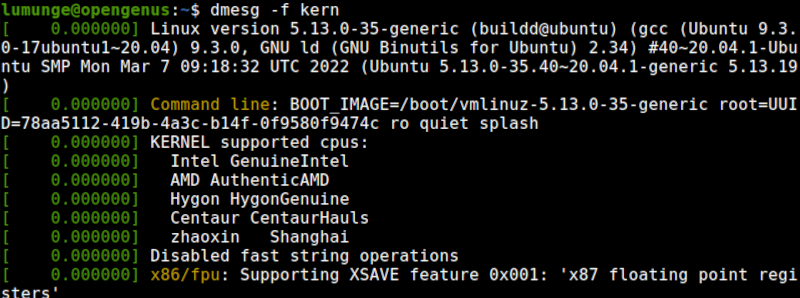
For example, to print kernel messages, we write:
$ dmesg -f kern
Here the -f option represents a facility.
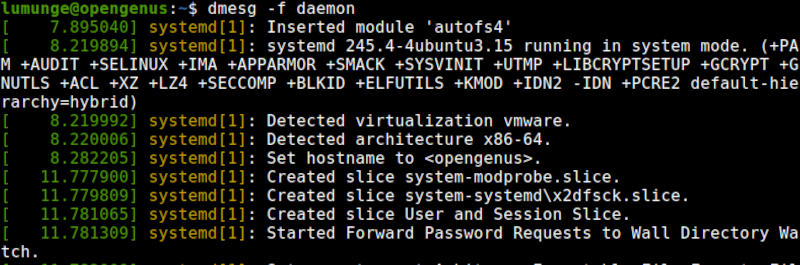
To print daemon messages we write:
$ dmesg -f daemon
Just like we combined different levels, we can also combine different facilities. For example, to print mail and authorization/authentication messages, we write:
$ dmesg -f mail,auth
We can combine the two, that is facilities and levels to get a more informative output by using the -x option:
$ dmesg -x
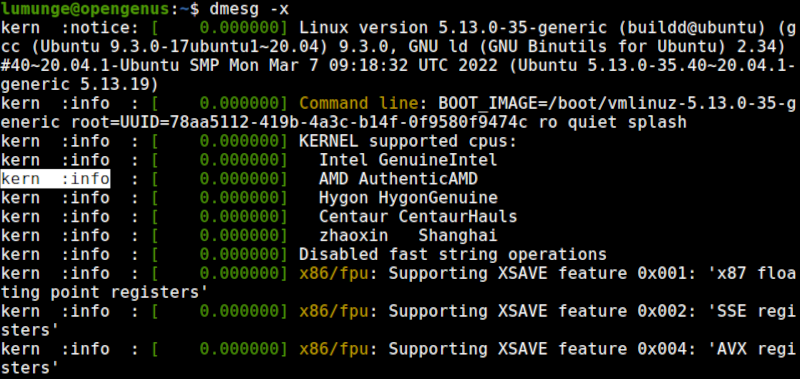
From the output, we can now see the facility and the level for each logged message.
Real-time monitoring.
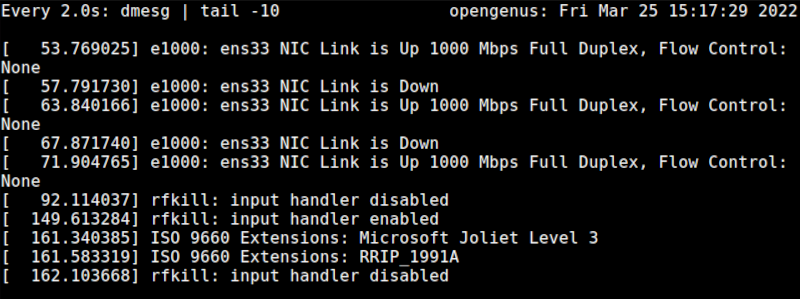
We can also monitor dmesg messages in real-time using the watch command as follows:
$ watch "dmesg | tail -10"
To monitor the messages we can also use the --follow option for real-time updates as follows:
$ dmesg --follow
Clearing the ring buffer.
Using a lowercase c allows us to print the current logs before clearing them:
$ dmesg -c
We use the -C option to clear the ring buffer without printing anything:
$ dmesg -C
Now when we execute the dmesg command, we will have no output.

We can also redirect the logs to a file before clearing them:
$ dmesg > [file]
Summary.
We use the dmesg command to troubleshoot hardware, driver, kernel, memory errors, and more. For this, we read logs stored from when the system booted and find issues there. A kernel ring buffer is a data structure holding all messages regarding kernel operations since the device was last booted. We use the dmesg command to read this buffer to find issues and solve them.
We have learned how to use the dmesg command through various examples.
References.
For a comprehensive guide on the dmesg command we can execute the command $ man dmesg in the Linux terminal.