
Hello everyone in this article we are going to see how to create a table view in swift code without using visual designer.
What is a table view
A tableview is also known as ListView takes an array of items as input and present it as a list to the user. User can perform actions like select,swipe to delete,add,delete rows etc.
Why programmatic UI
Apple provided Storyboard for UI Design which makes it easier for beginner to create simple user interface.But when it comes to customization storyboard has limited options.If there is a need to create table view with more number of customization then programmatic way is much better than visual designer.And also programmatic UI is version control friendly such that we can track changes made to UI easily and also modify them easily
What we are going to build
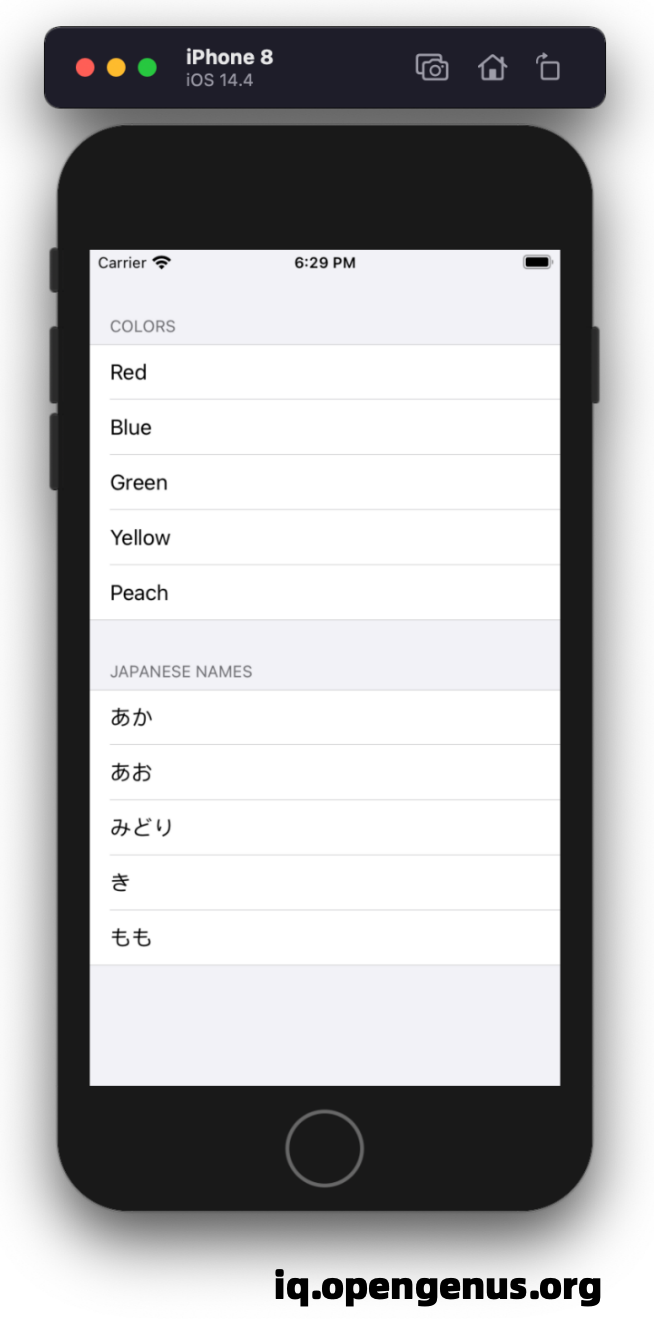
We are going to build a table view with two sections one sections has color names in english and another section has color names in japanese.
- Open up Xcode and create a new iOS app project make sure you select UIKit instead of SwiftUI
- Open up ViewController.swift file and add the following code
 let ColorTableView: UITableView = {
        let tv = UITableView(frame: .zero, style: .plain)
        tv.register(UITableViewCell.self, forCellReuseIdentifier: "cell")
        return tv

    }()
Here we create a closure named ColorTableView which creates a tableview and register the type of tableview cell to be used.In our case we use built in simple table view cell with a single text label and also provide an identifier as cell and returns the table view.
- Inside viewdDidLoad() add the created tableview to the View Controller by using addView() method.
    override func viewDidLoad() {
        super.viewDidLoad()
        view.addSubview(ColorTableView)
        setupAutoLayout()
    }
- Now we need to specify what data to be loaded into the table view.In our case it is two string arrays.
   let colors = ["Red","Blue","Green","Yellow","Peach"]
    let japanesenames = ["あか","あお","みどり","き","もも"]
- Now we need to make our ViewController class to implement UITableViewDelegate and UITableViewDataSource which has delegate methods which deals with events like how the data should be presented,user interaction events like row selection,deletion etc.
6.Now implement methods as shown below
    func numberOfSections(in tableView: UITableView) -> Int {
        return 2
    }

    func tableView(_ tableView: UITableView, numberOfRowsInSection section: Int) -> Int {
        return colors.count
    }

    func tableView(_ tableView: UITableView, cellForRowAt indexPath: IndexPath) -> UITableViewCell {

        if let cell = tableView.dequeueReusableCell(withIdentifier: "cell")
        {
            if indexPath.section == 0
            {
            cell.textLabel?.text = colors[indexPath.row]
            return cell
            }
            else if indexPath.section == 1
            {
                cell.textLabel?.text = japanesenames[indexPath.row]
                return cell
            }
        }


        return UITableViewCell()


    }

    func tableView(_ tableView: UITableView, titleForHeaderInSection section: Int) -> String? {
        if section == 0
        {
            return "Colors"
        }
        return "Japanese Names"
    }
Here numberofSections returns 2 as we need only two sections one for english color names and another one for japanese color names.Next numberOfRowsInSection method returns number of rows in each section.Then cellForRowAt method determines how the data should be fetched from array and presented to rows in the sections. Finally titleForHeaderInSection returns the title for each sections.
- Now we need to setup constraints for our table view which is simple as we need to pin the table view to all four sides of the ViewController.It can be done by creating a function and add these following code
 func setupAutoLayout()
    {
        ColorTableView.translatesAutoresizingMaskIntoConstraints = false
        ColorTableView.topAnchor.constraint(equalTo: view.topAnchor).isActive = true
        ColorTableView.leftAnchor.constraint(equalTo: view.leftAnchor).isActive = true
        ColorTableView.rightAnchor.constraint(equalTo: view.rightAnchor).isActive = true
        ColorTableView.bottomAnchor.constraint(equalTo: view.bottomAnchor).isActive = true
    }
Here as shown we set anchor or pins for all four sides of the table view.
- Finally call the above function in viewDidLoad() and setup delegate and datasource for the table view.
 override func viewDidLoad() {
        super.viewDidLoad()

        ColorTableView.delegate = self
        ColorTableView.dataSource = self

        view.addSubview(ColorTableView)
        setupAutoLayout()


    }
- Now run the app in the simulator.
Note
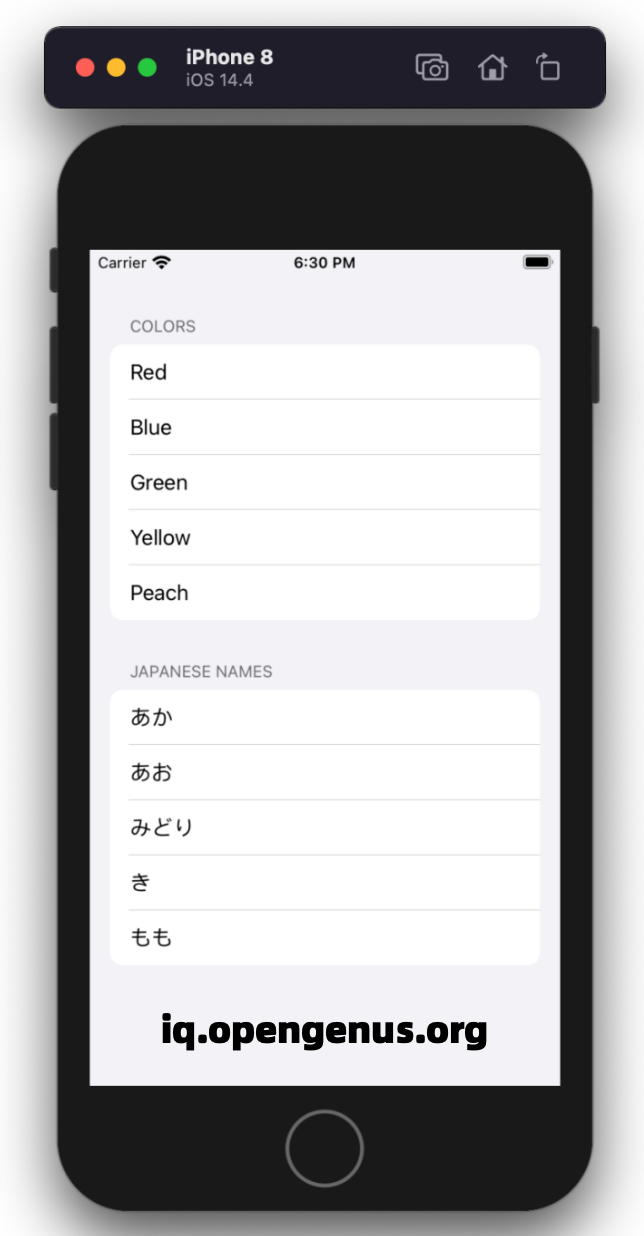
Another advantage of programmatic table view is we can create different styles of arrangement of rows.For example
Here the quiz for this article