
So! Let's go through the whole process of: Writing up some Rust code to get the current time, format it and display on the console, maybe add some kind of functionality to guess how much time there is between 2 dates and publish it as a Crates.
Table of contents:
- Thoughts
- Code time!
- Publishing on Crates.io
Thinking time (no pun intended)
So we want to make a little library that lets us print the current system time, maybe in several formats. Let's start with that much. Quick search through the standard library shows us... There is some functionality! Let's write some code with it and see if it's enough. If it's not, we'll look for an external crate that might help with what we want to do and go from there!
Code time!
File: lib.rs
pub mod TimeTools {
    use std::time::SystemTime;

pub fn get_current_time_seconds() {
        let now = SystemTime::now();
        println!("The time now is: {:?}", now);
    }
}
File: main.rs
use lib::TimeTools;

fn main() {
    TimeTools::get_current_time();
}
File: Cargo.toml
[package]
name = "opengenus_practice"
version = "0.1.0"
edition = "2021"

# See more keys and their definitions at https://doc.rust-lang.org/cargo/reference/manifest.html


[lib]
name = "lib"
path = "src/lib.rs"

[dependencies]
If we run this... the output we get is the following:
The time now is: SystemTime { intervals: 132812122436205870 }
Which is... clearly not exactly what we're after. We need something clearer. A quick look in google and crates.io gives us the chrono crate and the time crate, which both tackle our issue. I'll be using chrono for now. To import it, as a quick recap, we have to add it in our cargo file.
// Snip!
[dependencies]
chrono = "0.4.19"
Quick cargo check to get all the dependencies and we're set. Now, let's use chrono to get and format our output.
The time now is: 2021-11-12T14:59:44.736227-03:00
Closer! There's a bit of too much extra information. Let's see if there's a way to trim it.
File: lib.rs
pub mod TimeTools {
    use chrono::Timelike;

    pub fn get_current_time() {
        let now_time = chrono::Local::now();
        println!(
            "The time now is: {:02}:{:02}:{:02}",
            now_time.hour(),
            now_time.minute(),
            now_time.second()
        );
    }
}
Output is..
The time now is: 15:10:09
Which is what we're after. Okay. Current time achieved. Let's print out the date aswell, in a separate function.
pub fn get_current_calendar_date() {
        let now_calendar_date = Utc::now();
        println!(
            "The date today is day: {:02} | month: {:02} | year: {}",
            now_calendar_date.day(),
            now_calendar_date.month(),
            now_calendar_date.year()
        );
    }
Output: (Where I live we write our dates this way. Sorry if it looks weird to you!)
The date today is day: 12 | month: 11 | year: 2021
Publishing our crate!
Disclaimer: Due to a bug, I am currently unable to access the crates.io log in, and thus I cannot show my personal viewpoint of the step-by-step process to upload. I have tried with several different browsers and PC's to no avail. But I'll still detail the steps required and all important details. Huge apologies.
Before we even think of publishing our crate, we need to keep something in mind. Publishing is permanent. It can be modified through patches, but the version cannot be modified, nor can the crate be removed/erased. There is no limit to how many versions you publish however.
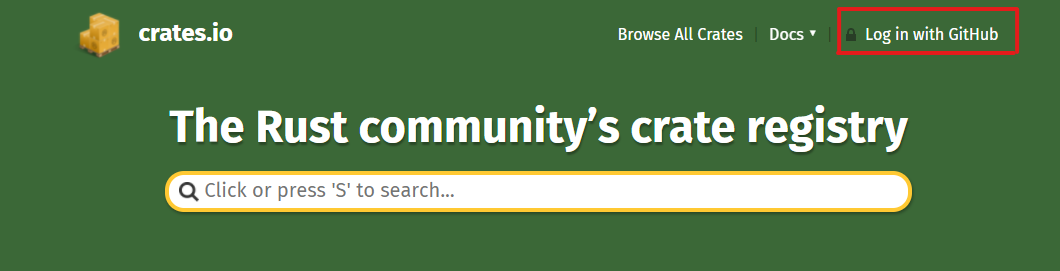
Having said that, let's move to step 1. Logging into crates.io. You head over to their webpage and click log in with github on the top right
After we've done the github log in, a cargo login will be specified, that you have to use in your console
$ cargo login abcdefghijklmnopqrstuvwxyz012345
This will configure cargo with your API token. This is secret and if it were revealed for any reason to anyone, you must change it immediately.
Step 2, Preparations! Crates are named in a first come first serve basis. Meaning that once a crate name is taken it cannot be used anymore. The cargo.toml file is our manifest. It has a lot of options and information you can configure (I'll leave a link in references to the entire list of metadata available to be configured). Make sure the following fields are filled before publishing, and I quote:
- license or license-file
- description
- homepage
- documentation
- repository
- readme
It would also be a good idea to include some keywords and categories, though they are not required.
Step 3, Publishing! To package our crate and upload it to crates.io, we'll use the cargo publish subcommand. This will execute the following steps:
- Perform some verification checks on your package.
- Compress your source code into a .crate file.
- Extract the .crate file into a temporary directory and verify that it compiles.
- Upload the .crate file to crates.io.
- The registry will perform some additional checks on the uploaded package before adding it.
We should first run...
$cargo publish --dry-run
// or..
$cargo package // This is equivalent to the above command.
Which will run the first 3 steps explained above, making sure that our crate has no errors. You can (and should) inspect the .crate file that was created, since there is currently a 10 MB limit on it's size. Make sure you did not package any unnecessary data into it, like tests, website information, code generation, etc.
Cargo will automatically ignore any ignored files that are specified in whatever version control system we're using, but if need be, we can add more to the package metadata with the exlude = [ list of paths to be excluded separated by commas ].
Or you can do the opposite and tell it which files to include, by simply replacing exlude by include in the above syntax.
Finally.. All we need to do is run the following command, and our crate will be published!
cargo publish
That's it for the basics. Management of our crate is done through cargo, not the website interface. I'll leave a reference to the commands in the references section, since it's handy to have these saved in case we forget their usage.
That's it for today! Hope you've enjoyed reading this article, again apologies for the lack of more explainative images, not much I can do about it at this time. See you next time!