
In this guide, we have illustrated how to build a simple chrome extension step by step and how to load our chrome extension using Developer tools and check it.
Building a chrome extension
What are chrome extensions?
Chrome extensions can be considered as small programs which add functionality to your chrome browser.
They can help you achieve a variety of tasks, right from manipulating the DOM of your webpage, modifiying the content as per your choice, or providing some tools like screen recorders, all of these can be achieved with the help of chrome extensions. They are visible on the right of the address bar in chrome browser.
Pre-requisites of building a chrome extension
You need just the basic knowledge of HTML, CSS and Javascript to get started with your first chrome extension.
A hello world extension
The big picture of the process of building a chrome extension could be:
- Writing the Manifest, HTML, CSS and JS files.
- Packaging them into a .crx zipped file.
- Publishing them to the chrome webstore.
The chrome web store is the place from where the users can install the extension.
Types of Extensions
-
Browser Action: These extensions stay in the toolbar, right next to the address bar and stay there at all the times. They remain accessible everytime. Our hello world extension comes in this category.
-
Page Action: These extensions also stay in the toolbar but remain grayed out or inactive. They become active only on certain pages.
-
Neither browser action nor Page action: These extensions run in the background and achieve certain tasks.
The Manifest file
This file is a special file. It contains the information about the chrome extension. It is a .json type file.
It must mandatorily contain:
- The Manifest version
- The name of the extension.
- The version of the extension.
Let's get started!
Now that we understand the basics, lets get started buiding the chrome extension.
Create a new folder
Make a new folder and create a file named Manifest.json in it.
The following are the contents of the Manifest.json file. Put these contents in the file.
{
    "manifest_version": 2,
    "name": "Hello World Extension",
    "version": "1.0",
    "description": "This is my first extension!",
    "icons": {
        "128": "icon128.png",
        "48": "icon48.png",
        "16": "icon16.png"
    },
    "browser_action": {
        "default_icon": "icon16.png",
        "default_popup": "pop.html"
    }
}
The manifest_version represents the version of the manifest file. The name field in the manifest file specifies the name of the extension. The version specifies the version of the extension. This is the first version of our extension, later versions will have higher numbers. The description is the description of the extension.
The icons object specifies the file names of the icons to be used while publishing the extension. They need to be in 3 sizes, 128 X 128, 48 X 48 and 16 X 16 to be saved in the same folder, with the corresponding names.
Next we specify that the extension is a browser based extension. The default_icon represents the icon on the address bar. The default popup represents the popup which would be seen when we click on the icon. It is an html file which we have named as pop.html.
Write the html file
Let's create an html file named pop.html, out contents of the popup go here.
Put the following contents in it.
<!DOCTYPE html>
<html>
    <head>
        <title> First Extension </title>
    </head>
    <body>
        <h2> Hello, welcome to my first chrome extension! </h2>
    </body>
</html>
Trying our extension
- Go to your chrome browser and type
chrome://extensions, you should see a page like this. This page shows all your chrome extensions installed.
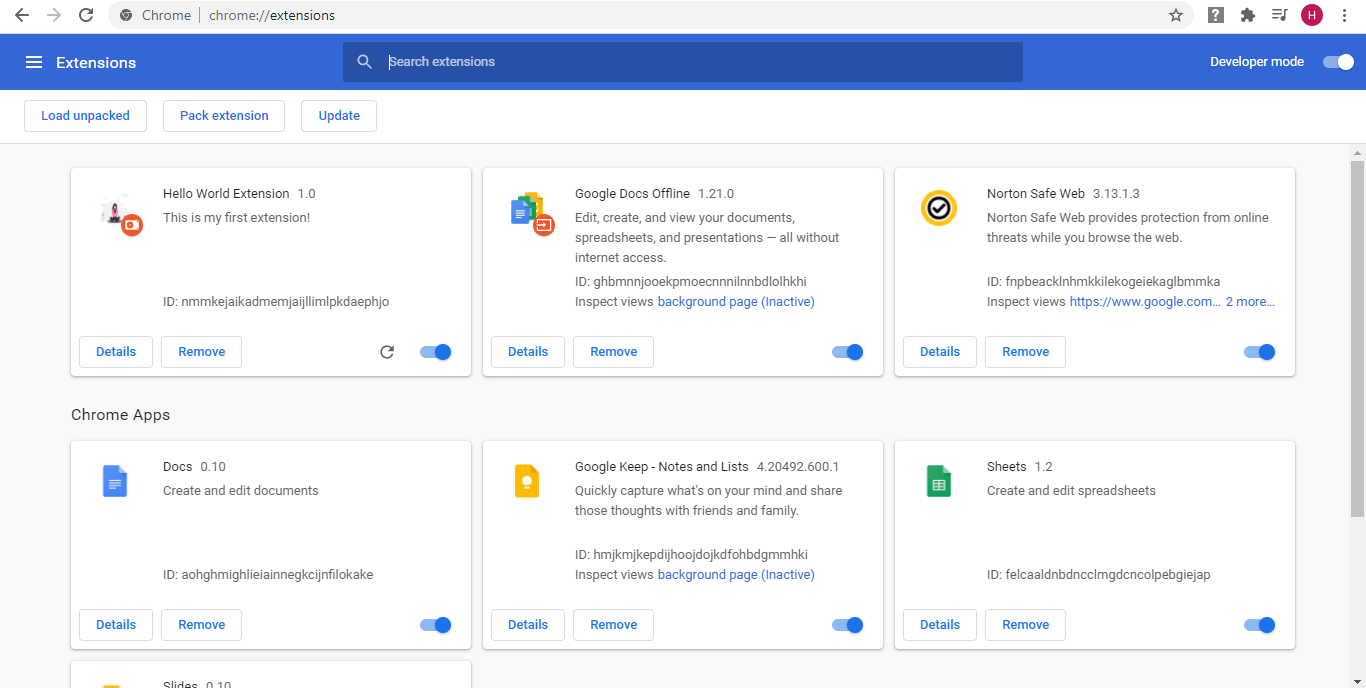
- Turn the developer mode on by toggling the switch.

- Click on load unpacked button

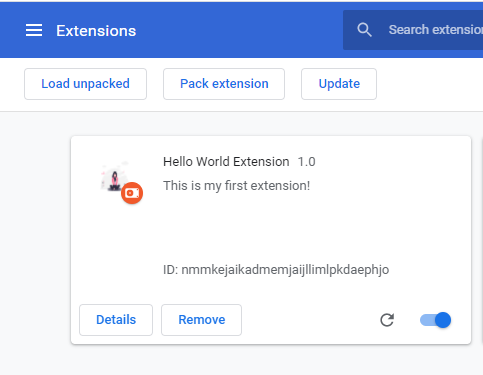
- Select the folder where you have made the extension, through the file browser. That's it! Your extension should now be visible on the page.

- If you click on the puzzle icon in the corner, our
h2should be visible.

We just created a basic chrome extension! Congrats!
Now this was just about displaying a static page, this extension could be made to do real jobs by adding interactivity, using javascript and manipulating the web pages.
Checkout the complete extension on this GitHub Link
https://github.com/Harshita-Kanal/Chrome-Extensions
Exercise
<!DOCTYPE html>
<html>
    <head>
        <title> First Extension </title>
    </head>
    <body>
        <h2> Hello, welcome to my first chrome extension! </h2>
    </body>
</html>
This is our static html file, as an exercise, try tweaking with this file and see the changes on the popup.