Get this book -> Problems on Array: For Interviews and Competitive Programming
In this article on OpenGenus, we will explore an introduction to building lightweight and secure desktop applications using Tauri.
Table of contents:
- Introduction
- Features of Tauri
- Installation
- Creating the Application
- Quiz
Introduction
Tauri is an open-source framework that empowers developers to create native desktop applications using familiar web technologies such as HTML, CSS, and JavaScript. It presents a unique approach to application development, merging the cross-platform capabilities of web technologies with the performance and user experience advantages found in native applications. Tauri applications follow a two-fold structure:
-
Frontend: The frontend constitutes the user interface that end-users interact with directly. It is constructed using web technologies (HTML, CSS and JavaScript). Developers can choose their preferred frontend framework to build the user interface. -
Backend: The backend of tauri applications is implemented using the rust programming language. Rust's focus on memory safety and performance makes it an ideal choice for handling native interactions, system integration and other low-level tasks.
Use Cases
-
Cross-Platform: Tauri is ideal for creating cross-platform applications that can run on Windows, macOS and Linux without major modifications. -
Native Desktop Apps with Web UI: Tauri enables you to create desktop applications resembling web interfaces. -
Performance-Critical Applications: Applications that require high performance and efficient resource utilization can benefit from tauri's integration with rust. -
Offline-Enabled Applications: Tauri is a suitable choice for creating applications designed to function offline or under constrained internet connectivity. This involves tools that synchronize data when a connection is accessible or applications with less dependence on real-time data exchange.
Features of Tauri
-
Brownfield Development: Tauri can be integrated with existing projects and codebases, making it suitable for enhancing or extending existing applications. -
Security Focus: Tauri prioritizes security by design, providing built-in features to minimize vulnerabilities and enhance the overall security of applications. It isolates the frontend from direct system access, enhancing overall security. -
FOSS (Free and Open Source Software): Tauri is an open-source framework, allowing developers to freely use, modify and contribute to its codebase. -
Bundle Size Optimization: Tauri prioritizes minimal bundle sizes, efficient resource utilization and a streamlined application size. -
Cross-Platform Compatibility: Tauri supports multiple operating systems, enabling you to develop applications that work seamlessly across Windows, macOS and Linux. -
Rust Integration: Tauri leverages the rust programming language for its backend, ensuring memory safety, performance and robust integration with the underlying operating system.
Alternatives
-
Electron JS: Electron JS is one of the most widely used frameworks for building cross-platform desktop applications using web technologies. It uses Chromium for rendering and Node JS for backend functionality. -
Flutter: Flutter is a UI toolkit from Google for building natively compiled applications for mobile, web and desktop from a single codebase. It supports desktop platforms like Windows, macOS and Linux. -
NW JS (Node-Webkit): NW JS allows you to create desktop applications using web technologies, similar to Electron JS. This framework provides the option to select either Node.js or Chromium's V8 JavaScript engine.
Installation
To install tauri for all operating systems one need to have Node JS installed.
-
Windows and macOS: Download the Node JS installer from the official website (https://nodejs.org) and follow the installation instructions. It is recommended to download the LTS version for stability. -
Linux: Use the package manager of your distribution to install Node JS.
sudo apt update
sudo apt install nodejs npm
Creating the Application
Introduction
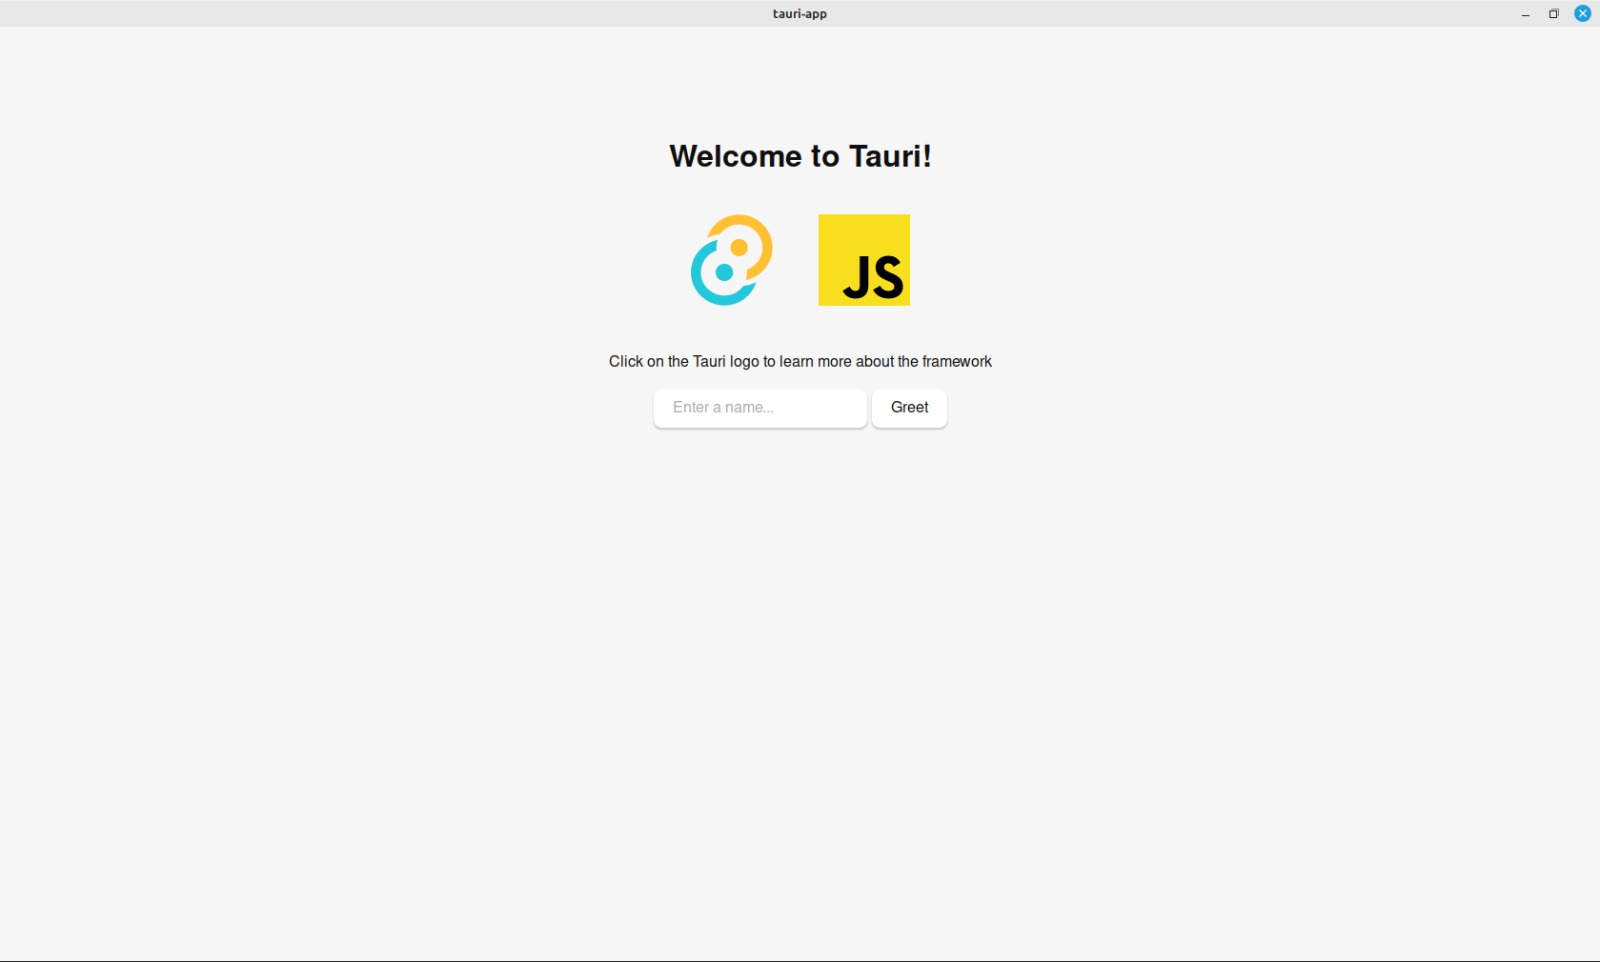
We are going to create a tauri app that comes with a pre-defined starter template that has a greet function when you enter a name into the textbox and submit. We are going to see an introduction by editing the template with a change colour function that will change the background colour to a random colour every time we click the button.
Initialization
- To create a new application using tauri, open the command line and run the following command.
npm create tauri-app@latest
-
The above command will allow you to select your preferred options for the following:
- Project name? (tauri-app)
- Choose which language to use for your frontend? (TypeScript/JavaScript)
- Choose your package manager? (npm)
- Choose your UI template? (Vanilla)
- Choose your UI flavor? (JavaScript)
-
This will generate a project template in the current directory.
Pre-requisites
Before proceeding with development, you need to install the pre-requisites for developing and building tauri applications for the respective operating system.
-
Windows:-
Set up the Microsoft Visual Studio C++ build tools, it's recommended to utilize the Build Tools for Visual Studio 2022 package.
-
Tauri relies significantly on WebView2 for rendering web content on Windows. Obtain WebView2 easily by downloading and executing the Evergreen Bootstrapper from Microsoft's official website.
-
Install rust from the official rust website. Remember that you might need to restart your terminal or even your computer in some instances to ensure the changes take effect.
-
-
macOS:- You will need to install CLang and macOS development dependencies. To do this, run the following command in your terminal.
xcode-select --install- To install rust on macOS, open a terminal and enter the following command.
curl --proto '=https' --tlsv1.2 https://sh.rustup.rs -sSf | sh -
Linux:- Use the package manager of your distribution to install a couple of system dependencies, such as a C compiler and webkit2gtk.
sudo apt update sudo apt install libwebkit2gtk-4.0-dev \ build-essential \ curl \ wget \ file \ libssl-dev \ libgtk-3-dev \ libayatana-appindicator3-dev \ librsvg2-dev- To install rust on Linux, open a terminal and enter the following command.
curl --proto '=https' --tlsv1.2 https://sh.rustup.rs -sSf | sh
Developing the Application
- Change your current directory to the newly created tauri-app directory.
cd tauri-app
- Inside the tauri-app directory, install the project dependencies using npm (Node Package Manager).
npm install
- Once the dependencies are installed, you can start the development server using the following command.
npm run tauri dev
- The first time you run this command, rust's package manager takes a few minutes for downloading and building the essential packages. Subsequent builds are faster, as only your code needs rebuilding. Once rust completes its initial build, the webview opens to display your web app. Changes you make to the web app can trigger automatic updates in the webview, similar to a browser.
-
The
src-tauridirectory contains configuration files and rust code that define how the tauri backend interacts with the frontend. -
The
srcdirectory contains the application's frontend code, including HTML, CSS and JavaScript files. You can modify these files to customize the app's appearance and functionality. -
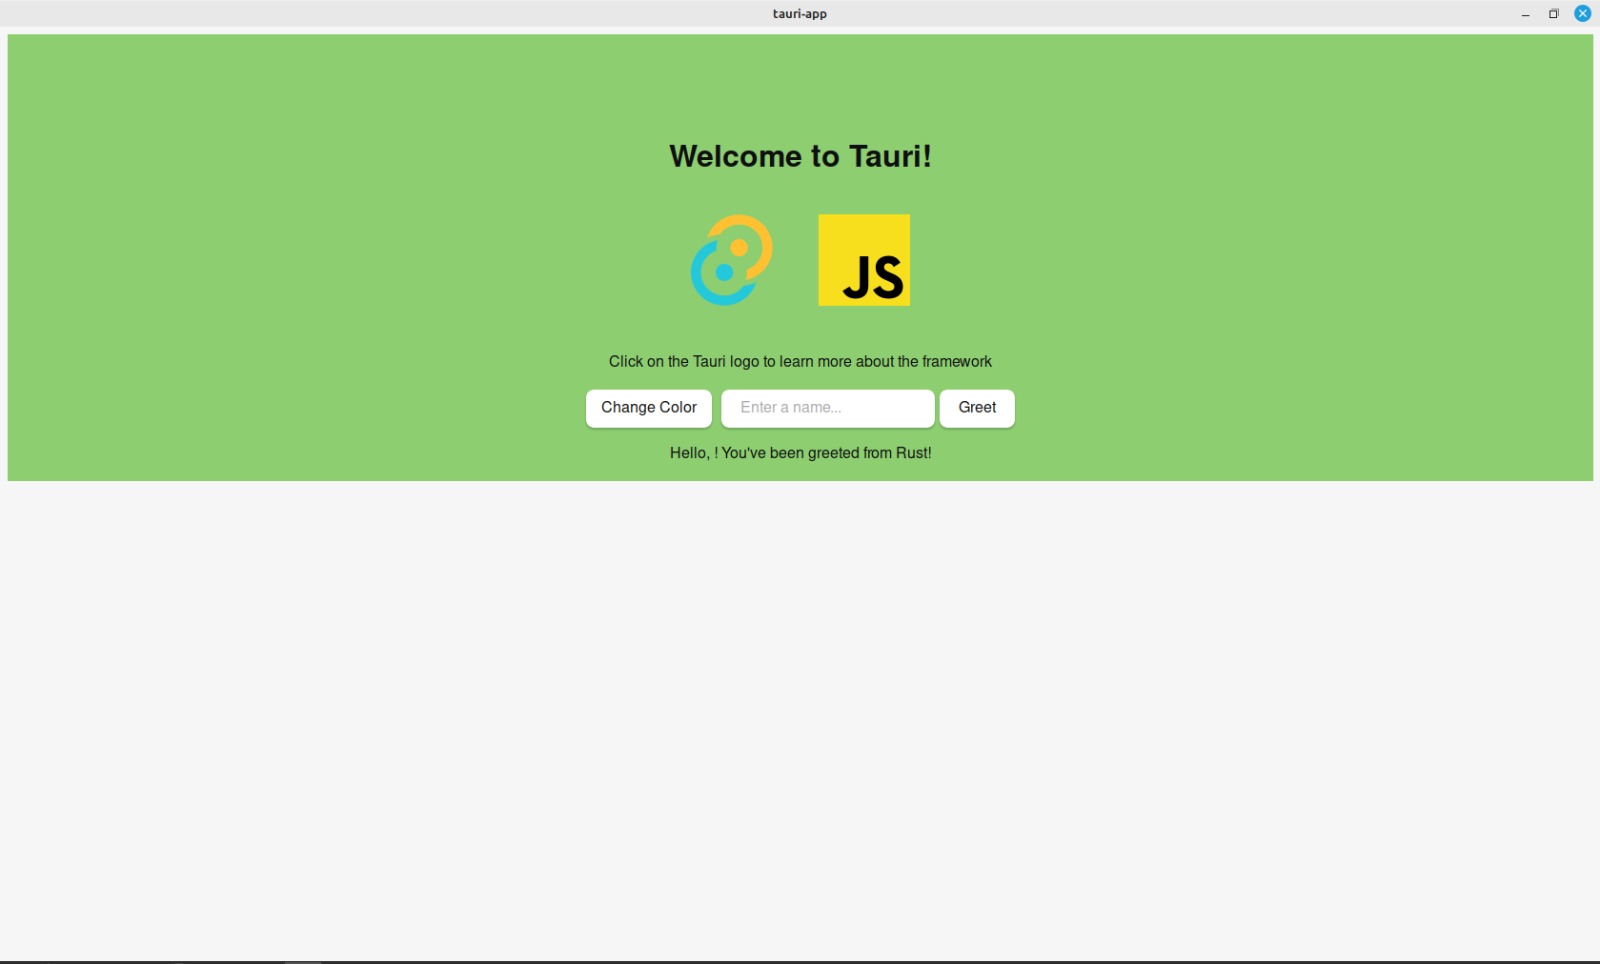
Let's say we want to add a button that, when clicked, changes the background color of the container to a random color.
Edit index.html
- Add a button to the HTML code that user can click to change the background color. Place this button inside the form element, right before the input element.
<!doctype html>
<html lang="en">
<head>
<meta charset="UTF-8" />
<link rel="stylesheet" href="styles.css" />
<meta name="viewport" content="width=device-width, initial-scale=1.0" />
<title>Tauri App</title>
<script type="module" src="/main.js" defer></script>
<style>
.logo.vanilla:hover {
filter: drop-shadow(0 0 2em #ffe21c);
}
</style>
</head>
<body>
<div class="container">
<h1>Welcome to Tauri!</h1>
<div class="row">
<a href="https://tauri.app" target="_blank">
<img src="/assets/tauri.svg" class="logo tauri" alt="Tauri logo" />
</a>
<a
href="https://developer.mozilla.org/en-US/docs/Web/JavaScript"
target="_blank"
>
<img
src="/assets/javascript.svg"
class="logo vanilla"
alt="JavaScript logo"
/>
</a>
</div>
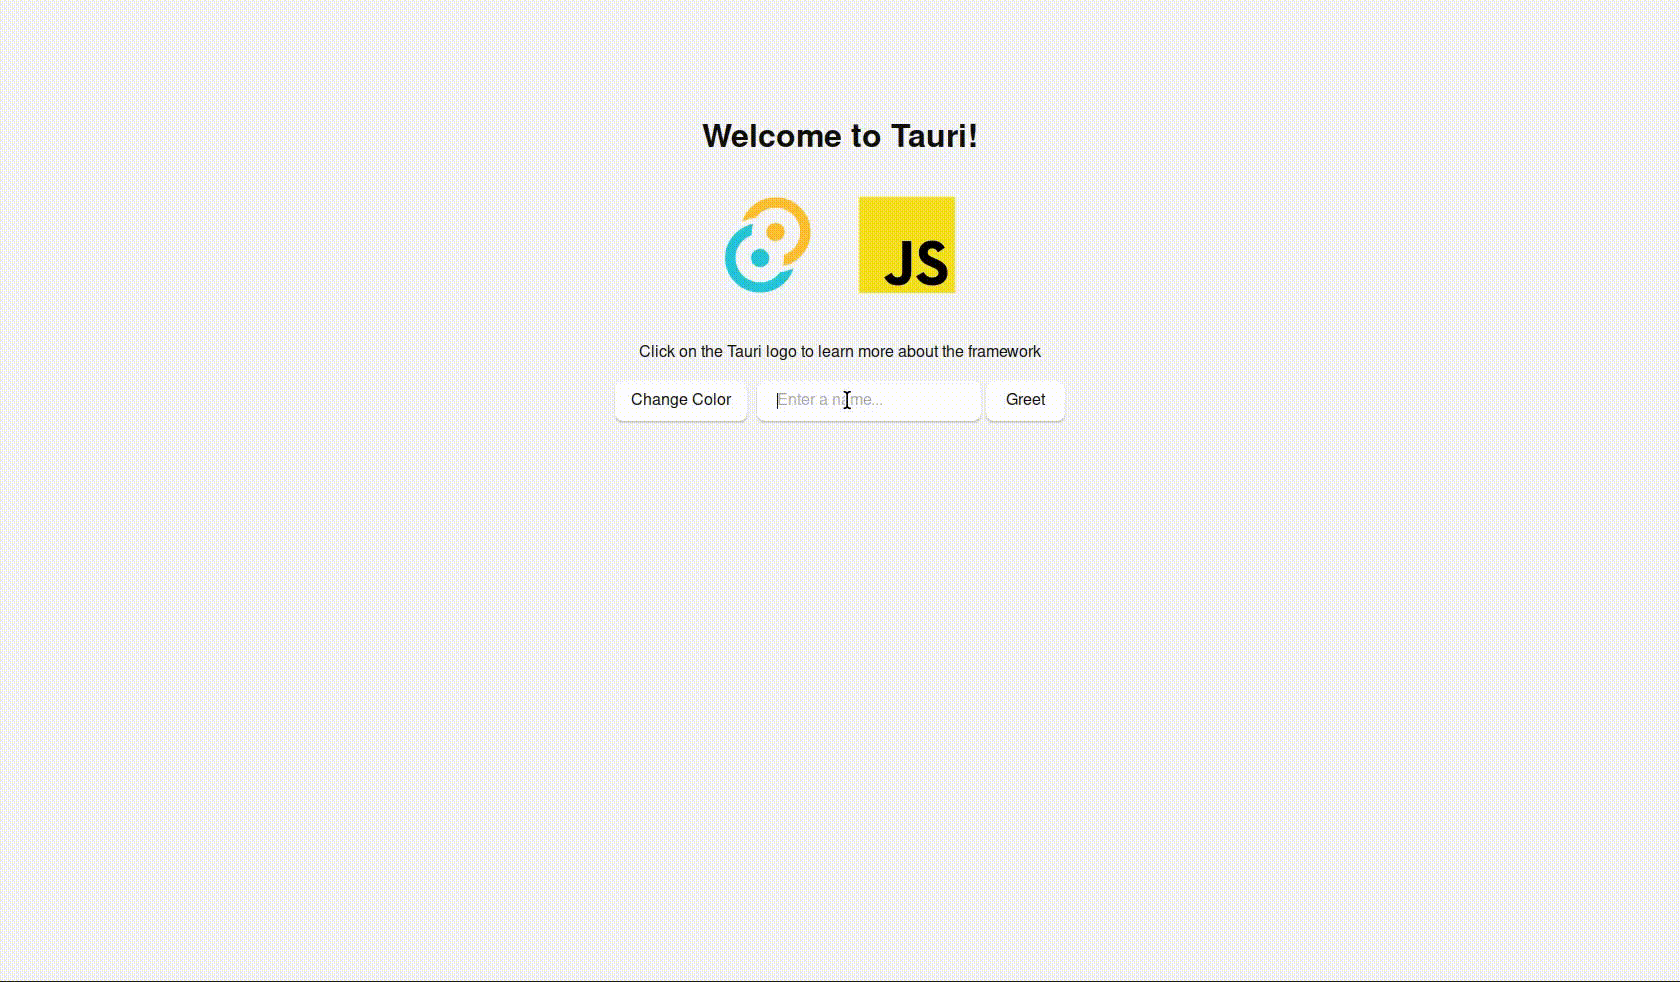
<p>Click on the Tauri logo to learn more about the framework</p>
<form class="row" id="greet-form">
<button id="change-color-btn">Change Color</button>
<input id="greet-input" placeholder="Enter a name..." />
<button type="submit">Greet</button>
</form>
<p id="greet-msg"></p>
</div>
</body>
</html>
Edit main.js
- Update the JavaScript code to handle the new button click event and change the background color.
const { invoke } = window.__TAURI__.tauri;

let greetInputEl;
let greetMsgEl;

async function greet() {
  greetMsgEl.textContent = await invoke("greet", { name: greetInputEl.value });
}

window.addEventListener("DOMContentLoaded", () => {
  greetInputEl = document.querySelector("#greet-input");
  greetMsgEl = document.querySelector("#greet-msg");
  document.querySelector("#greet-form").addEventListener("submit", (e) => {
    e.preventDefault();
    greet();
  });
});

const changeColorBtn = document.querySelector("#change-color-btn");
const container = document.querySelector(".container");

function changeBackgroundColor() {
  const randomColor = getRandomColor();
  container.style.backgroundColor = randomColor;
}

changeColorBtn.addEventListener("click", changeBackgroundColor);

function getRandomColor() {
  const letters = "0123456789ABCDEF";
  let color = "#";
  for (let i = 0; i < 6; i++) {
    color += letters[Math.floor(Math.random() * 16)];
  }
  return color;
}
-
The code begins by importing tauri's invoke function. It declares greetInputEl and greetMsgEl variables to hold references to specific HTML elements. When the form is submitted, it uses invoke to send a greet command along with input from greetInputEl to rust's backend. The response from the backend is shown in greetMsgEl. An event listener is added to load, initializing HTML references, attaching greet to form submission and managing the interaction process.
-
The changeColorBtn selects the button with change-color-btn ID and container selects the container with container class. The changeBackgroundColor generates a random color using getRandomColor, updating the container's background. An event listener on changeColorBtn triggers changeBackgroundColor when the button is clicked. The getRandomColor creates random color by picking characters from letters and appending for a hexadecimal color code, then returns the result.
Edit style.css
- To add padding to the change-color-btn button and separate it from the text input.
:root {
  font-family: Inter, Avenir, Helvetica, Arial, sans-serif;
  font-size: 16px;
  line-height: 24px;
  font-weight: 400;

  color: #0f0f0f;
  background-color: #f6f6f6;

  font-synthesis: none;
  text-rendering: optimizeLegibility;
  -webkit-font-smoothing: antialiased;
  -moz-osx-font-smoothing: grayscale;
  -webkit-text-size-adjust: 100%;
}

.container {
  margin: 0;
  padding-top: 10vh;
  display: flex;
  flex-direction: column;
  justify-content: center;
  text-align: center;
}

.logo {
  height: 6em;
  padding: 1.5em;
  will-change: filter;
  transition: 0.75s;
}

.logo.tauri:hover {
  filter: drop-shadow(0 0 2em #24c8db);
}

.row {
  display: flex;
  justify-content: center;
}

a {
  font-weight: 500;
  color: #646cff;
  text-decoration: inherit;
}

a:hover {
  color: #535bf2;
}

h1 {
  text-align: center;
}

input,
button {
  border-radius: 8px;
  border: 1px solid transparent;
  padding: 0.6em 1.2em;
  font-size: 1em;
  font-weight: 500;
  font-family: inherit;
  color: #0f0f0f;
  background-color: #ffffff;
  transition: border-color 0.25s;
  box-shadow: 0 2px 2px rgba(0, 0, 0, 0.2);
}

button {
  cursor: pointer;
}

button:hover {
  border-color: #396cd8;
}
button:active {
  border-color: #396cd8;
  background-color: #e8e8e8;
}

input,
button {
  outline: none;
}

#greet-input {
  margin-right: 5px;
}

@media (prefers-color-scheme: dark) {
  :root {
    color: #f6f6f6;
    background-color: #2f2f2f;
  }

  a:hover {
    color: #24c8db;
  }

  input,
  button {
    color: #ffffff;
    background-color: #0f0f0f98;
  }
  button:active {
    background-color: #0f0f0f69;
  }
}

#change-color-btn {
  margin-right: 10px;
  padding: 8px 15px;
}
Output
Building the Application
-
Tauri's build process involves combining the frontend and backend components to create the final application executable for the target platform (Windows, macOS and Linux). Tauri handles bundling your app's frontend files, backend rust code and any required dependencies.
-
To build and bundle your whole tauri application into a single installer, run the following command.
npm run tauri build
- In case you encounter an error similar to:
Error You must change the bundle identifier in `tauri.conf.json > tauri > bundle > identifier`. The default value `com.tauri.dev` is not allowed as it must be unique across applications.
- Go to
tauri.conf.jsonin thesrc-tauridirectory, update the identifier value to a unique identifier (com.example.mytauriapp) representing your app and then continue with the build process.
{
  "build": {
    "beforeDevCommand": "",
    "beforeBuildCommand": "",
    "devPath": "../src",
    "distDir": "../src",
    "withGlobalTauri": true
  },
  "package": {
    "productName": "tauri-app",
    "version": "0.0.0"
  },
  "tauri": {
    "allowlist": {
      "all": false,
      "shell": {
        "all": false,
        "open": true
      }
    },
    "bundle": {
      "active": true,
      "targets": "all",
      "targets": "all",
      "identifier": "com.example.mytauriapp",
      "icon": [
        "icons/32x32.png",
        "icons/128x128.png",
        "icons/128x128@2x.png",
        "icons/icon.icns",
        "icons/icon.ico"
      ]
    },
    "security": {
      "csp": null
    },
    "windows": [
      {
        "fullscreen": false,
        "resizable": true,
        "title": "tauri-app",
        "width": 800,
        "height": 600
      }
    ]
  }
}
- The executable (AppImage) can be found in the directory
tauri-app/src-tauri/target/release/bundle/appimage.