
Get this book -> Problems on Array: For Interviews and Competitive Programming
In this article, we will cover basics of Ruby on Rails (RoR) by creating a simple web application tutorial with a single static webpage.
Installing Rails
To install ruby on rails on your machine kindly follow rails guide
Creating first rails project
On this tutorial we will create a rails project with the name blogApp. I will show you how to create your first rails project with a postgreSQL and mySQL. We will run all our commands using gitbash terminal.
MySQL
If you want to use MySQL with your rails application, run the following command;
$ rails new blogApp -d mysql
PostgreSQL
If you want to use postgresql with you rails application run the following command;
$ rails new blogApp -d postgresql
The -d flag indicates to Rails that you’ll be using PostgreSQL to work with the application. Now both tools have the permission to interact.
After you create the blogApp application, switch to its folder:
cd blogApp
Fix tzinfo-data missing error
If you do not encounter an error, you can skip this step.
While the project is installing rail dependencies, windows users might encounter tzinfo-data, not present errors as shown in the diagram below;
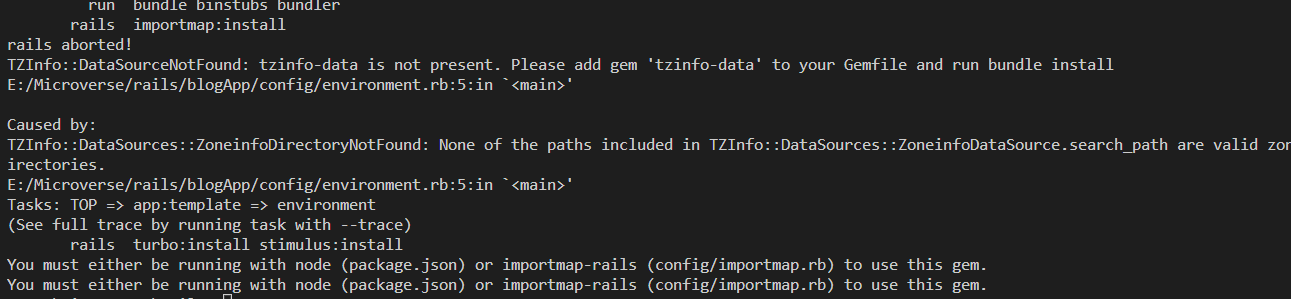
The above error is caused by the bundler excluding tzinfo-data when bundling.
At this point rails have already created your project, navigate to your blogApp folder, and you will find rails has already created some default files and folders. Look for a file called 'Gemfile', it should be located at the root of your folder blogApp/Gemfile. In your Gemfile, look for a code of line with gem tzinfo-data as shown below;

The solution is to remove the platforms option from the line of code as shown below;

Save your file then run 'bundle install' command on your terminal as shown below;
$ bundle install
ruby will run the bundler, your tzinfo-data will be bundled and your error should be gone.
Rails generated files and folders
The blogApp directory will have several generated files and folders that make up the structure of a Rails application. Most of the work in this tutorial will happen in the app folder, to get a basic rundown on the function of each of the files and folders that Rails create by default. Check rails official page for more details.
Configure database connection
Every Rails application will interact with its respective database. There are two ways to connect with a database in a Rails application. You can connect to a database via a database configuration file called config/database.yml or using an environment variable called ENV['DATABASE_URL'] (Environment variable). We will cover database.yml in this tutorial.
If you're only one person working on a Rails project, it is OK to store database credentials in the config/database.yml file. But if the project is hosted in a public Git repository and many developers are working on it, it is not recommended to store sensitive information like passwords in the config/database.yml file. Also, every developer's database details can be different i.e. username and password. Every time we push the code, there will be a conflict in a file. This is why we need to store the database credentials in an environment variable rather than write it directly in the database configuration file.
Configure postgreSQL and mySql on database.yml file
Even though the default database SQLite3 works great with Ruby on Rails, we shouldn't be using it in some cases. For instance, if your Rails application is being concurrently accessed by a large number of users, SQLite is not recommended. We should try more robust databases like MySQL or PostgreSQL, which provide scalability, concurrency, centralization, and control.
PostgreSQL
I'm assuming you have PostgreSQL installed and configured on your machine and you have a user role created. On my end, I will use postgresql default user(role).
On your project's directory, you will see a folder called config with a file called database.yml, which we will edit. Under the default section of the file, add your PosgreSQL database role and its password;
default: &default
adapter: postgresql
encoding: unicode
# For details on connection pooling, see Rails configuration guide
# https://guides.rubyonrails.org/configuring.html#database-pooling
pool: <%= ENV.fetch("RAILS_MAX_THREADS") { 5 } %>
username: postgres
password: postgres
Replace the username and password with your own, close and save the database.
MySQL
I'm assuming you have MySQL installed and configured on your machine and you have a user role created. On your project's directory, you will see a folder called config with a file called database.yml, which we will edit. Under the default section of the file, add your MySQL database role and its password;
default: &default
adapter: mysql2
encoding: utf8mb4
pool: <%= ENV.fetch("RAILS_MAX_THREADS") { 5 } %>
username: root
password: Password123#@!
socket: /var/run/mysqld/mysqld.sock
Replace the username and password with your own, close and save the database.
Create a database
Now create a new database for your project by running the following command;
$ rake db:create
This will create two databases with your Rails application's name. For example, if our application name is blogApp, then it will create blogApp_development and blogApp_test. You can verify if the databases were created successfully on your PostgreSQL and MySQL as well.
Starting up web server
You now have a functional Rails application. To see it you need to start a web server on your development machine. You can do this by running the following command:
blogApp/bin>rails server
If you are on windows, cd to bin folder so as to run the above commands
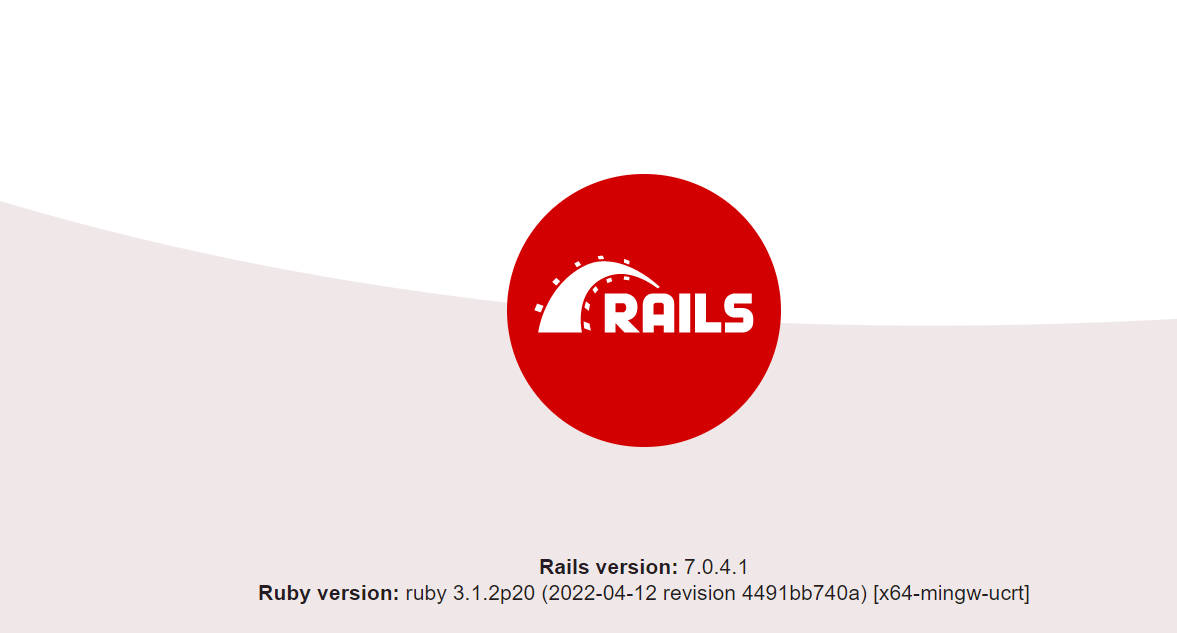
This will start up Puma, a web server distributed with Rails by default. To see your application in action, open a browser window and navigate to http://localhost:3000. You should see the Rails default information page:
In the development environment, Rails does not generally require you to restart the server; changes you make in files will be automatically picked up by the server.
The Rails startup page is the smoke test for a new Rails application: it makes sure that you have your software configured correctly enough to serve a page.
First Web Page
To get rails to create your first webpage, you need to create at minimum a route, a controller with an action, and a view. A route maps a request to a controller action. A controller action performs the necessary work to handle the request, and prepares any data for the view. A view displays data in a desired format.Controllers are Ruby classes, and their public methods are actions. And views are templates, usually written in a mixture of HTML and Ruby.
Controller with an Action
We will first create a homepage for our web application, using the commands below;
blogApp\> rails generate controller Home index
The above command will create a controller called Home and a public method(action) called index. Creating a controller together with a public action in our case index will make rails automatically generate app/views/home/index.html.erb file, set the routes on the config/routes.rb for us so we don't have to write it.
Notice that you are capitalizing Home, this is a Rails paradigm that you should follow each time you create a controller.
Read More Controller Naming Conventions
This command accomplishes several tasks, of which the following are relevant here −
It creates a file called app/controllers/home_controller.rb, app/views/home/index.html.erb.
If you look at home_controller.rb, you will find it as follows −
class HomeController < ApplicationController
 def index
  end
end
Controller classes inherit from ApplicationController, which is the other file in the controllers folder: app/controllers/application_controller.rb
All our controllers, which we will create, are going to inherit from ApplicationController class. This means that all methods defined inside this class are going to be available across all our controllers.
View
A view file contains regular HTML+Emedded ruby code, it is what is rendered on the webpage for users to see. Open index.html.erb file in app/views/home/index.html.erb.
<h1>Home#index</h1>
<p>Find me in app/views/home/index.html.erb</p>
Replace the code in your index.html.erb file with the code below;
<div class="header">
  <h2>Blog Name</h2>
</div>

<div class="row">
  <div class="leftcolumn">
    <div class="card">
      <h2>TITLE HEADING</h2>
      <h5>Title description, Dec 7, 2017</h5>
      <div class="fakeimg" style="height:200px;">Image</div>
      <p>Some text..</p>
    </div>
    <div class="card">
      <h2>TITLE HEADING</h2>
      <h5>Title description, Sep 2, 2017</h5>
      <div class="fakeimg" style="height:200px;">Image</div>
      <p>Some text..</p>
    </div>
  </div>
  <div class="rightcolumn">
    <div class="card">
      <h2>About Me</h2>
      <div class="fakeimg" style="height:100px;">Image</div>
      <p>Some text about me in culpa qui officia deserunt mollit anim..</p>
    </div>
    <div class="card">
      <h3>Popular Post</h3>
      <div class="fakeimg">Image</div><br>
      <div class="fakeimg">Image</div><br>
      <div class="fakeimg">Image</div>
    </div>
    <div class="card">
      <h3>Follow Me</h3>
      <p>Some text..</p>
    </div>
  </div>
</div>

<div class="footer">
  <h2>Footer</h2>
</div>
The next thing we will do is to make our index.html.erb get rendered on the root page of our application instead of the ruby default page by routing it.
Route
Let’s define a route, so when we open our root page of the website, Rails knows which controller and its action to call.
Routing determines which controller and its public method (action) to call. Open a routes.rb file in app/config/routes.rb.
Rails.application.routes.draw do
  get 'home/index'
  # Define your application routes per the DSL in https://guides.rubyonrails.org/routing.html

  # Defines the root path route ("/")
  # root "articles#index"
end
Replace the line get 'home/index' with the following line of code;
root "home#index"
Hash symbol # in Ruby represents a method. As you remember an action is just a public method, so home#index says “call the HomeController and its public method (action) index.”
If we go to our root path http://localhost:3000, the index action would be called, you should see the page below on refresh;
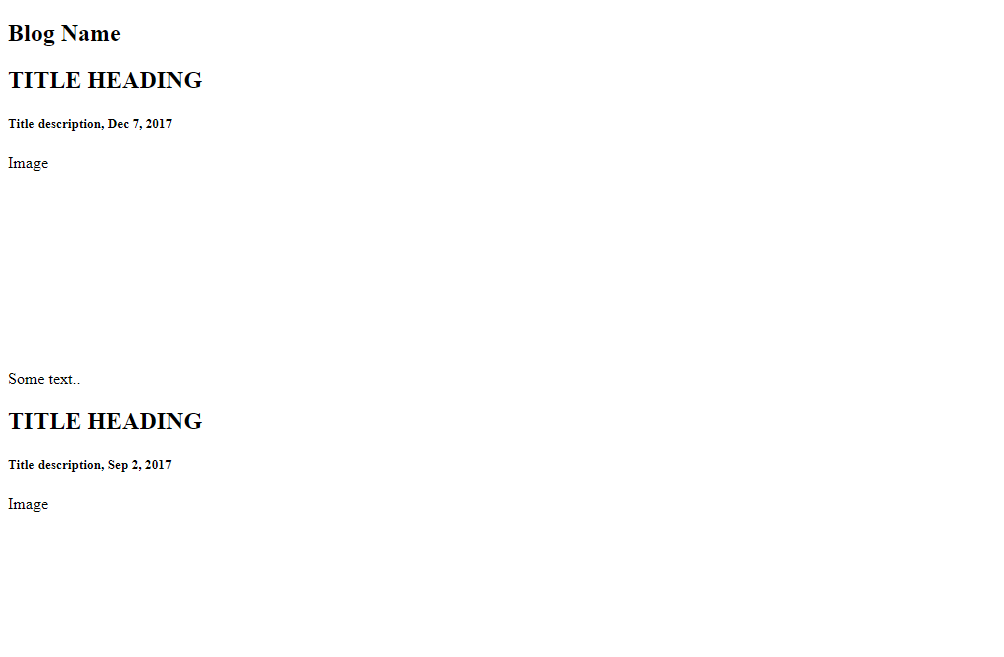
Now we have a very basic starting point. We can start introducing new things to our website like styling to make it more appealing.
CSS styling
When creating a rails application we are welcomed by a not so blank canvas that will be used for code. In the sea of different files created we can follow the path app/assets/stylesheets and create a new file style.css under the stylesheets folder. This file can be called anything but make sure you end it with the .css extension.
Add the following code to your style.css file
* {
    box-sizing: border-box;
  }

  body {
    font-family: Arial;
    padding: 20px;
    background: #f1f1f1;
  }

  /* Header/Blog Title */
  .header {
    padding: 30px;
    font-size: 40px;
    text-align: center;
    background: white;
  }

  /* Create two unequal columns that floats next to each other */
  /* Left column */
  .leftcolumn {
    float: left;
    width: 75%;
  }

  /* Right column */
  .rightcolumn {
    float: left;
    width: 25%;
    padding-left: 20px;
  }

  /* Fake image */
  .fakeimg {
    background-color: #aaa;
    width: 100%;
    padding: 20px;
  }

  /* Add a card effect for articles */
  .card {
    background-color: white;
    padding: 20px;
    margin-top: 20px;
  }

  /* Clear floats after the columns */
  .row:after {
    content: "";
    display: table;
    clear: both;
  }

  /* Footer */
  .footer {
    padding: 20px;
    text-align: center;
    background: #ddd;
    margin-top: 20px;
  }

  /* Responsive layout - when the screen is less than 800px wide, make the two columns stack on top of each other instead of next to each other */
  @media screen and (max-width: 800px) {
    .leftcolumn, .rightcolumn {
      width: 100%;
      padding: 0;
    }
  }
Refresh your browser and you should see the page below;
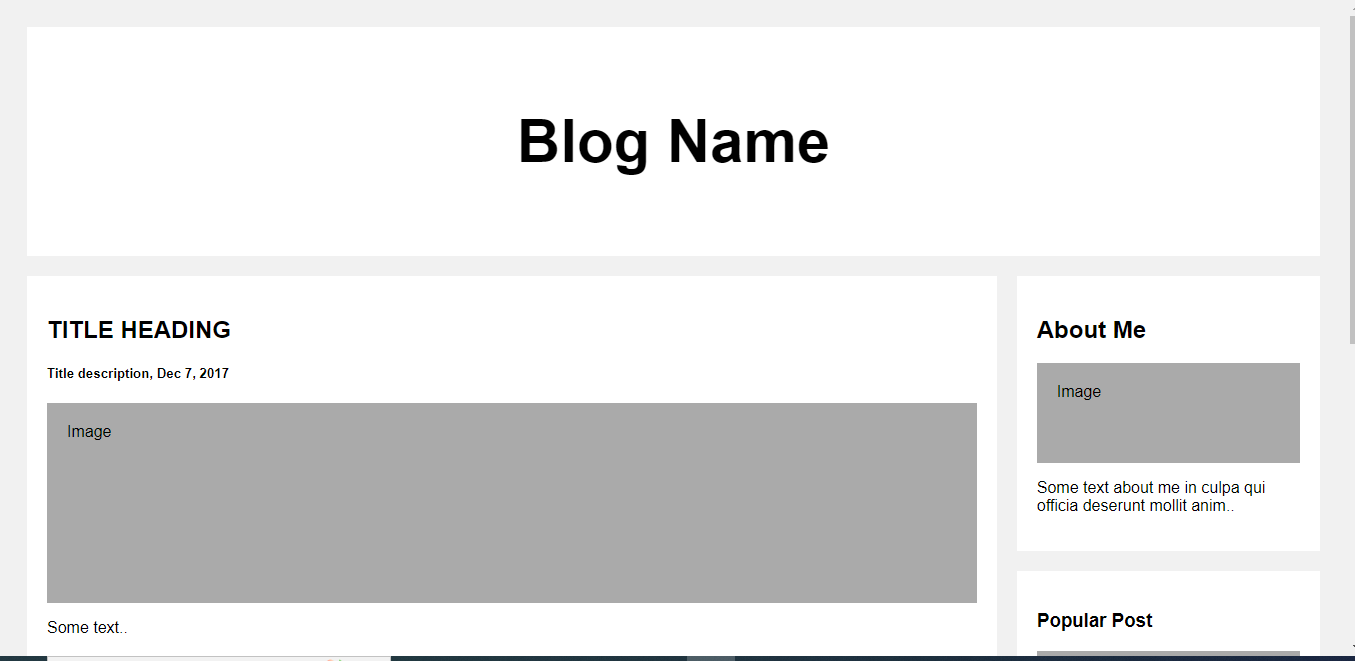
If you have reached this far congratulations, you just created your first static ruby on rails webpage.