
In this article, we have demonstrated how to create a virtual environment and then, setup a basic Django project within it.
What is Django?
Django is a free and open-source, Python-based web framework that follows the model-view-template (MVT) architectural pattern. MVT is a software design pattern for developing a web aplication.
-
Model - It is the data structure responsible for maintaining data, and is represented by a database. A Django model is the built-in feature that Django uses to create tables, their fields, and various constraints. Each model is a Python class that inherits from django.db.models.Model.
-
View - It is the user interface that is rendered on the website. They are usually HTML/CSS/JavaScript files.
-
Template - Django mainly functions with a backend so, in order to provide a frontend and provide a layout to our website, we use templates.
Getting Started
First, we have to install python's latest version from python's official website: https://www.python.org/downloads/
Follow all the default steps and finish the set up in a folder of your choice.
Note that all of the following commands and specific to a Windows operating system and might be slightly different for other systems.
What is a virtual environment?
The official documentation of Python states the following:
Python applications often use packages and modules that aren't included in the standard library by default. Applications often need a specific version of a library/module because its either written using an obsolete functionality of that version or needs a particular bug to be fixed. This means that it may not be possible for one Python installation to meet the requirements of every application.
Let's take an example - lets say application A needs version 1.0 of a particular module but application B needs version 2.0, then on one system, these requirements are in conflict and installing either version 1.0 or 2.0 will leave one application unable to run.
We can resolve this issue by creating a virtual environment which is a self-contained directory tree which contains a particular Python installation for any version of Python, plus a number of additional packages according to the versions needed by that application. This way, different applications can use different virtual environments.
For the previous example of conflicting requirements, application A can have its own virtual environment with version 1.0 installed while application B has another virtual environment with version 2.0. If application B requires a library be upgraded to version 3.0, this will not affect application A’s environment. This also maintains integrity of the application.
It is good practice to provide a dedicated environment for each project you create.
A virtual environment is a Python environment such that the Python interpreter, libraries and scripts installed into it are isolated from those installed in other virtual environments, and any libraries installed in a “system” Python (the one which is installed as part of your operating system).
There are many options to manage environments and packages within the Python ecosystem, some of which are recommended in the Python documentation. Python itself comes with venv for managing environments which we will use for this guide.
Creating a virtual environment for your Django project
First, let's create a folder named "Django Projects". This is where we will be storing the folders for all our projects. Now we create a folder for our project. Let's name this "Trial Project". This folder will contain the virtual environment and the "src" folder containing the actual project files. It is always better to keep logically related content bound together in a common folder and separate from the remaining content.

We are now going to open the commmand prompt and traverse to the folder we just created for our project - "Trial Project".
We can create the folders in the command prompt and the command -
"mkdir folder_name"
And change our current directory to another directory by the command -
"cd absolute/relative_path_of_directory"
Continuing the process of creating a virtual environment, we do so by typing the following command -
"python -m venv trialprojectenv"
After we create our environment, we have to activate it. Infact, every time we want to manipulate the project files, we have to make all those changes with the virtual environment activated.
The command to activate the environment is -
".\trialprojectenv\Scripts\activate"
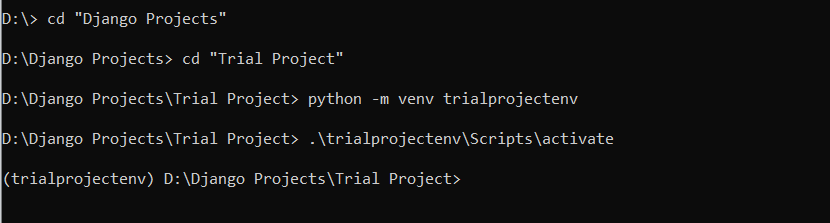
The command prompt now includes the name of your environment in '()' to indicate that the environment has been activated, as seen above!
Installing Django
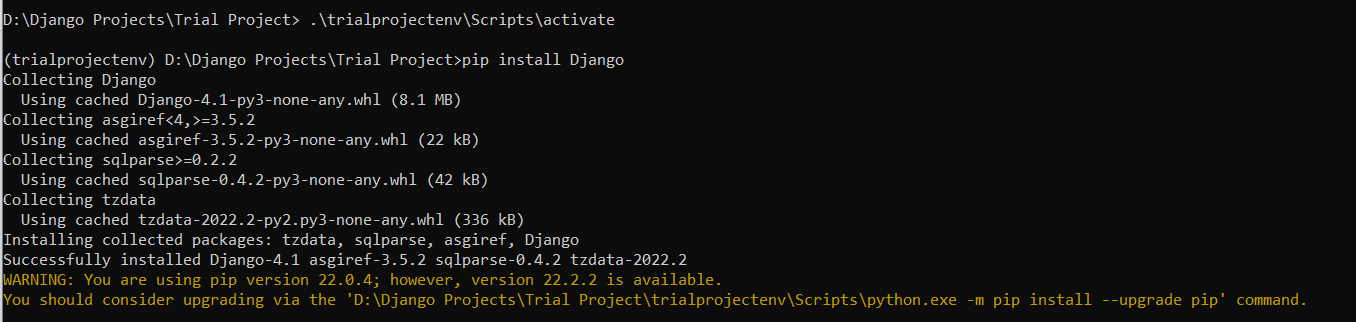
We can now install Django under the "Trial Project" folder with the trialprojectenv activated. We do so by the command -
"pip install Django"
If the terminal prompts you to update the pip command itself, we suggest you do that too using the command they provide inside single quotes.
Setting up your Django project
So far we have a "Trial project" directory/folder that contains the "trialprojectenv" virtual environment folder. Now we will create the "src" folder which holds our project's actual files.
Remember, we do all this with the virtual environment activated!
Creating the project
Now we start our project (we are naming it trialproject here) using the command -
"django-admin startproject trialproject ."
(including the . in the end)

django-admin is Django’s command-line utility for administrative tasks. In addition, manage.py is automatically created in each Django project. It does the same thing as django-admin but also sets the DJANGO_SETTINGS_MODULE environment variable so that it points to your project’s settings.py file. The django-admin script should be on your system path if you installed Django via pip. If it’s not in your path, ensure you have your virtual environment activated.
Run the server for our project
Once the project folder is set up, we run the server and check if everything has been correctly configured by the following command -
"python manage.py runserver"

Now we copy the url given "http://127.0.0.1:8000/" and paste it on any web browser.
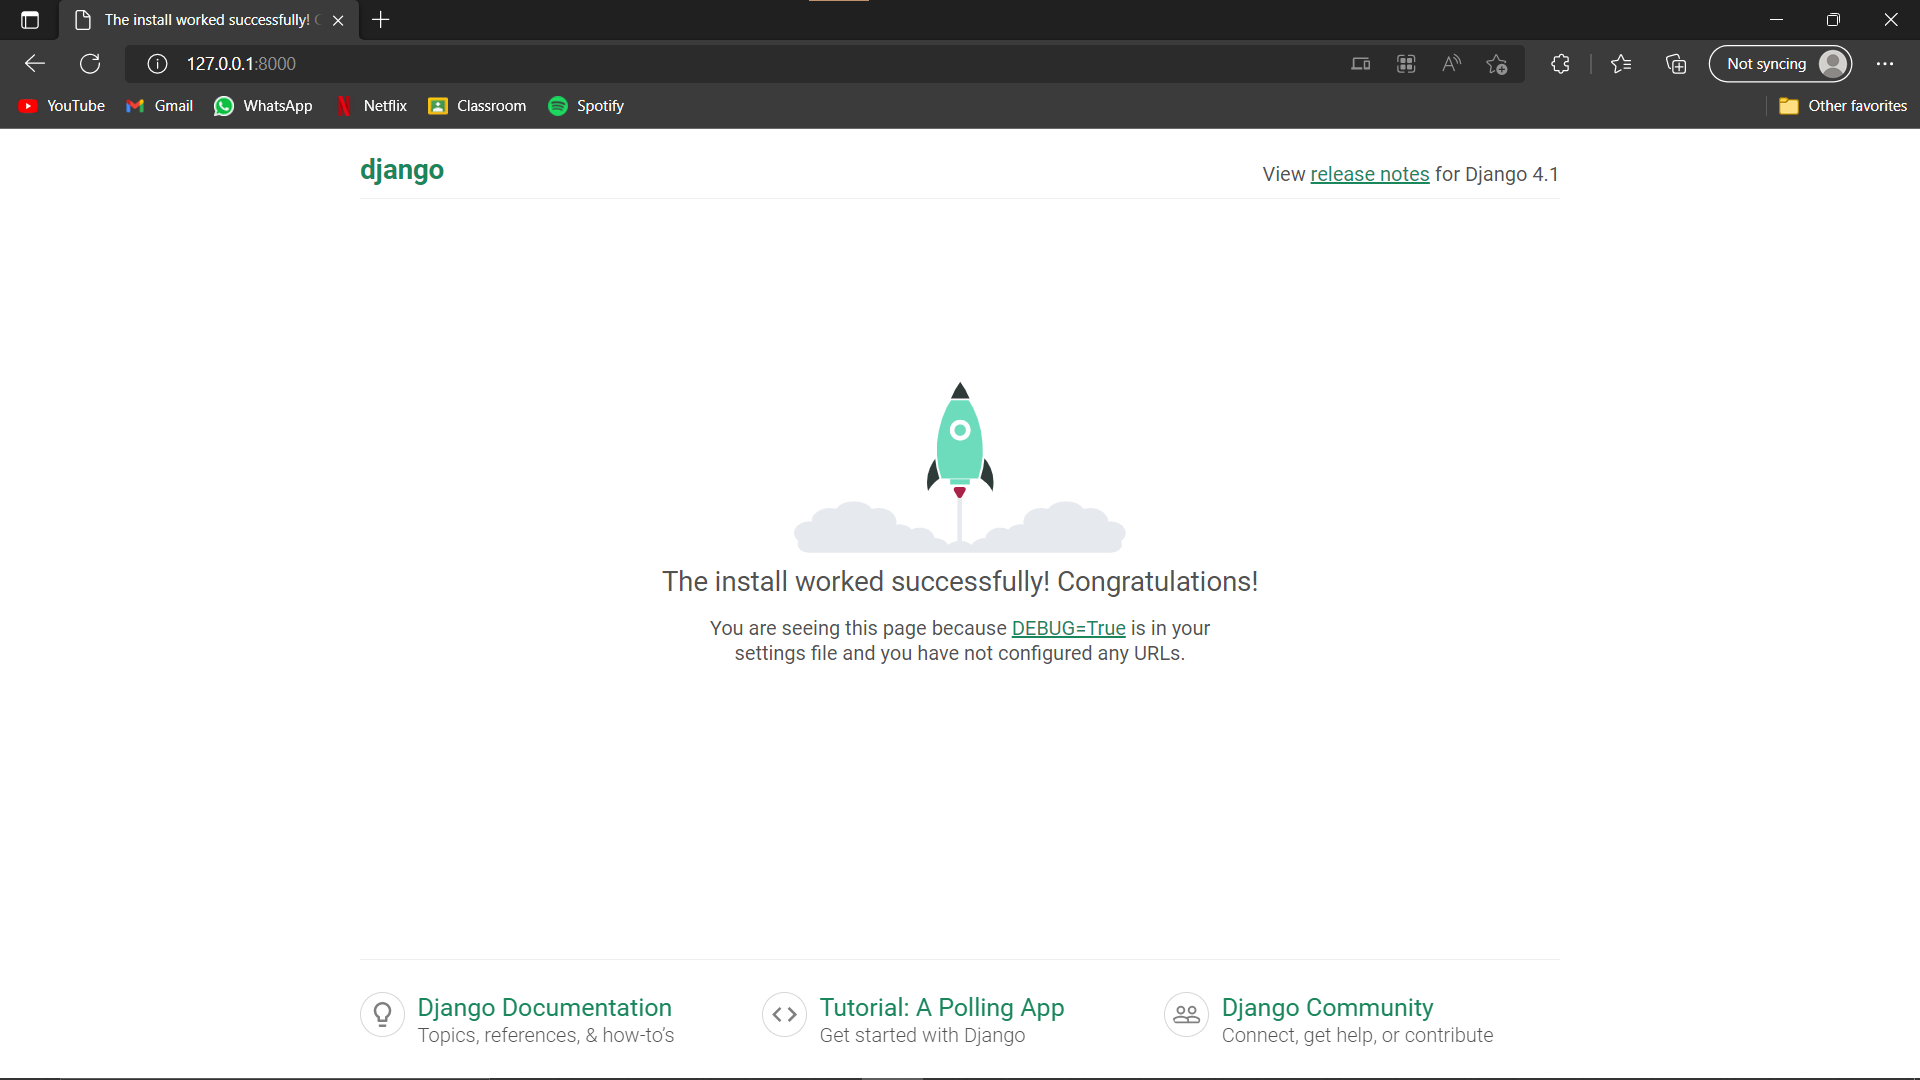
Voila! The install worked successfully!
Remember: This is the setup for your server. None of your programs created further would run on the URL if your server isn't running.
Do not quit the server if you want to see the output of your programs!