
In this article, we have explored the idea of reCAPTCHA Verification, how to setup a Google reCAPTCHA account and how to add reCAPTCHA to any HTML form.
Table of contents:
- What is Google reCAPTCHA?
- How to set-up your Google reCAPTCHA account?
- How to get your Google reCAPTCHA Keys?
- How to integrate reCAPTCHA V3 into your HTML forms?
Let us get started with reCAPTCHA Verification.
What is Google reCAPTCHA?
Before explaining what reCAPTCHA is, you should understand what CAPTCHA is.
CAPTCHA stands for Complete Automated Public Turing test to tell Computers and Humans Apart.
The first working version was invented in 1997, 6 years later in 2003, the term CAPTCHA was coined.
The idea was to present a challenge to a human and ask them to complete it (usually a hard to read picture which they had to type out).
That would provide the computer program with some confidence that it was dealing with a human user and not a computer or bot.
This was very successful in many ways, but presented some issues to some disabled users and also slowed down people's workflow. In many ways, it was a temporary solution that worked well for some situations.

Diffrent Version of Captcha:
- Version 1
- Version 2
- Version 3
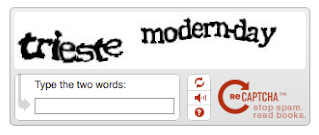
Let's look at reCAPTCHA (which is a form of CAPTCHA). This is a service by Google which aims to protect your website and forms from abuse which includes spam. reCAPTCHA started back in 2007 (before Google owned it), and it originally asked users to type in hard-to-read snippets of text from books or newspapers which had been scanned, this would help to translate poorly scanned books into better quality digital versions. However, it didn't take very look before bots could easily complete these challenges, which rendered the verification check much less effective.
When Google created V2 it came with a form of traffic analysis. First, it asks the user to check a box. It'll then decides to either accept it or present a challenge. The challenge would come in the form of several pictures which the user would need to click on the correct ones. For example, identify all photos with traffic lights on them. Some more advanced bots could potentially complete these too.
reCAPTCHA V2 Checkbox
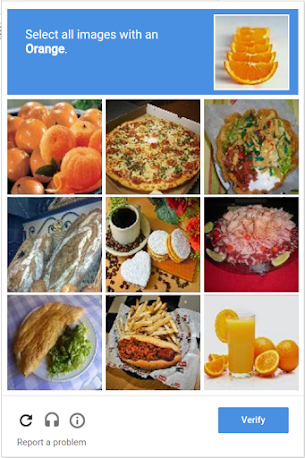
reCAPTCHA V2 Challenge
reCAPTCHA Version 3 is more advanced and no longer requires users to complete any tests or interact in any way. It uses advanced traffic analysis to score the user. There is a score between 0 and 1 (1 is best), by default 0.5 and above will likely be less risky traffic.
When you use reCAPTCHA v3, you decide what score is right for you.
How to set-up your Google reCAPTCHA account?
Before you can use reCAPTCHA, you need to set-up an account.
Once you have your account, you need to add your website domain and obtain a site key and a secret key.
Step 1. Go to the "Admin" page (click the admin button on the top right of the page).

Step 2. Click on the + (plus) symbol on the top bar to create a new site.

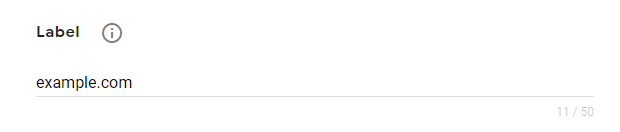
Step 3. Add a label, for example, add your domain name.
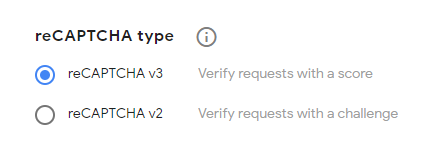
Step 4. Pick the reCAPTCHA type. Pick 'reCAPTCHA v3'.
Step 5. Enter your website domain name

Step 6. Provide the email address of the website owner(s)

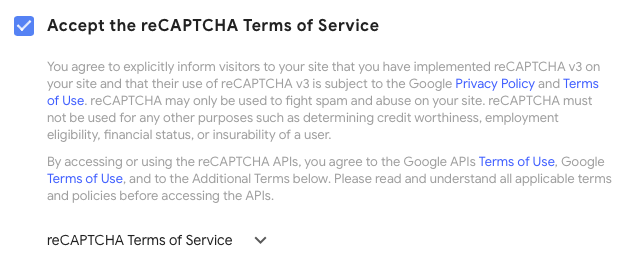
Step 7. Read and agree to the terms of service. Tick the box.
Step 8. Receive alerts to your email if your integration is thought to be wrong or an increase of suspicious traffic is suspected
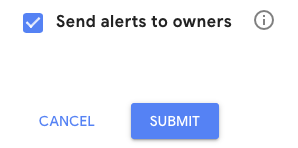
Once the above is completed and the "Submit" button has been pressed. You can continue to obtain your Site Key and Secret Key.
How to get your Google reCAPTCHA Keys?
In order to integrate and use reCAPTCHA v3 on your website, you need to get your reCAPTCHA Keys (Site Key and Secret Key). Here's how to get your keys.
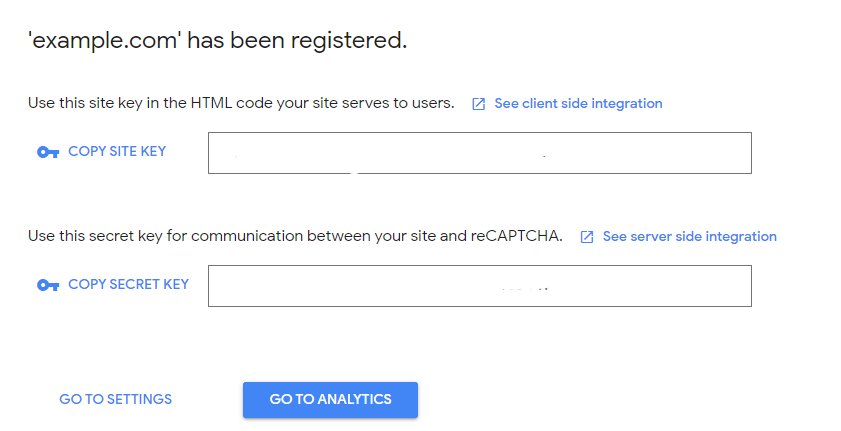
Step 1. Click on the settings icon on the top bar.

Step 2. Expand the reCAPTCHA keys block. Please take a copy of these keys and save them on your computer for later use.
How to integrate reCAPTCHA V3 into your HTML forms?
Consider the following HTML and JavaScript code to integrate reCAPTCHA V3 into your HTML forms.
<!DOCTYPE html>
<html lang="en">
<head>
    <meta charset="UTF-8">
    <meta http-equiv="X-UA-Compatible" content="IE=edge">
    <meta name="viewport" content="width=device-width, initial-scale=1.0">
    <script src="https://www.google.com/recaptcha/api.js"></script>
    <title>reCAPTCHA</title>
</head>
<body>
<h1>CAPTCHA DEMO</h1>
<form action="" method="post">
Name: <input type="text" name="name"><br>
City: <input type="text" name="city"><br><br>
<div class="g-recaptcha" data-sitekey="6LcaDOEcAAAAAMMMjj-8-BQorfN6X5DJIScfRuFz"></div>
<button class="g-recaptcha" data-sitekey="reCAPTCHA_site_key" data-callback='onSubmit'data-action='submit'>Submit</button>
</form>
</body>
</html>
Following is the JavaScript code:
function onSubmit(token) {
        document.getElementById("demo-form").submit();
    }
With this article at OpenGenus, you must have the complete idea of reCAPTCHA Verification (+ How to add it to HTML?).