
In this article, we will learn how SQL Server Integration Services (SSIS) is used for Data Warehousing in Data Science.
Table of contents
- Prerequisites
- Creating an ETL solution using SSIS
Prerequisites
For this tutorial, we will be using SQL server 2019 and Visual Studio 2019. Make sure that you use VS 2019 as VS 2022 does not contain certain extensions that we will be using as of now. Download the extensions Microsoft Analysis Services Projects, Microsoft Reporting Services Projrcts and SQL Server Integration Services Projects version 3.10. Make sure to install AdventureWorksDW2016.bak sample database from the Microsoft's Github repository sql-server-samples and store it in the place where the SQL server looks for backup.
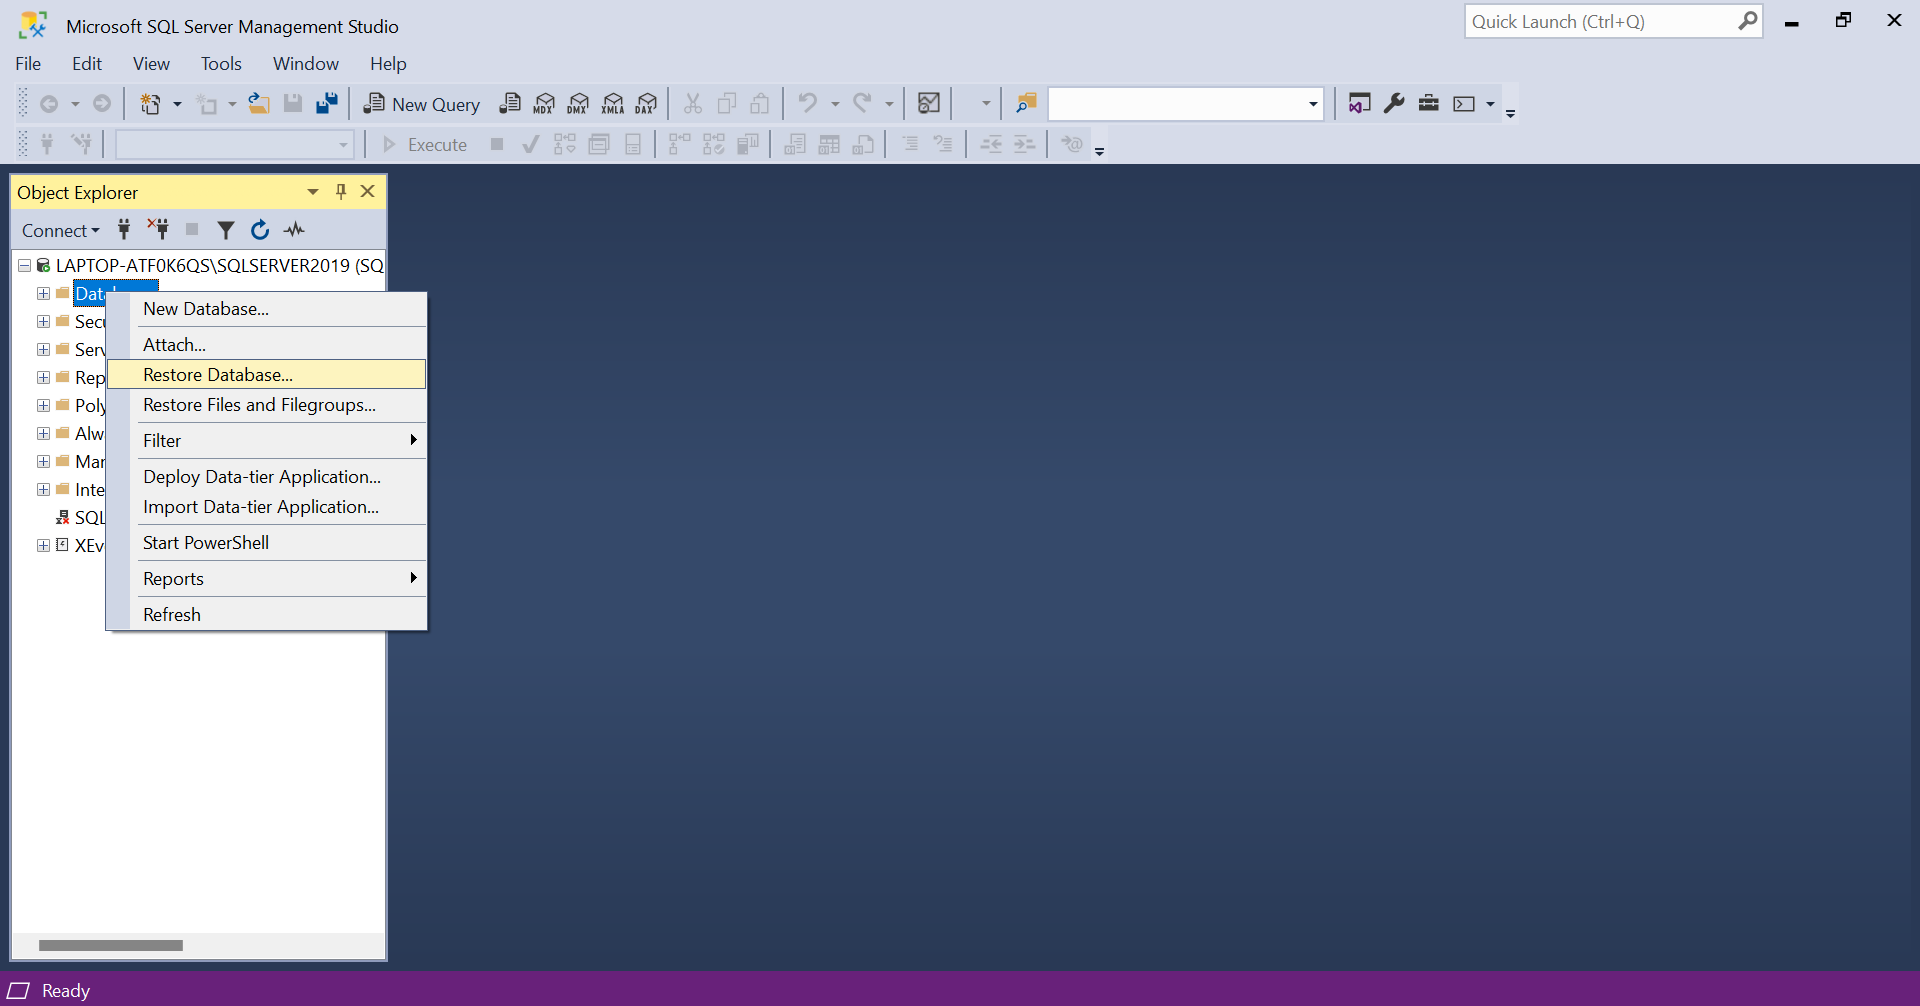
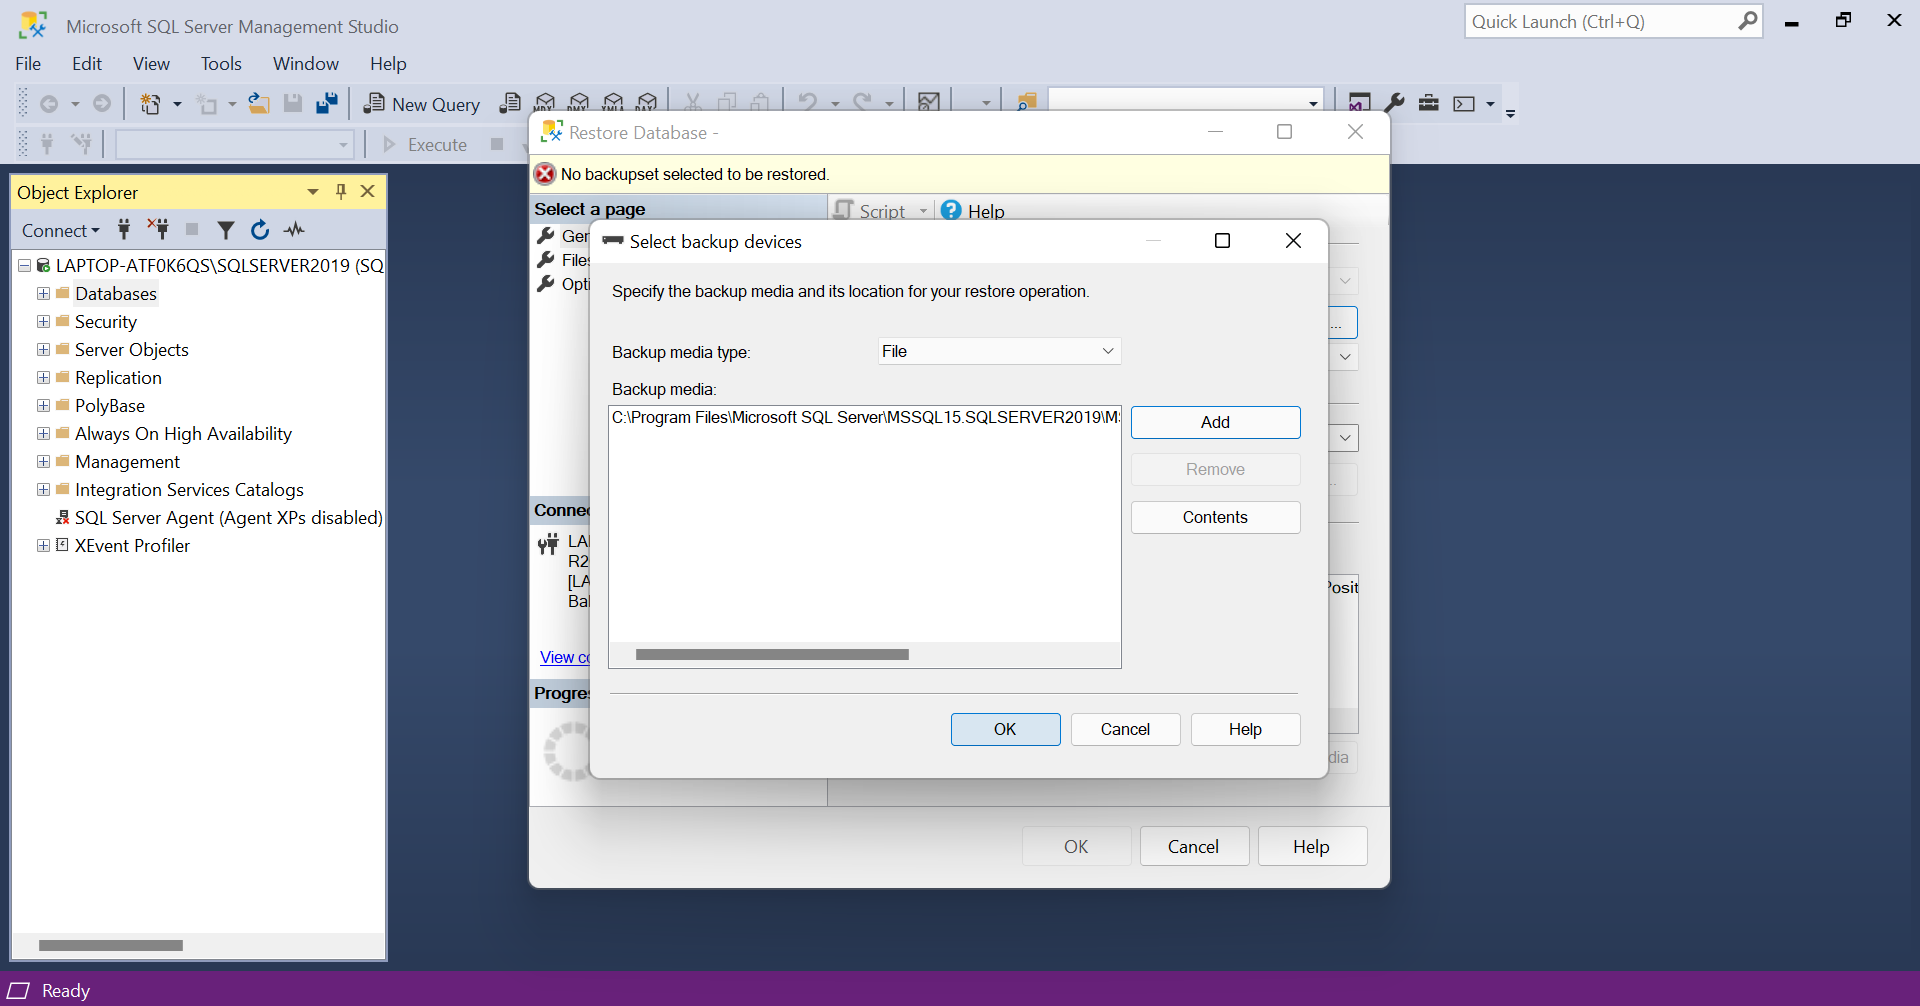
Then install SQL Server Management Studio (SSMS) and connect it with the SQL Server. Following it, use the "Restore Database" option and add the AdventureWorksDW2016.bak database. Step-by-step instruction for this is given below.
- Open SSMS and right click on 'Database' to open the menu and click 'Restore Database'.
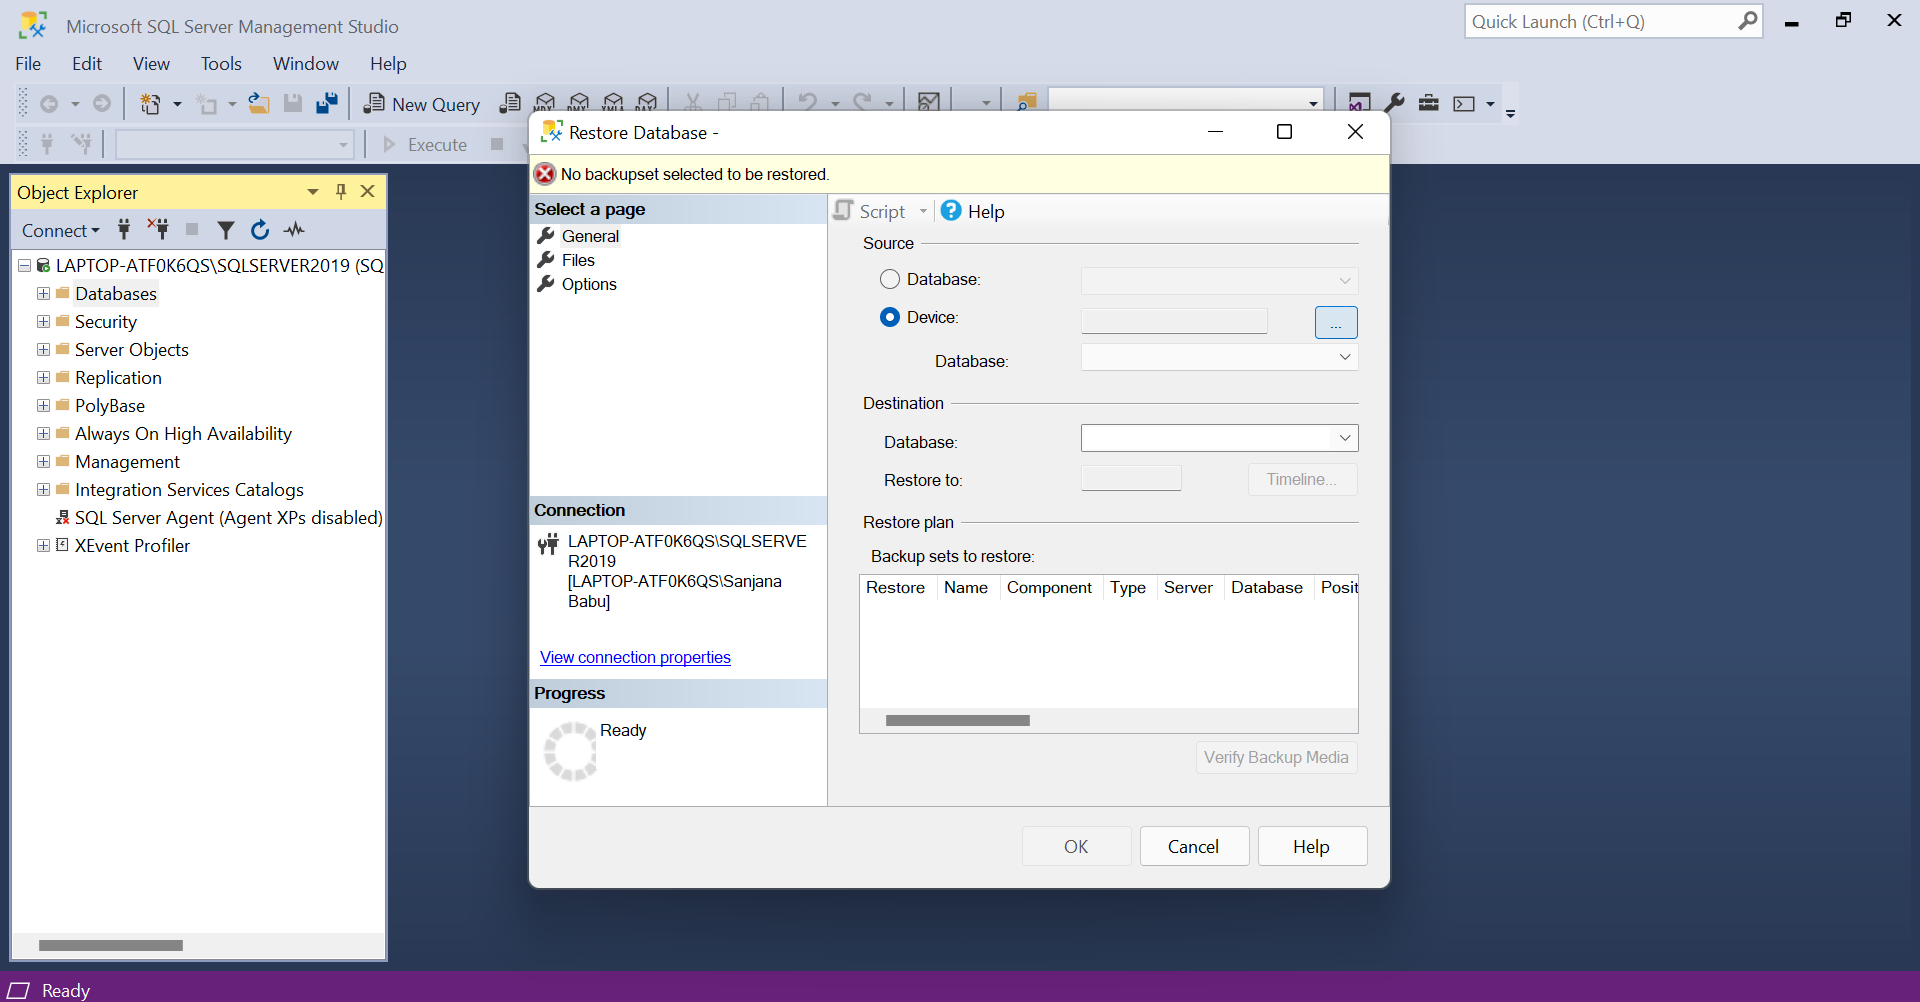
- Choose the 'Device' option and click the three dots.
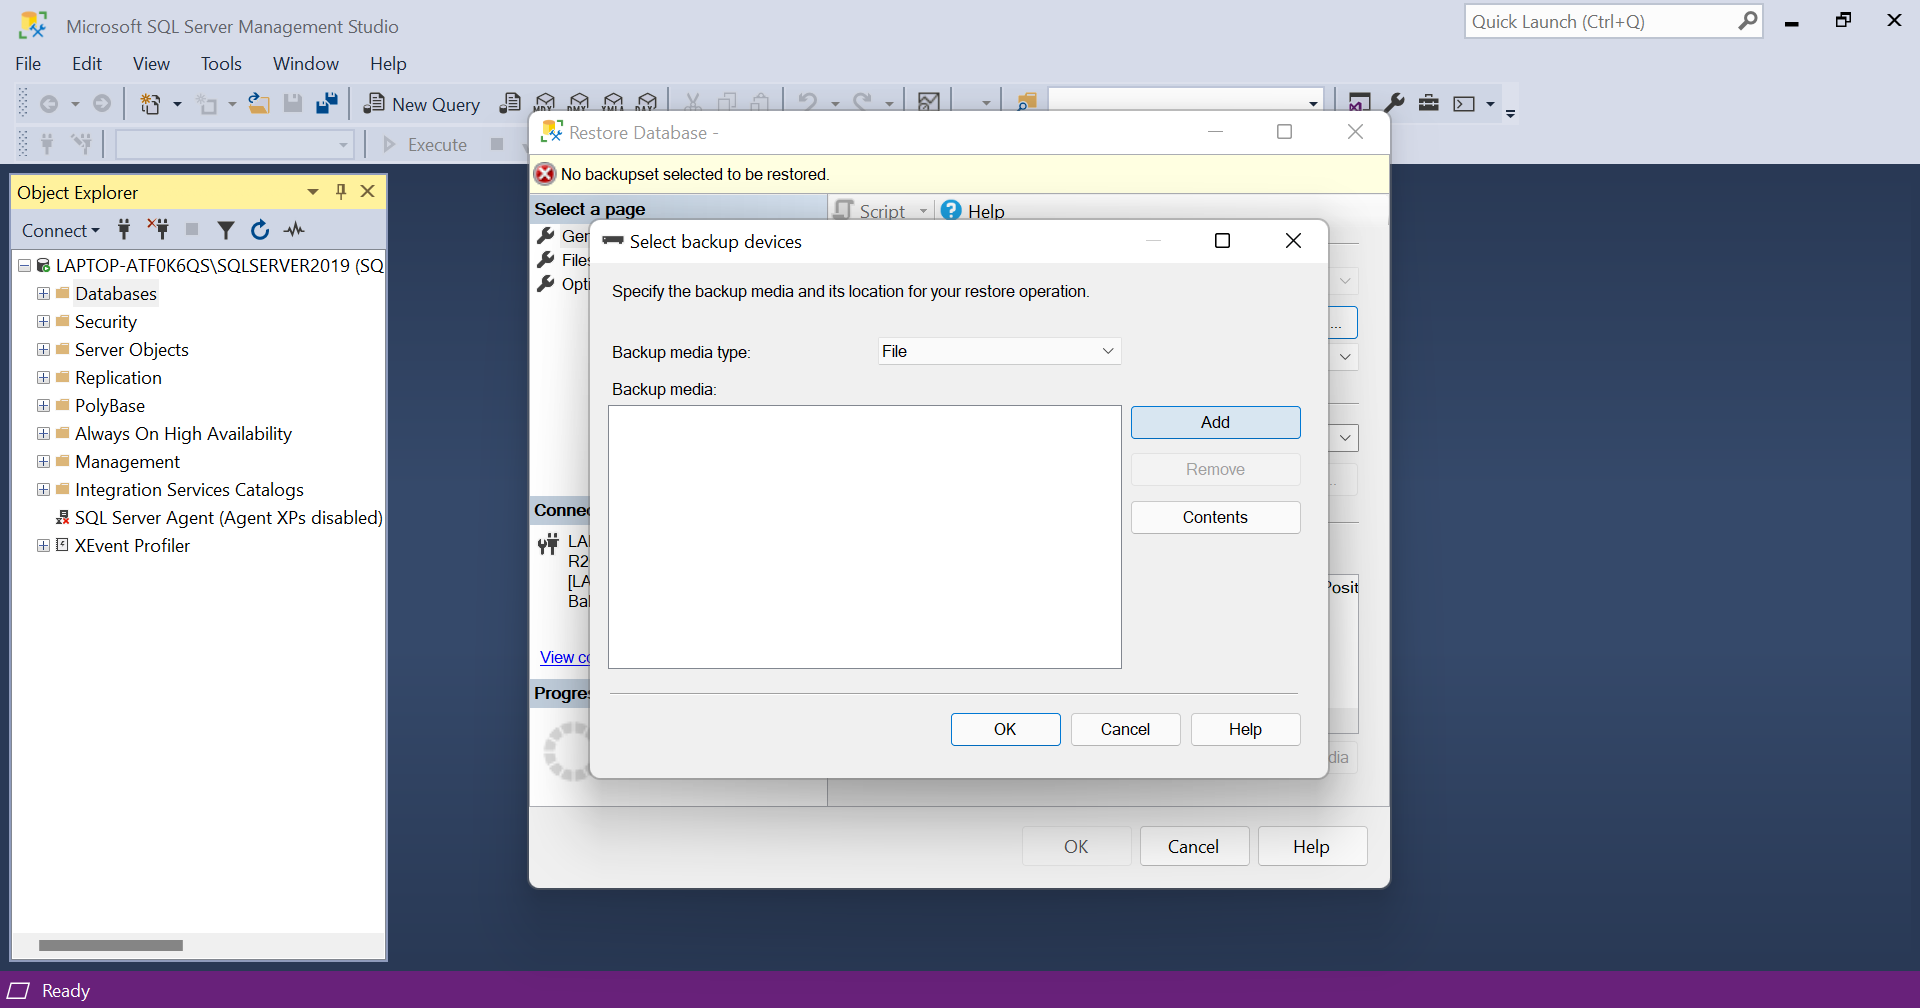
- Click on the 'Add' button.
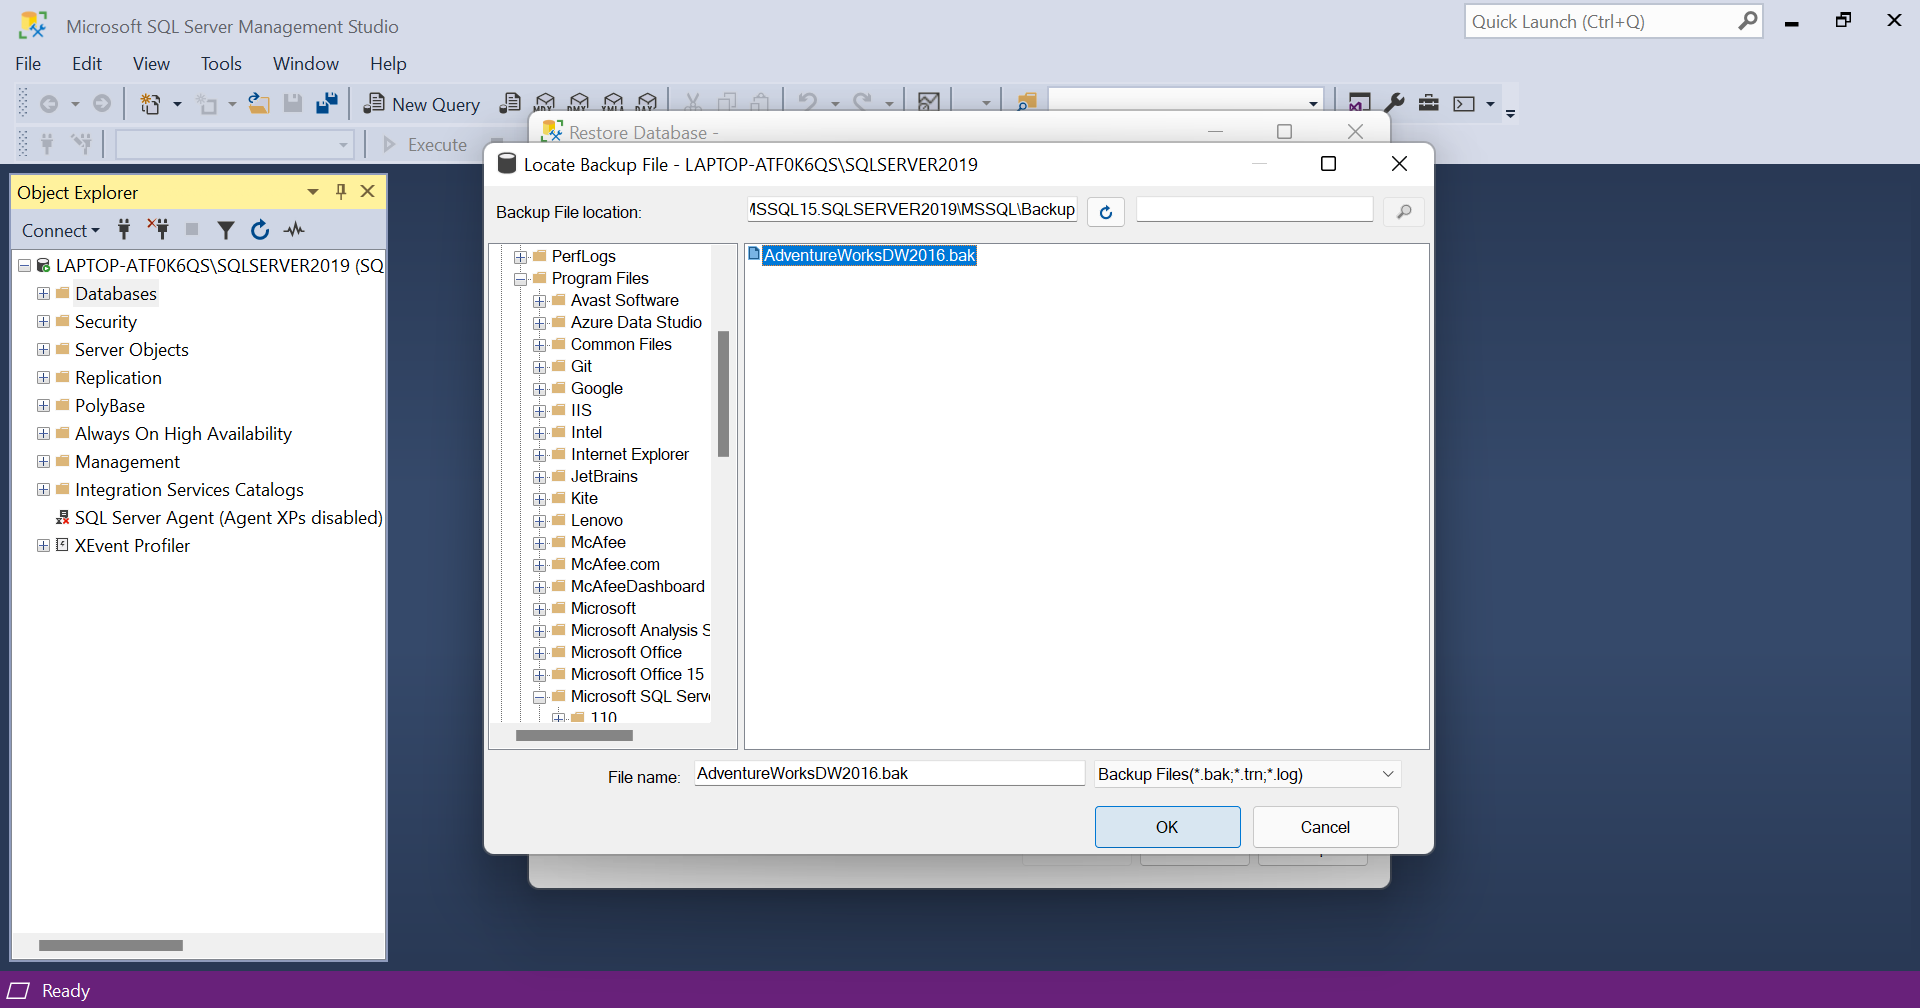
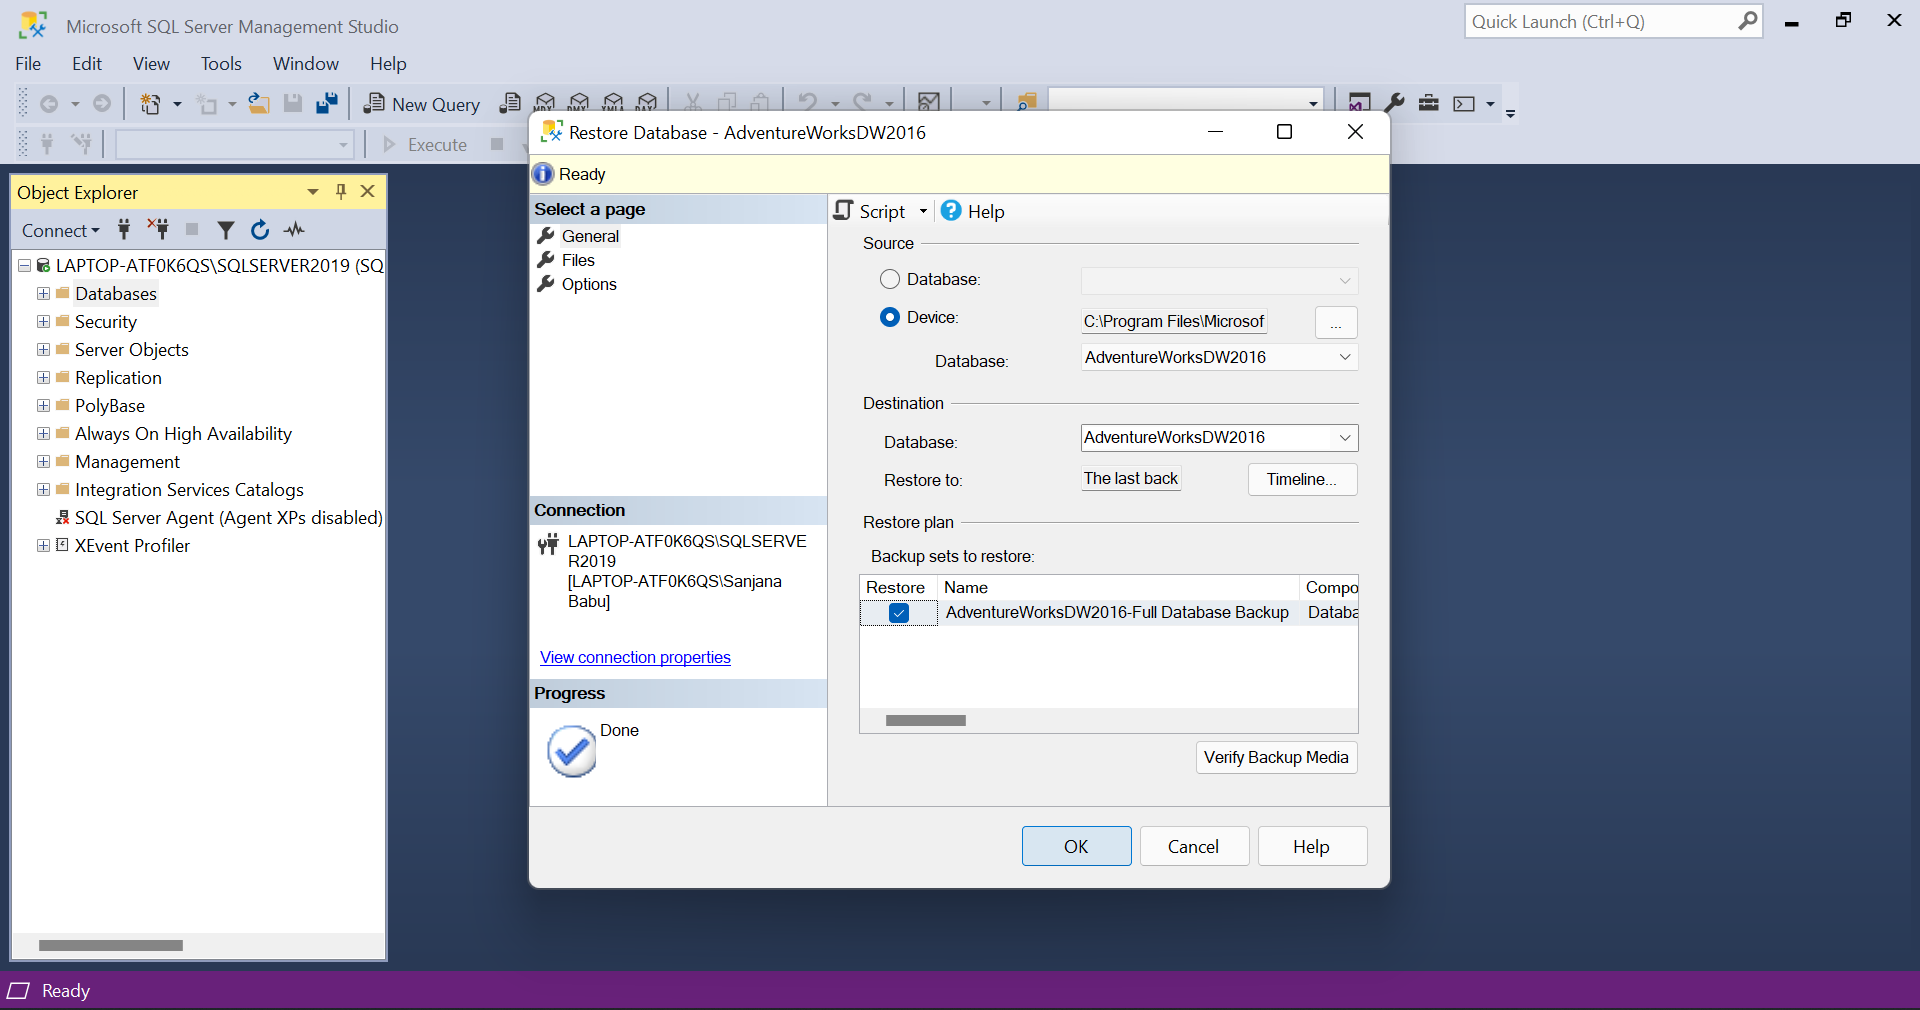
- Choose the AdventureWorksDW2016.bak file and click OK.
- Again give OK.
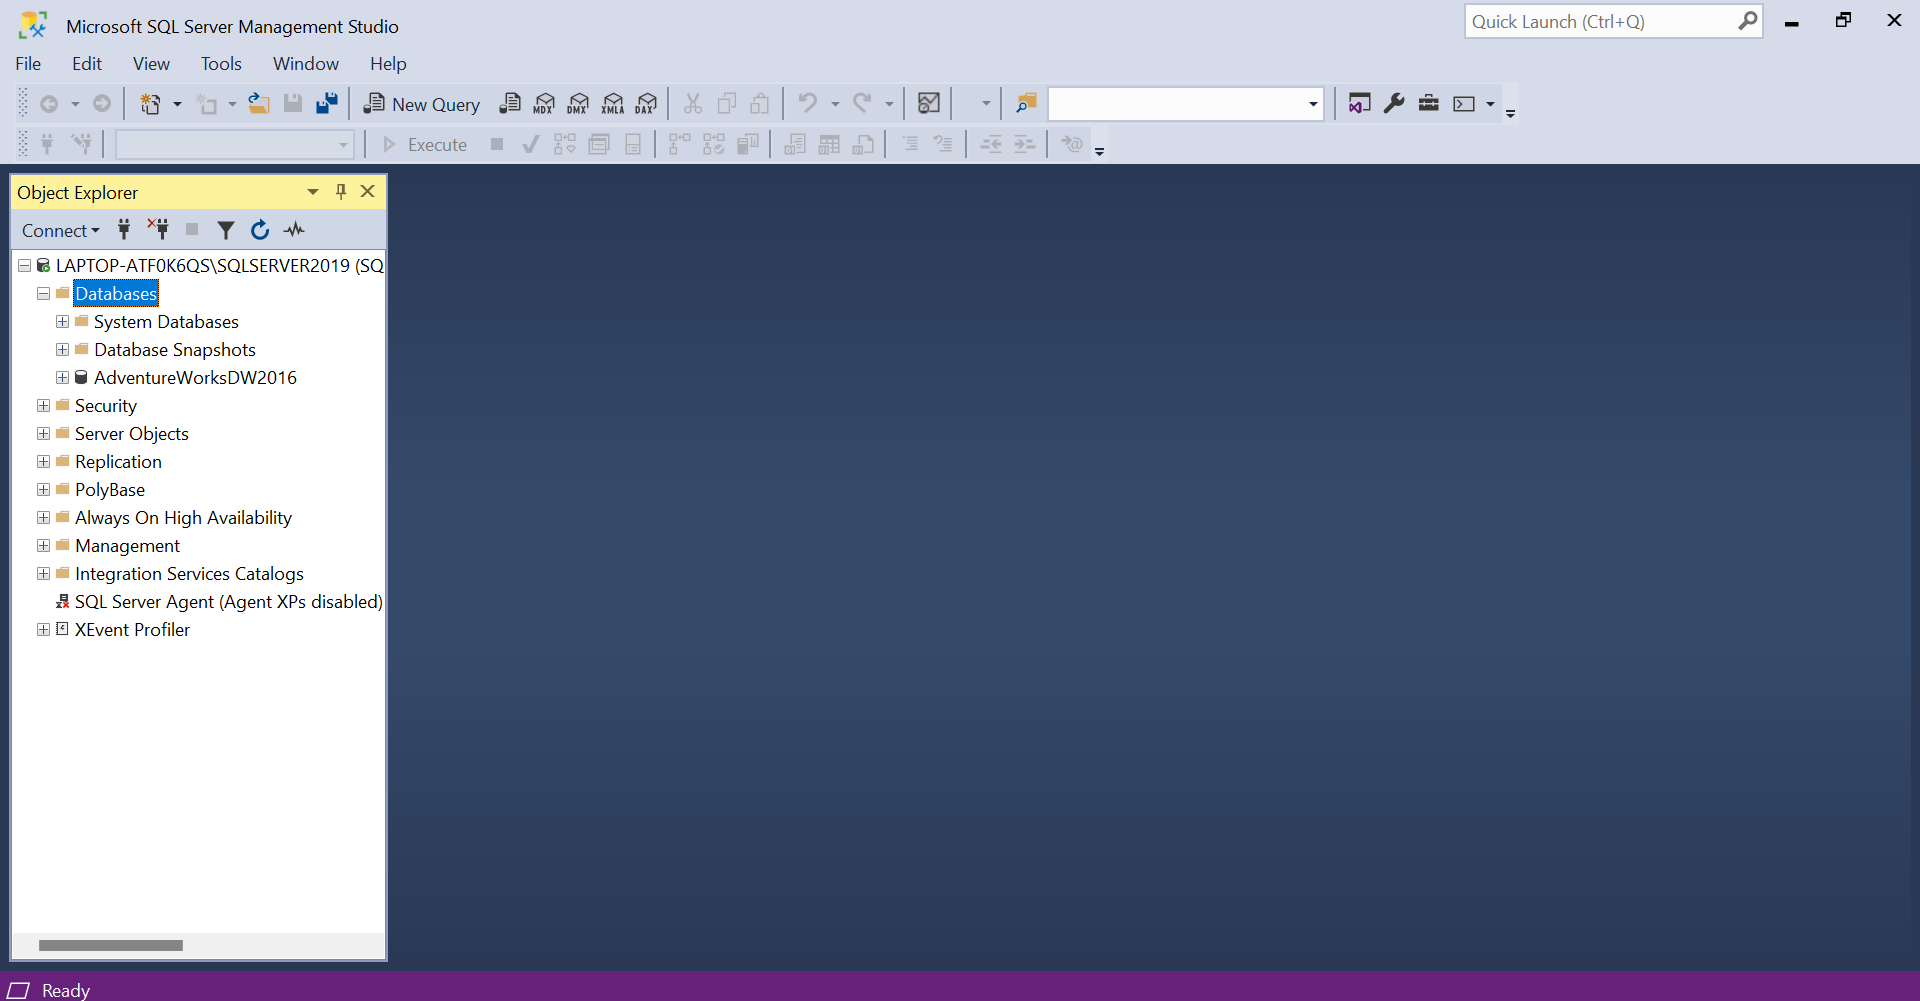
- Make sure that the 'Restore' option is checked and give OK. Now, the database will be added.
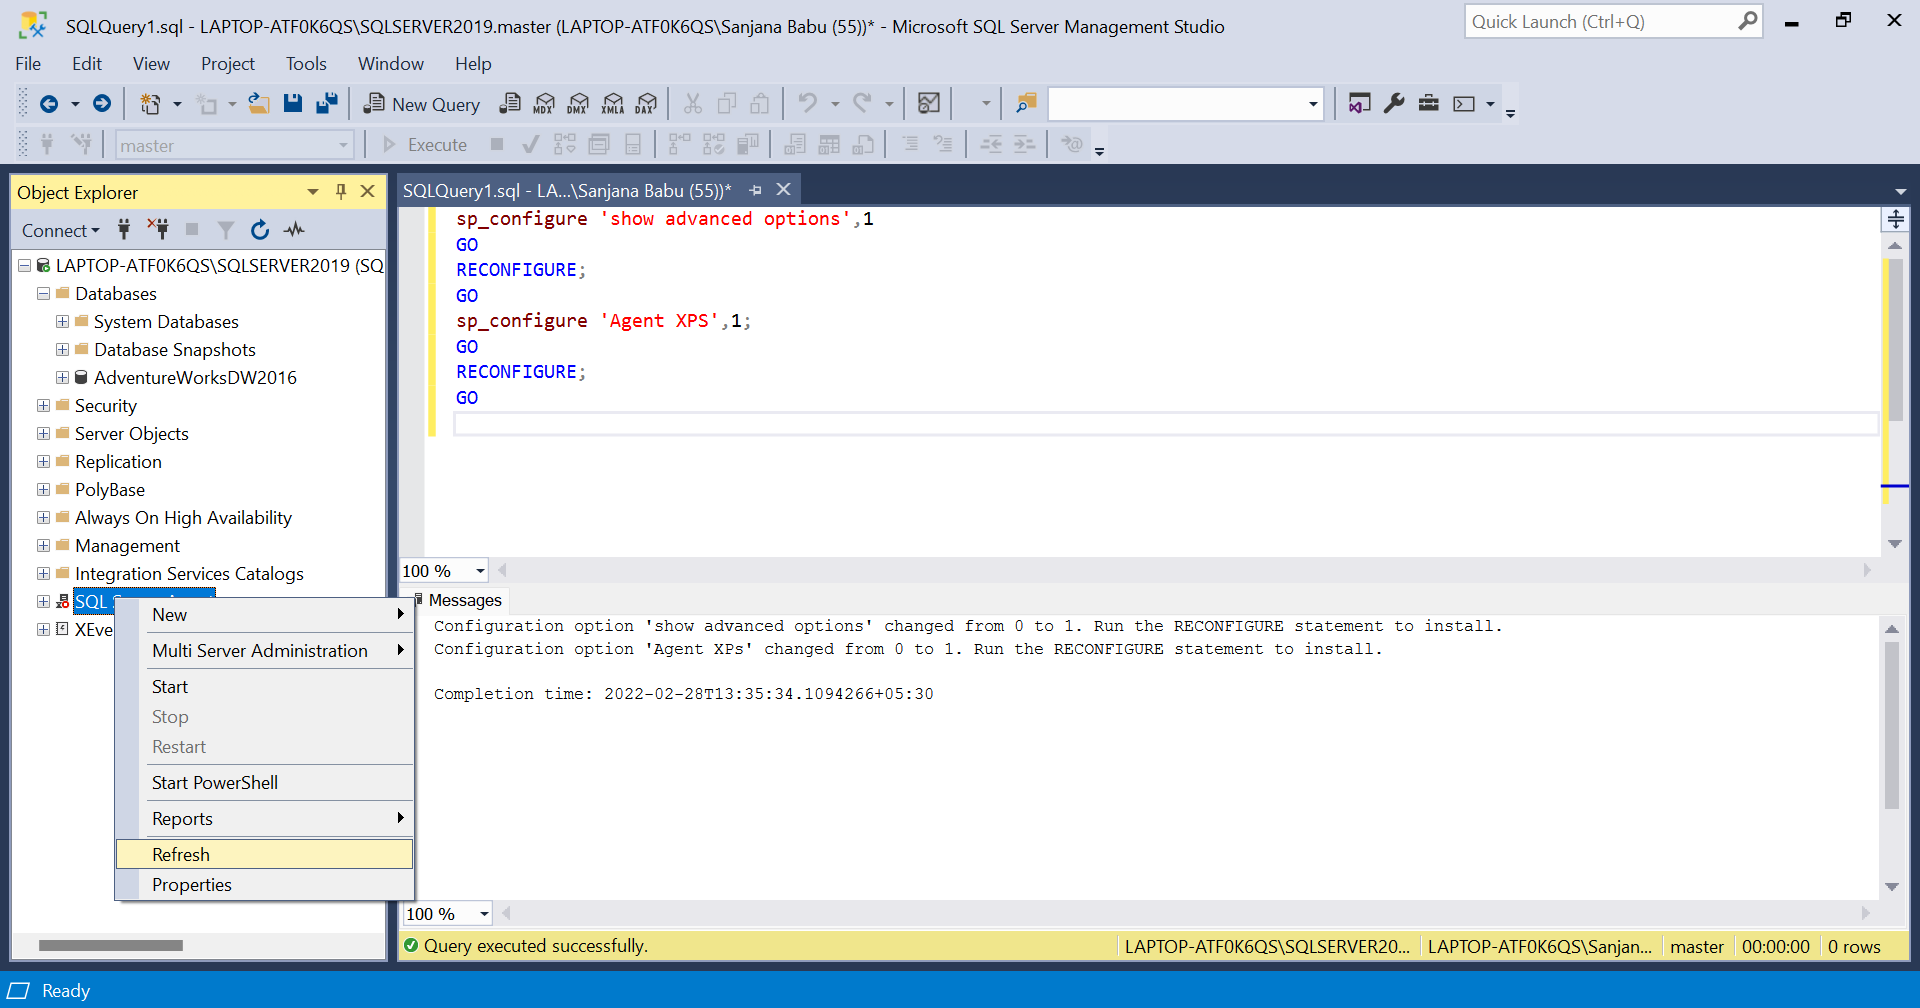
By default, the SQL Server Agent will be disabled. To enable it, execute the given query and click on 'Refresh' in the menu of SQL Server Agent
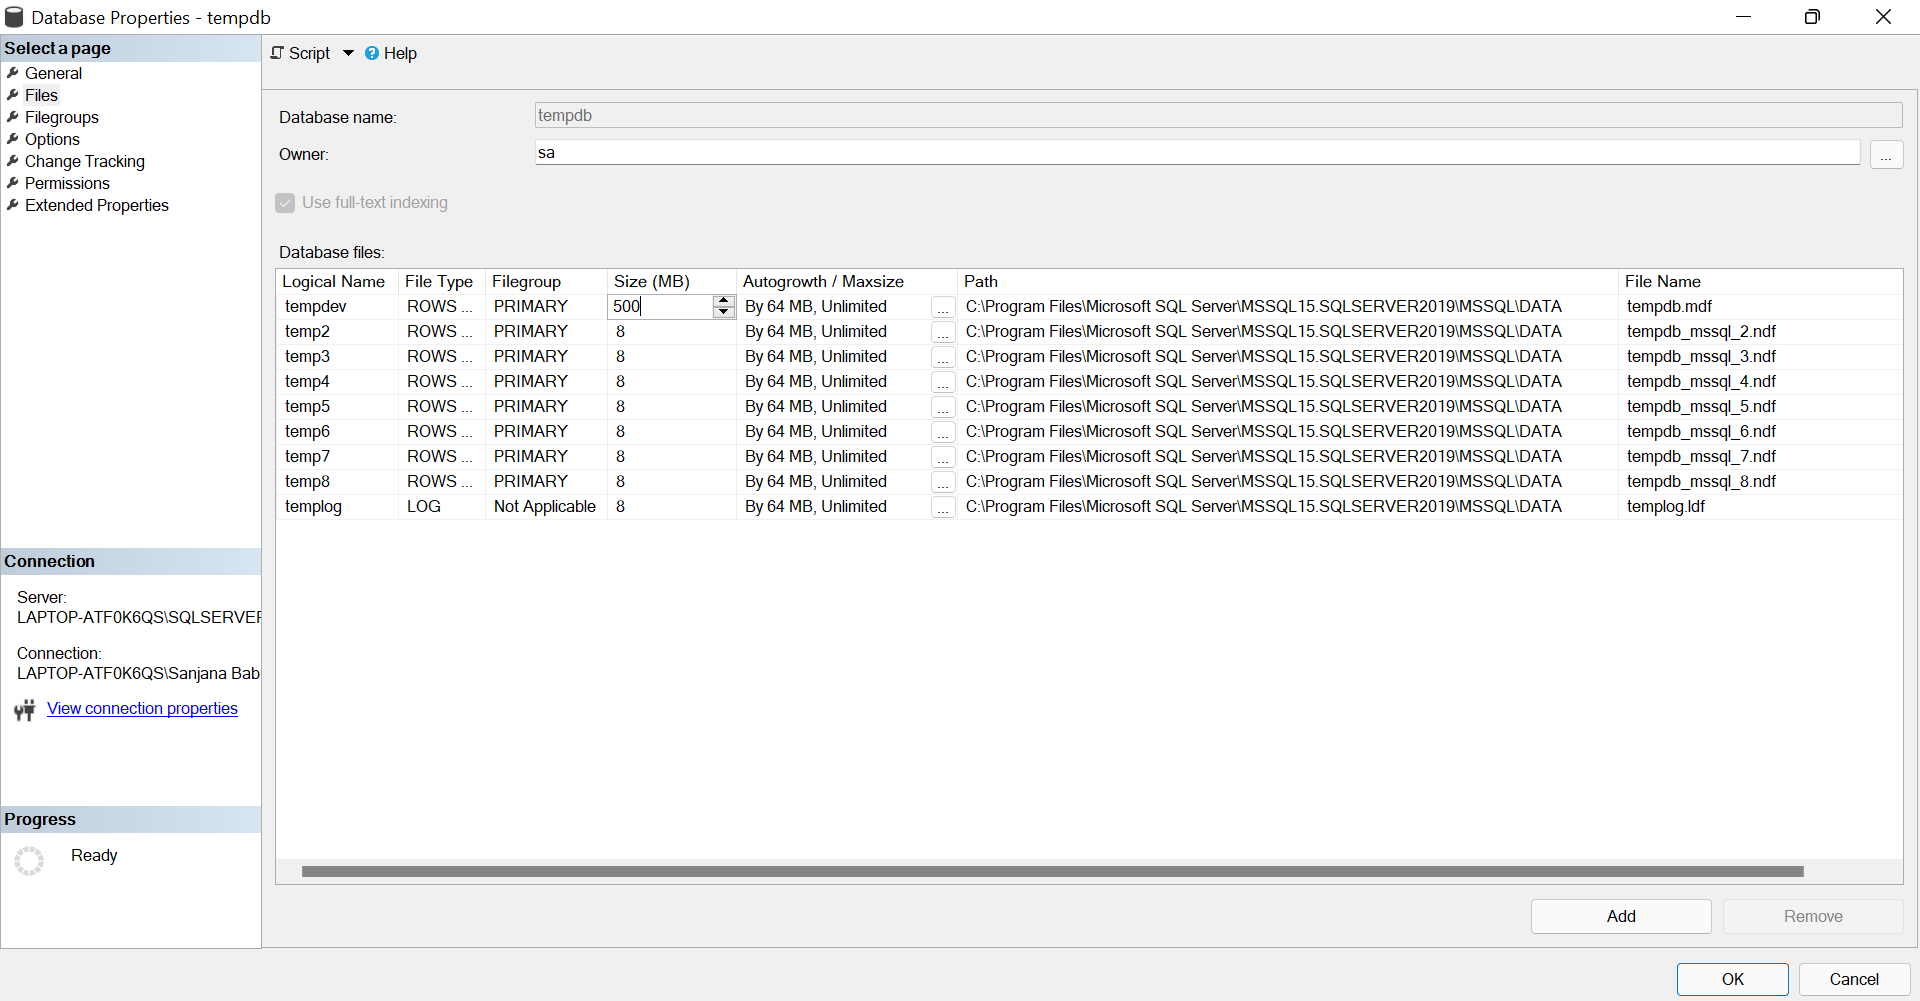
Next, we are going to set the size of the tempdev. For this, expand 'Databases' and then 'System Databases'. In that, go to the properties of tempdb and change its size in the 'file' option.

Creating an ETL solution using SSIS
Data source exploration
Firt and foremost step is data exploration to get to know the given database. We play around with the data source to examine many aspects like length of the column, number of nulls and many more. In this example, we will explore the data of table customer of the database.
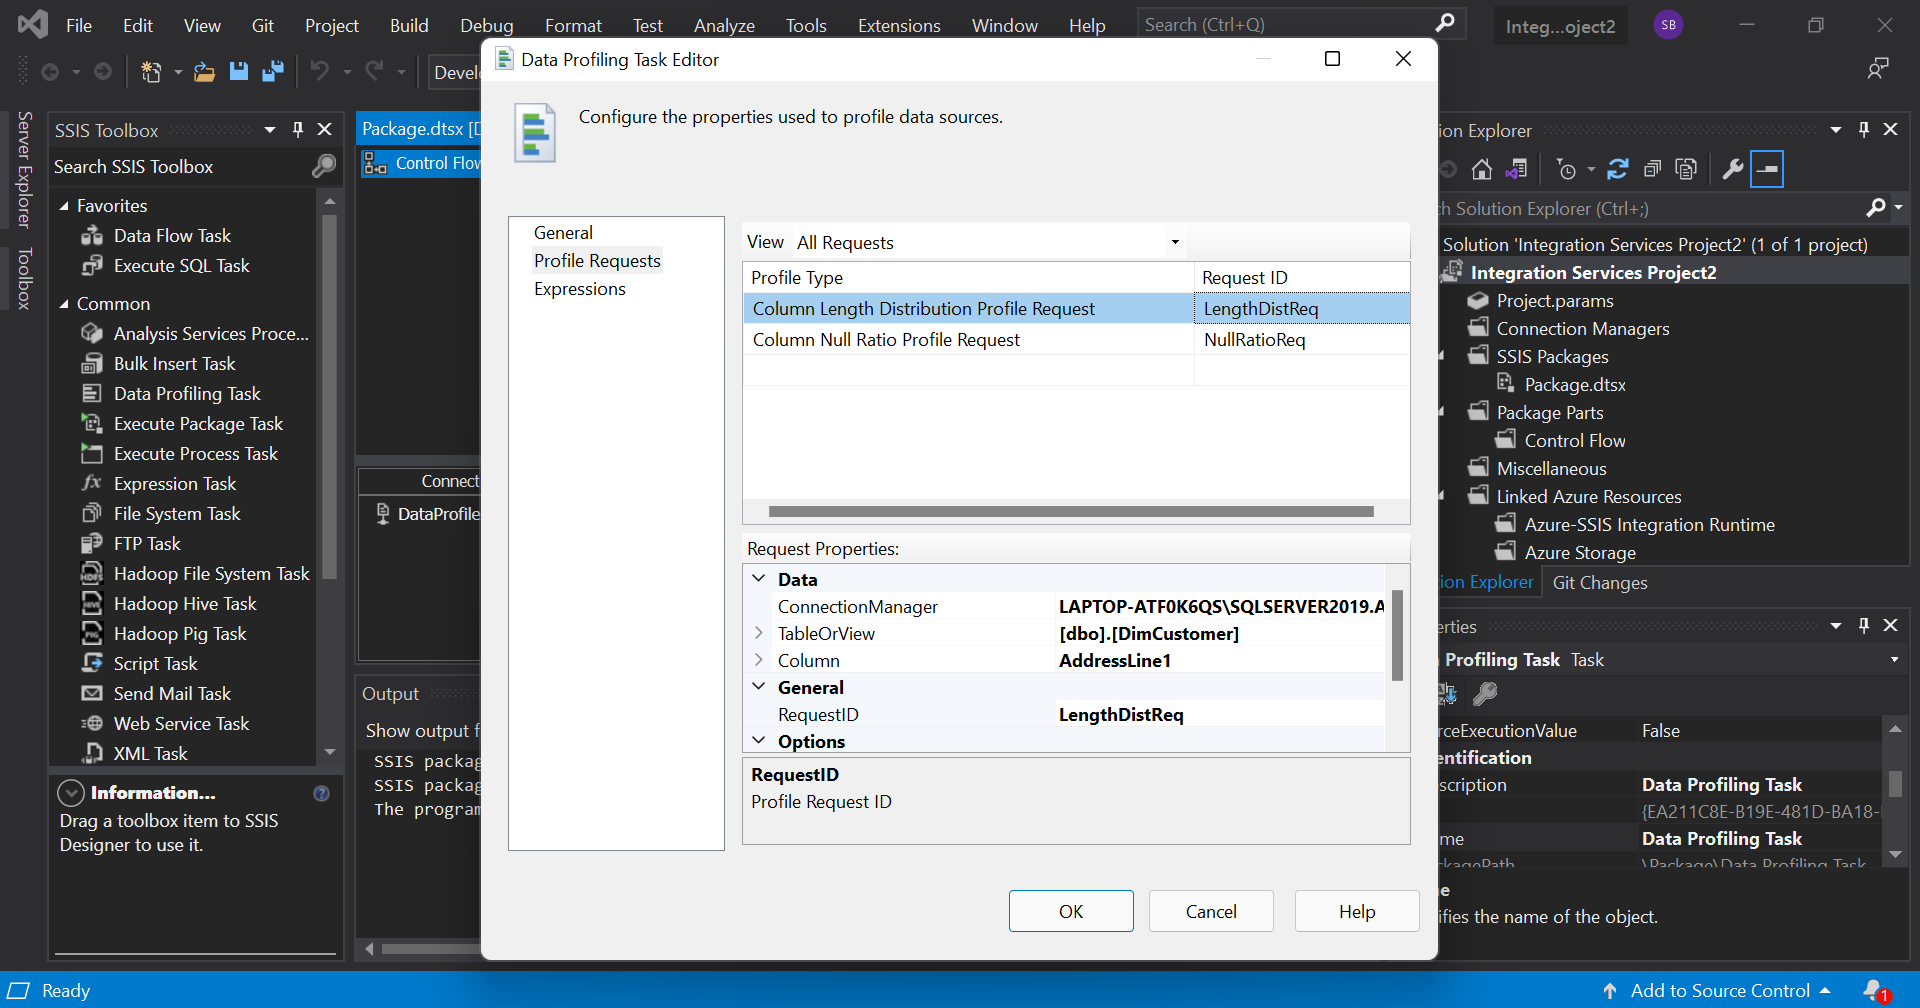
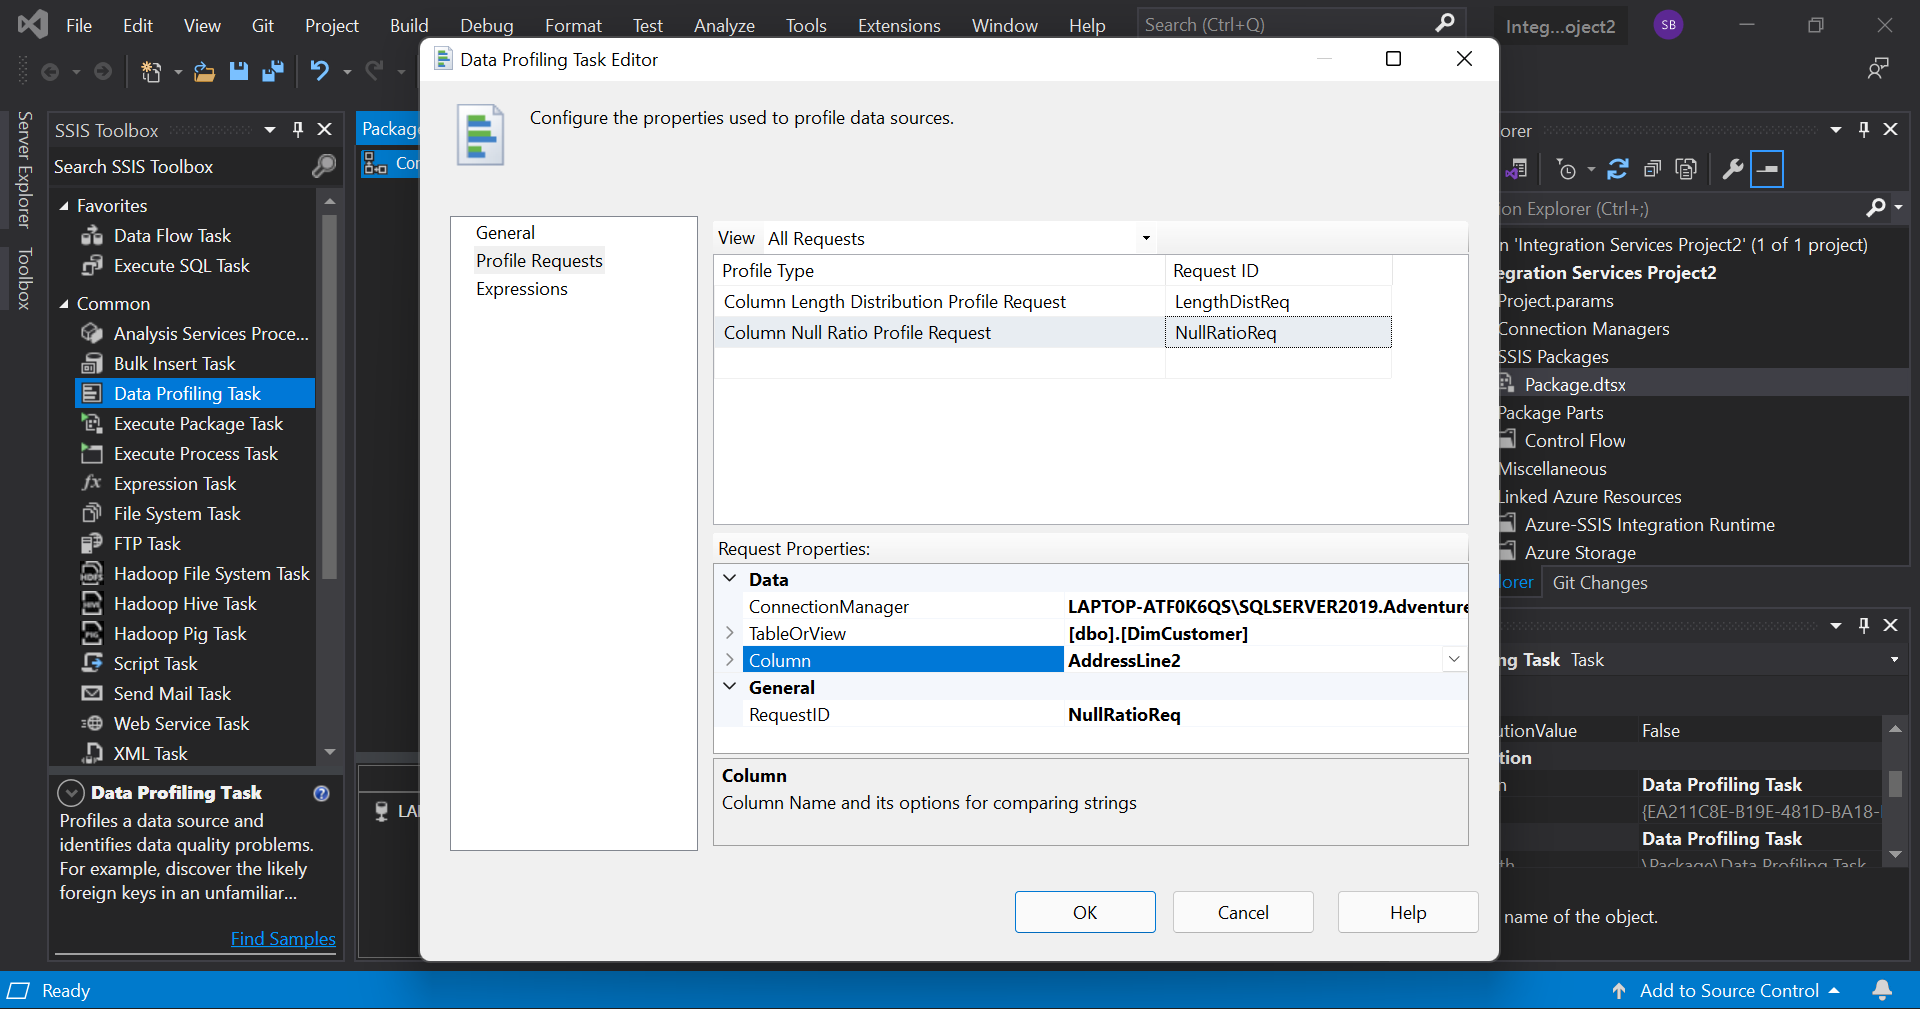
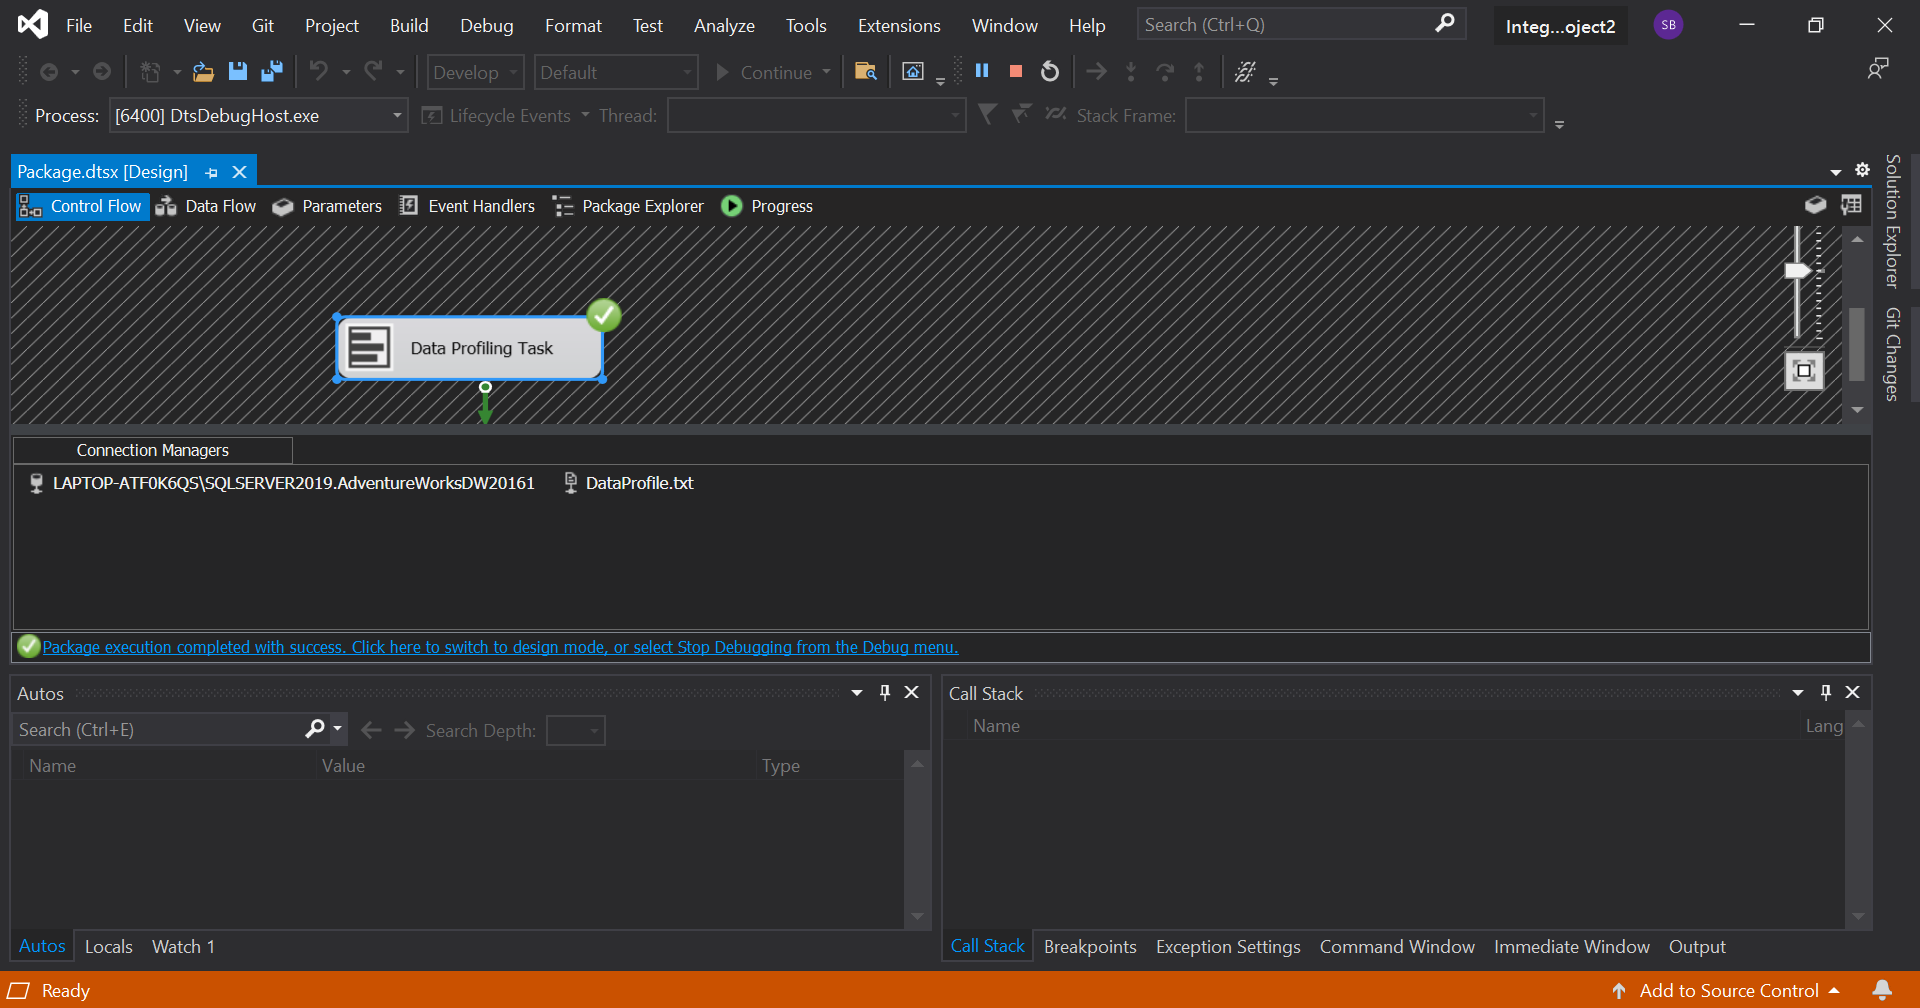
First, we drag the 'Data Profiling Task' into the screen and double click on it to open the editor. In that, we go to the 'Profile Requests' tab and add two requests as shown. Here we are just examining the columns AddressLine1 and AddressLine2.
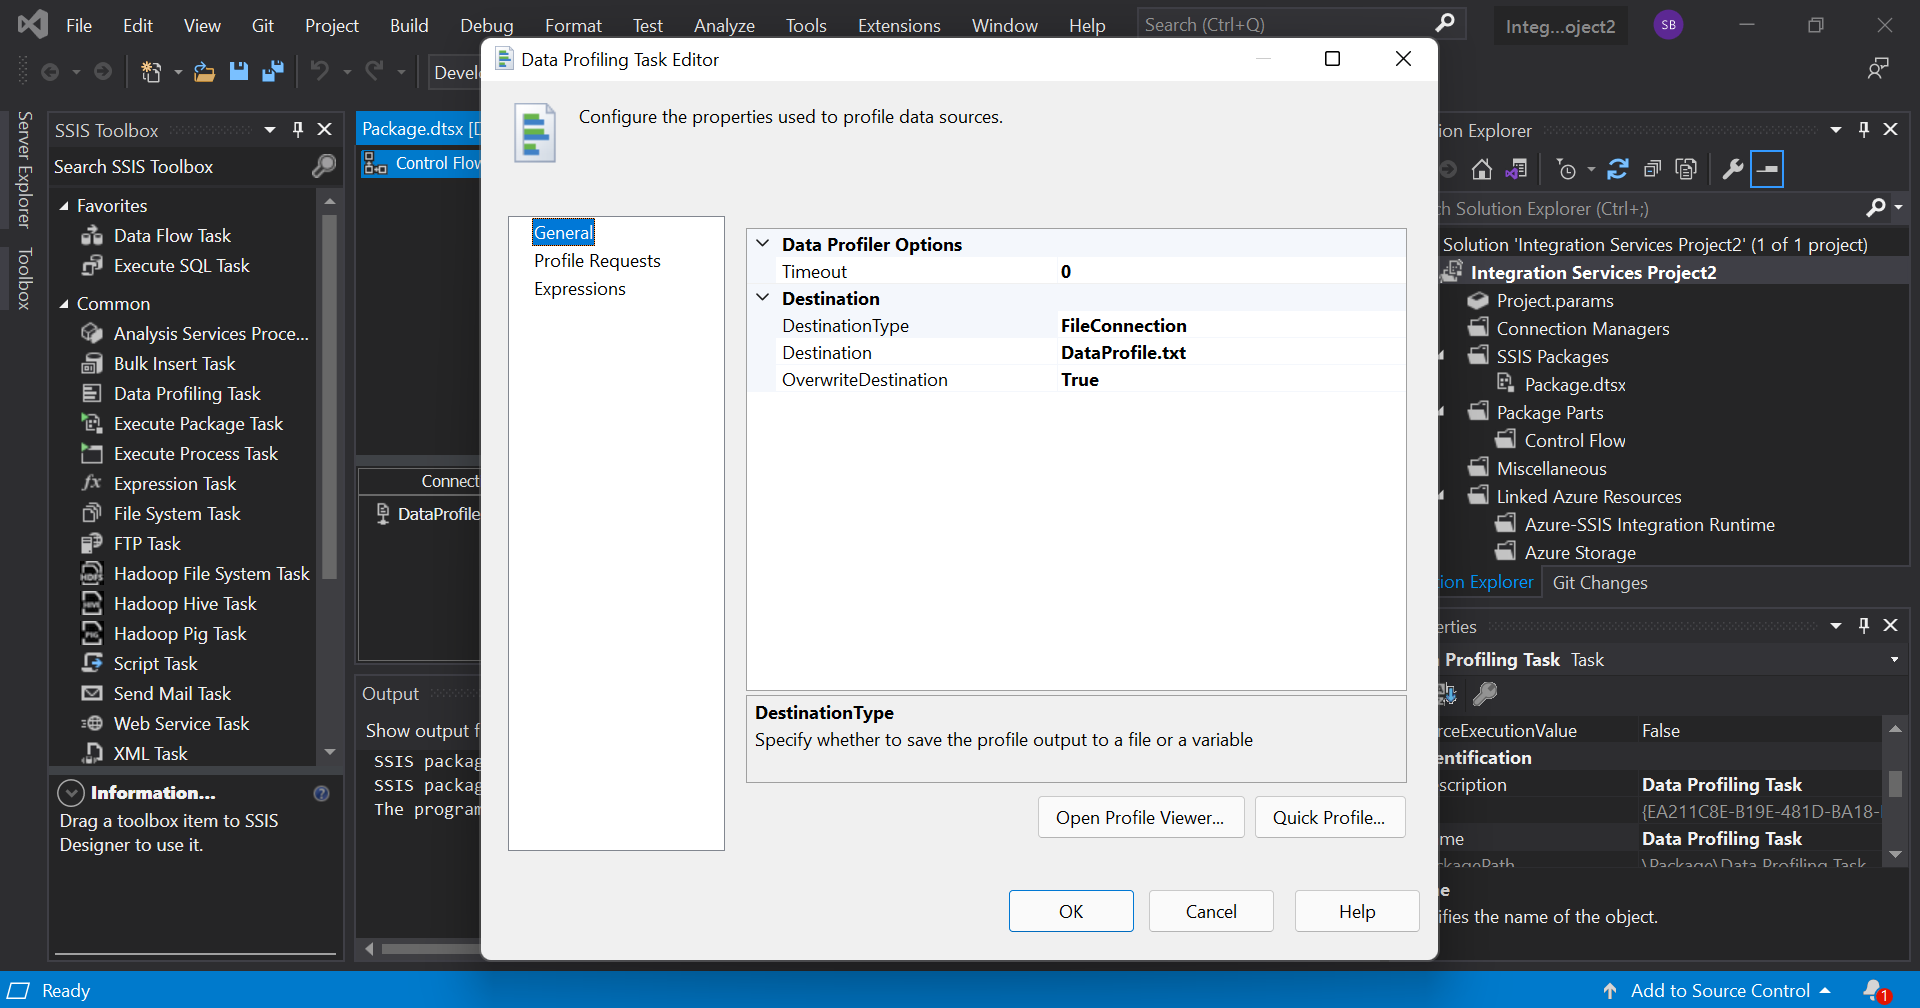
Then we go to the 'general' tab and specify the destination and click OK.
Execute the task by clicking on the 'Start' button on the menu bar. If there are no errors, you will see a green tick on the task.
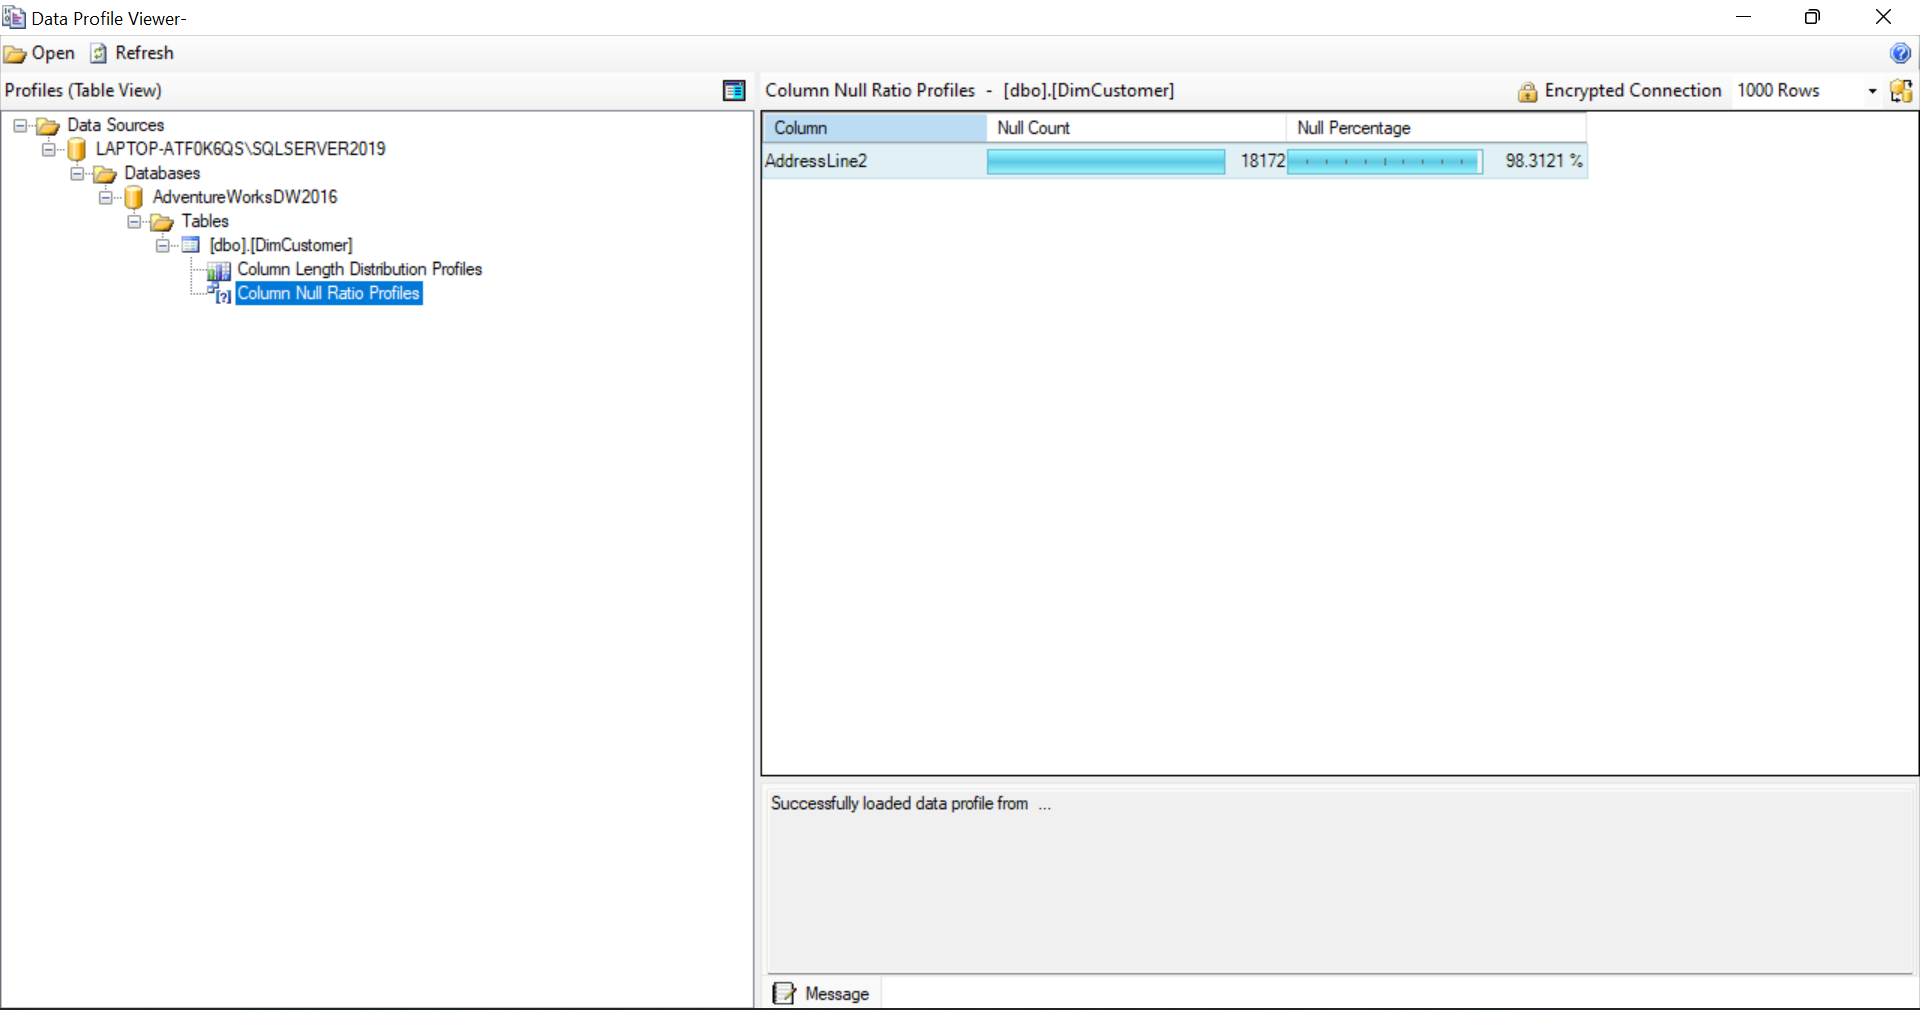
Now, switch back to design mode and double click on the task and click on 'Open Profile viewer' to view the specified information of both the columns.

Control flow
As the name suggests, control flow is basically controlling the flow of data.
We'll now see how the for loop works in SSIS. In the control flow tab, simply drag the 'for loop container' from the toorbox into the workspace. Right click on the workspace and choose 'variable' from the menu. It would open up a variable window where we can create a new variable as per our needs. It should look like this.
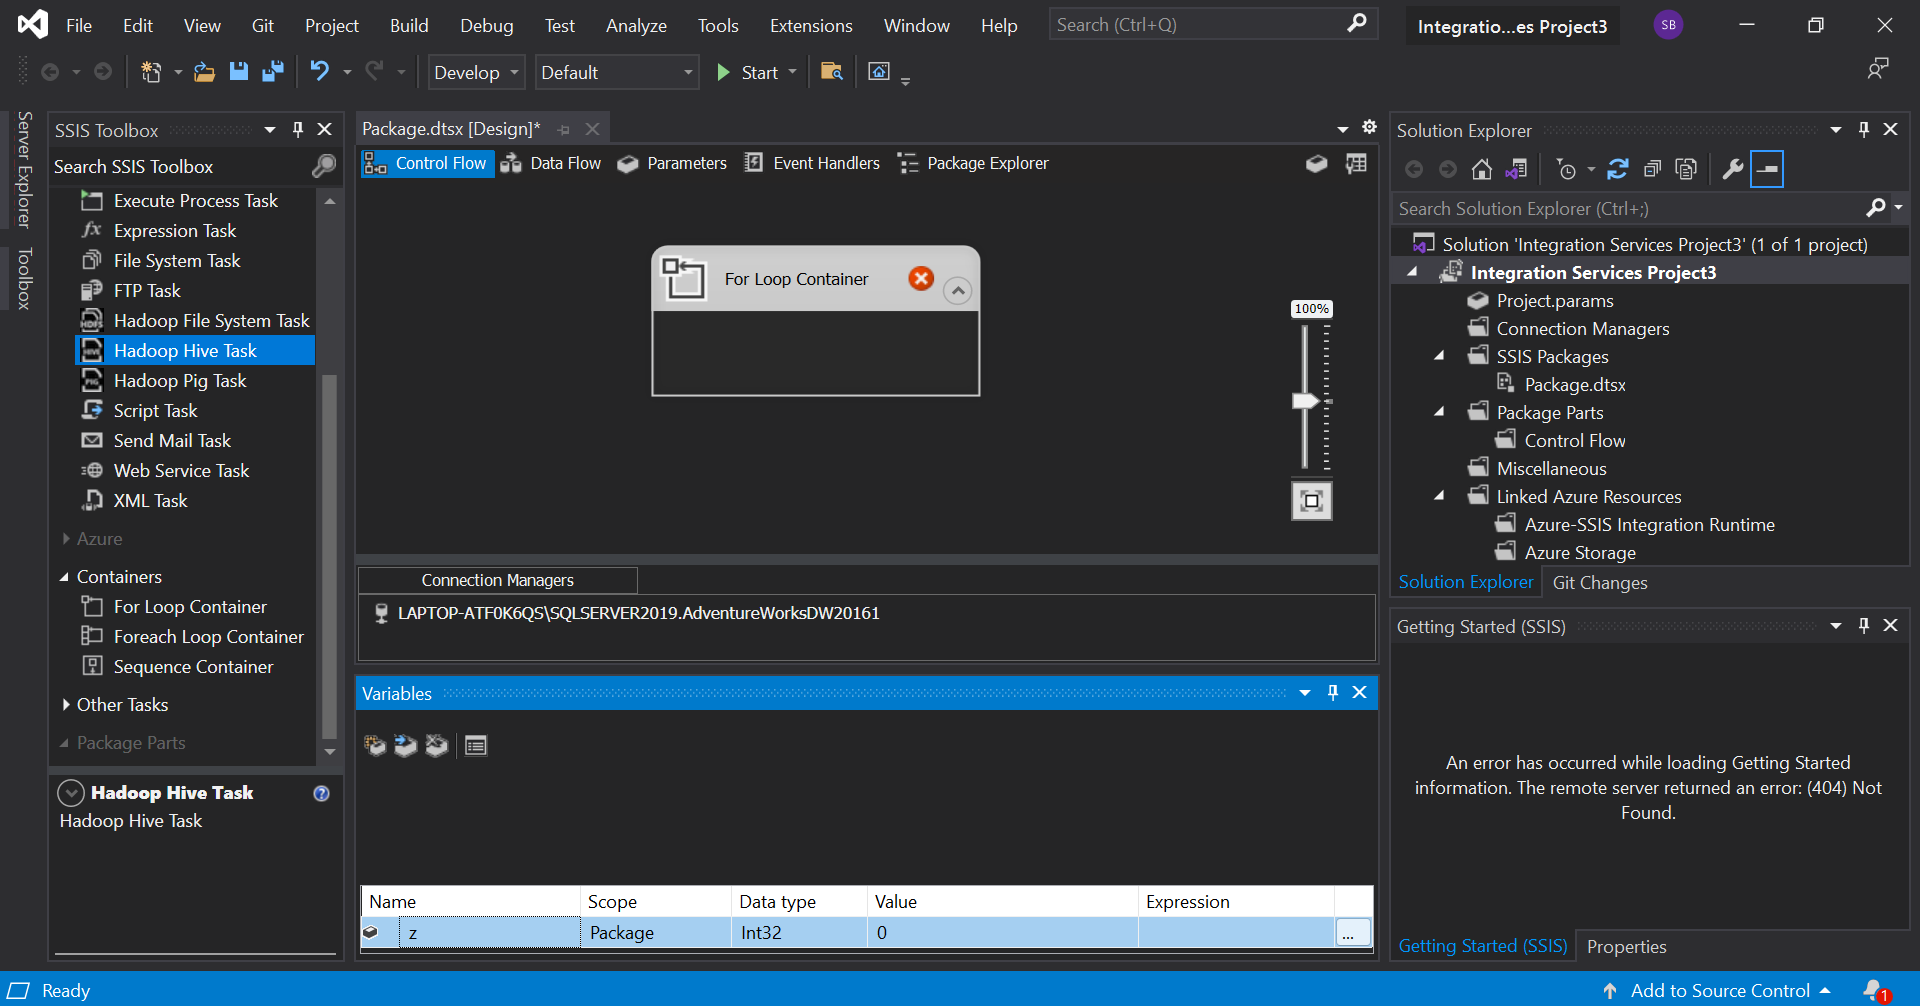
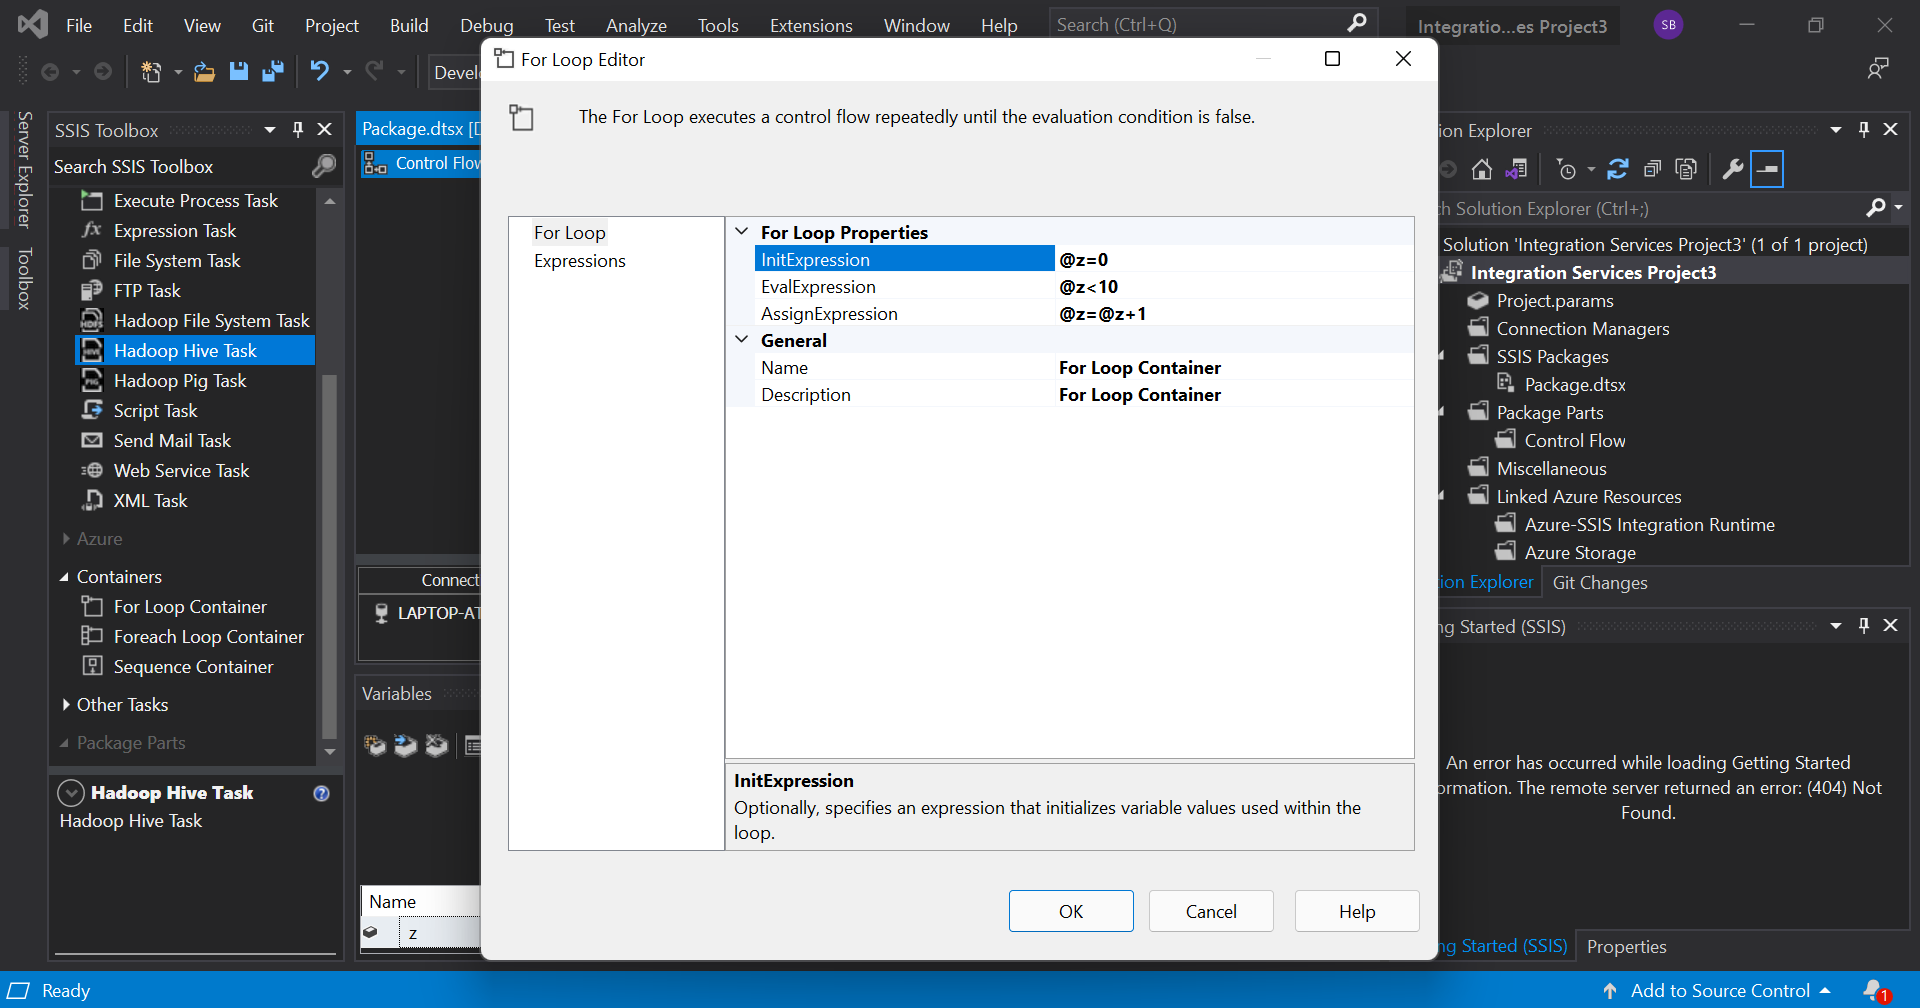
Now, double click on the loop container to open up an editor and initialize the created variable, give a condition and the specify how the variable should be updated after each iteration. In SSIS, variables start with '@'. The window should look like:
Now that we have our for loop, any task we place inside this container will be executed until the for loop terminates.
the 'Foreach container' is used when we need to repeat a control flow in a package or a set of records. This is done with the help of the 'collection' tab in its editor.
Data flow
The term data flow here is the flow of data from its source to destination. There is a separate 'Data flow task' in SSIS which bundles the data into a data engine and allows the user to modify and transform the data as it moves. Adding this task to a package's control flow enables it to perform ETL tasks.
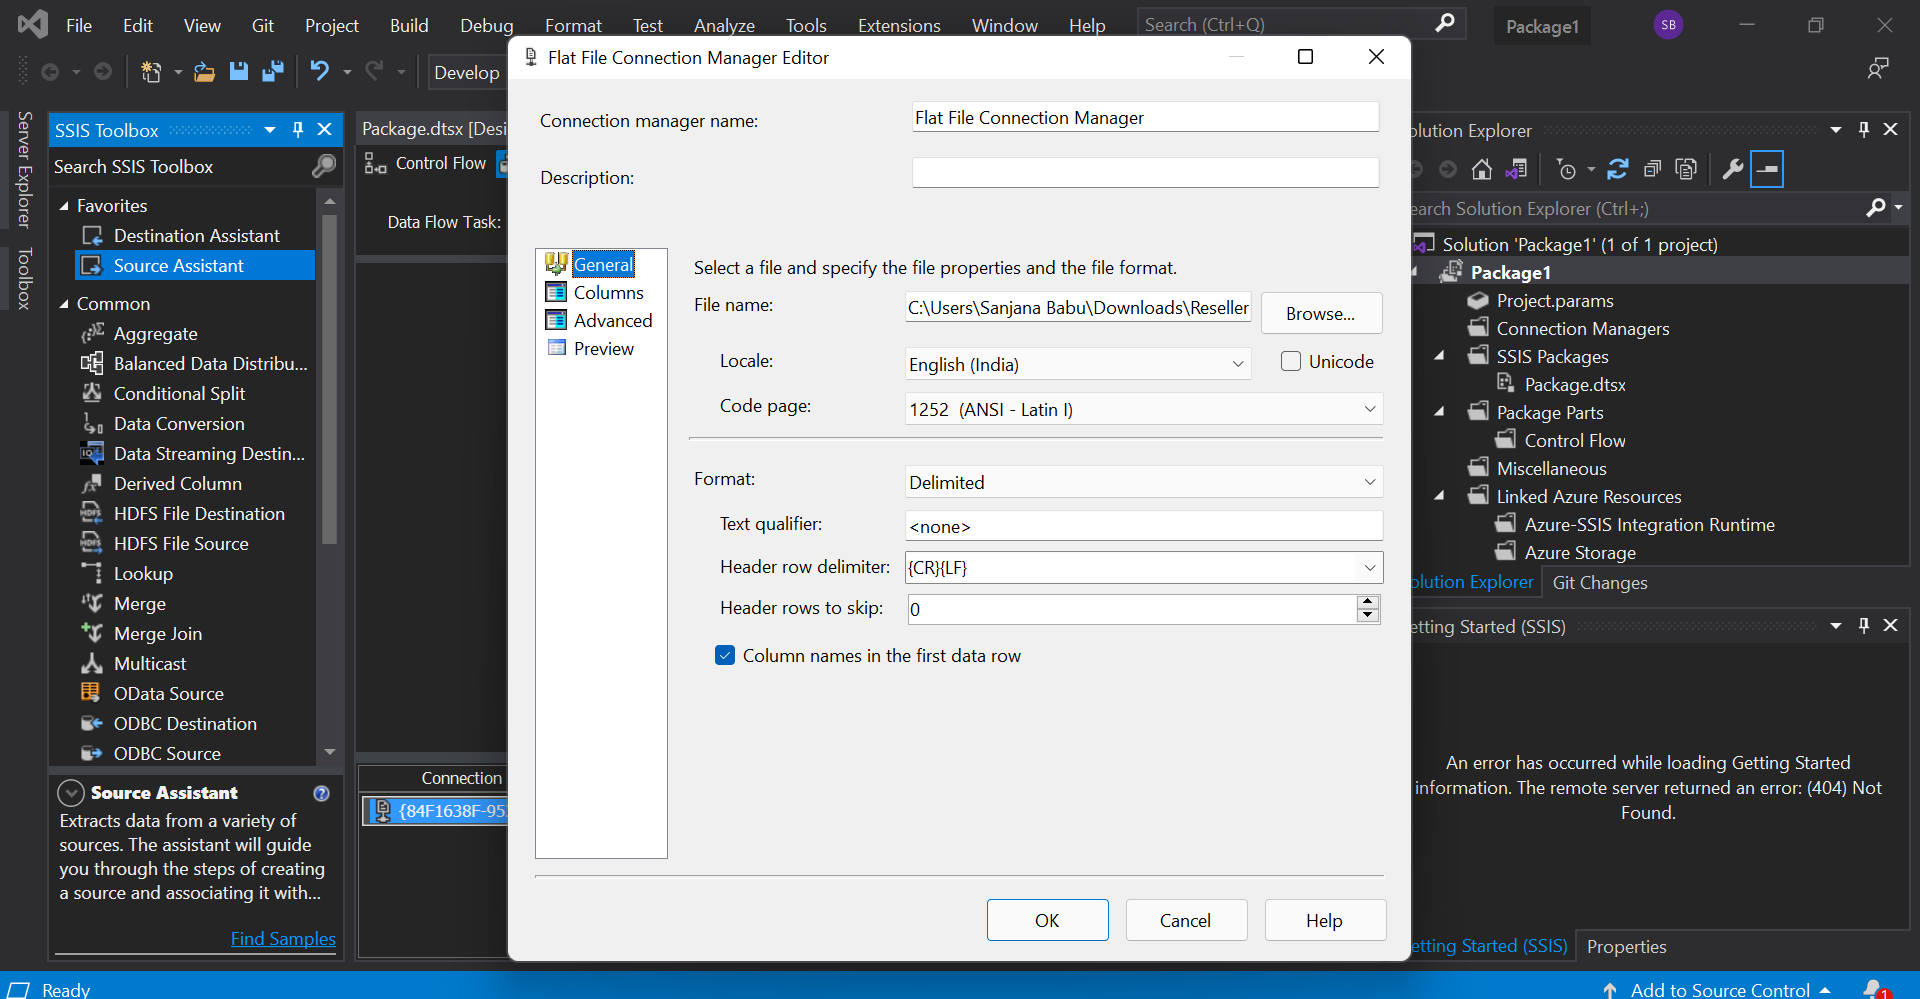
Here, we first create a new Integration Services Project in our Visual studio. In the control flow of the project, drag and drop the 'Data Flow Task' from the toolbox. If we double click on the task, it will take us to the data flow tab. Every data flow task requires a source and a destination. To add a source, drag the 'Source Assistant' from the toolbox into the workspace. Double click it to set a source. Choose a source file type and click 'New' to create a new source file. Here, I have added my new source file as a flat file as follows.
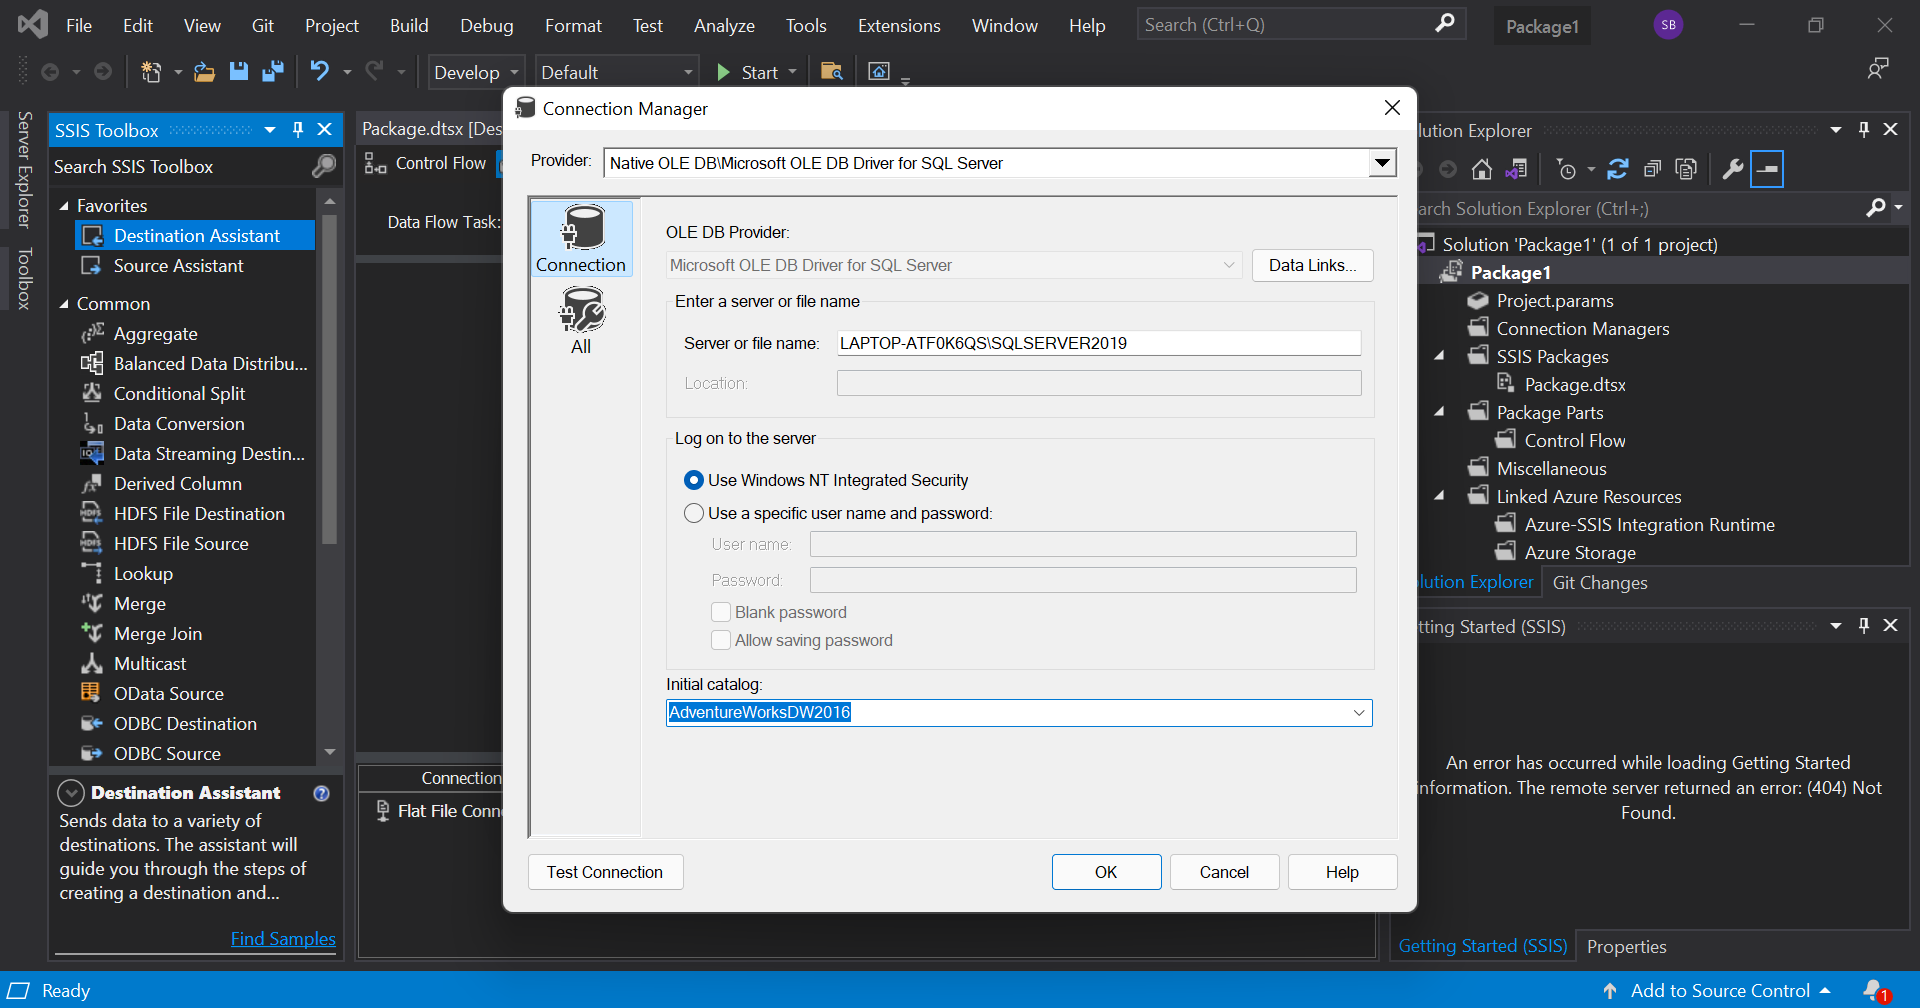
Then we need to add a destination. For this, drag the 'Destination Assistant' from the toolbox into the workspace. Double click it to set a destination. Follow the same procedures as above to add a new destination file.
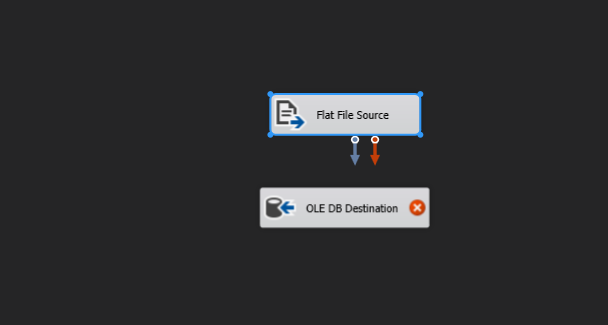
The two arrows coming from the source file represent data. The blue one represents the good data and the red one represents the bad data or simply, data where an error was encountered.
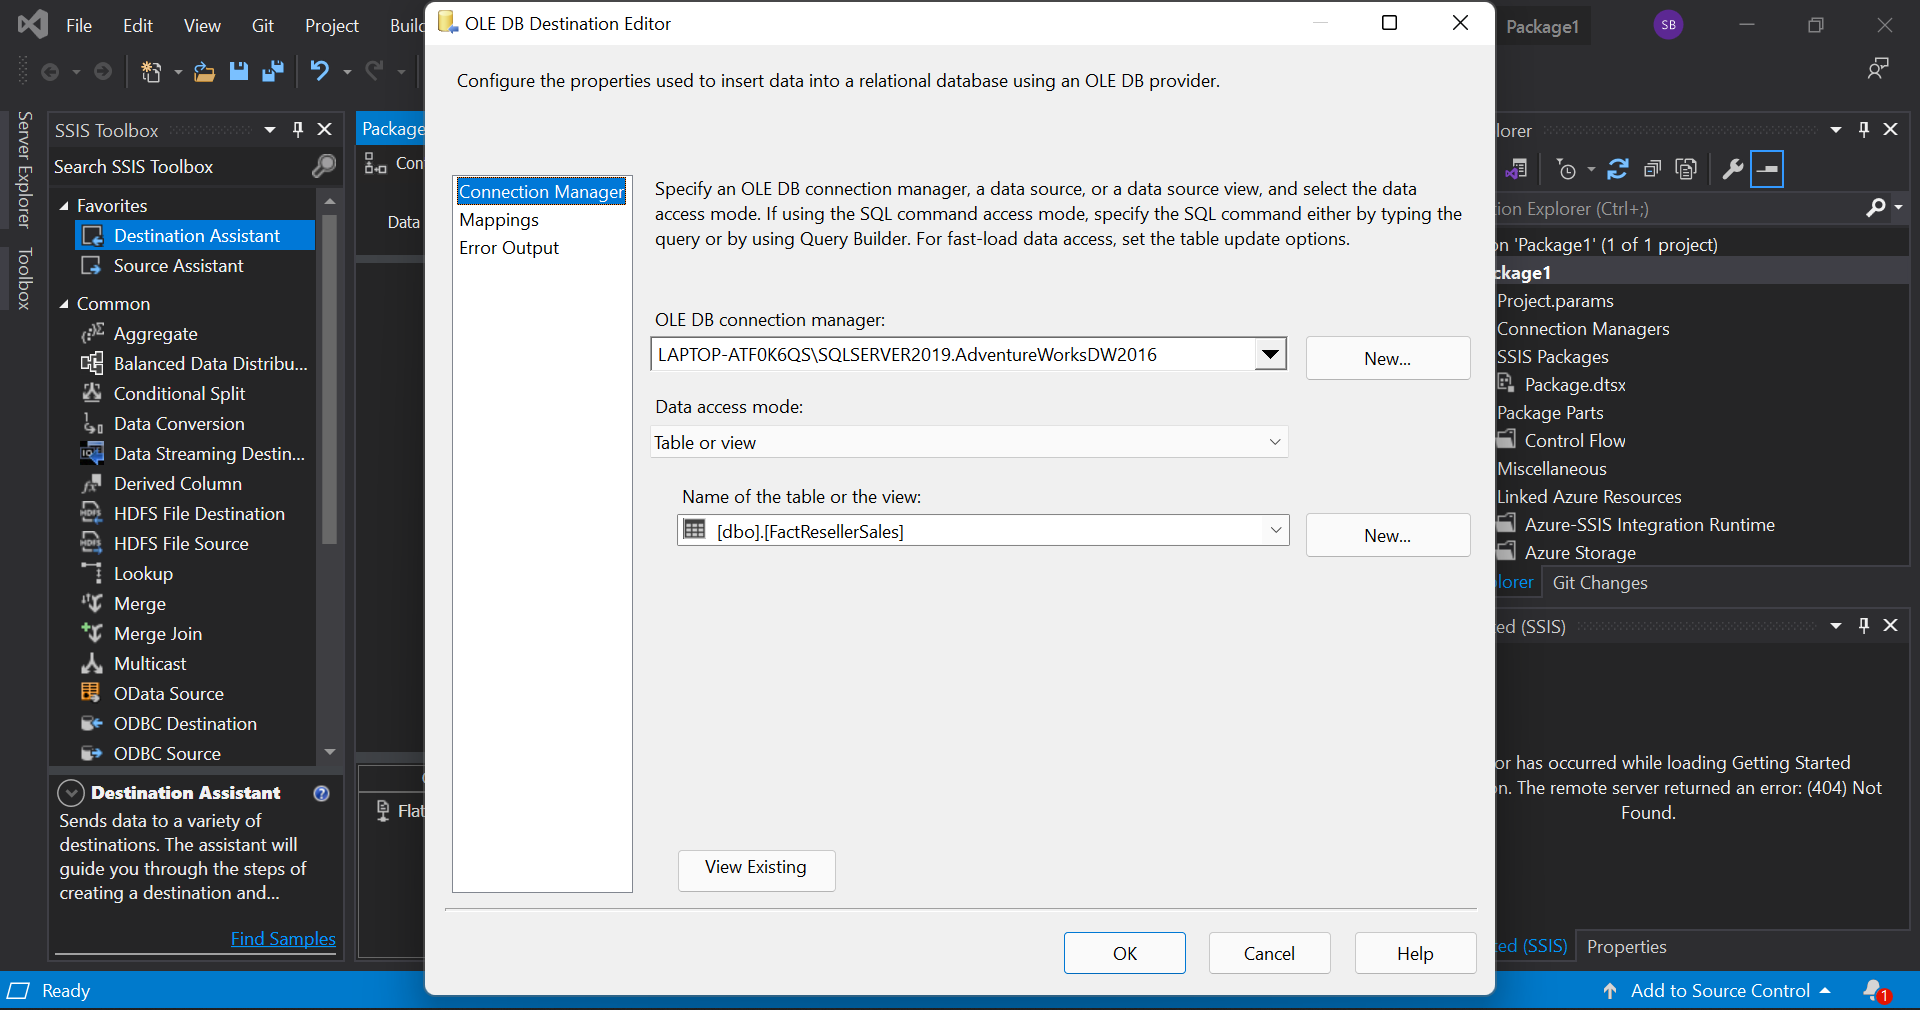
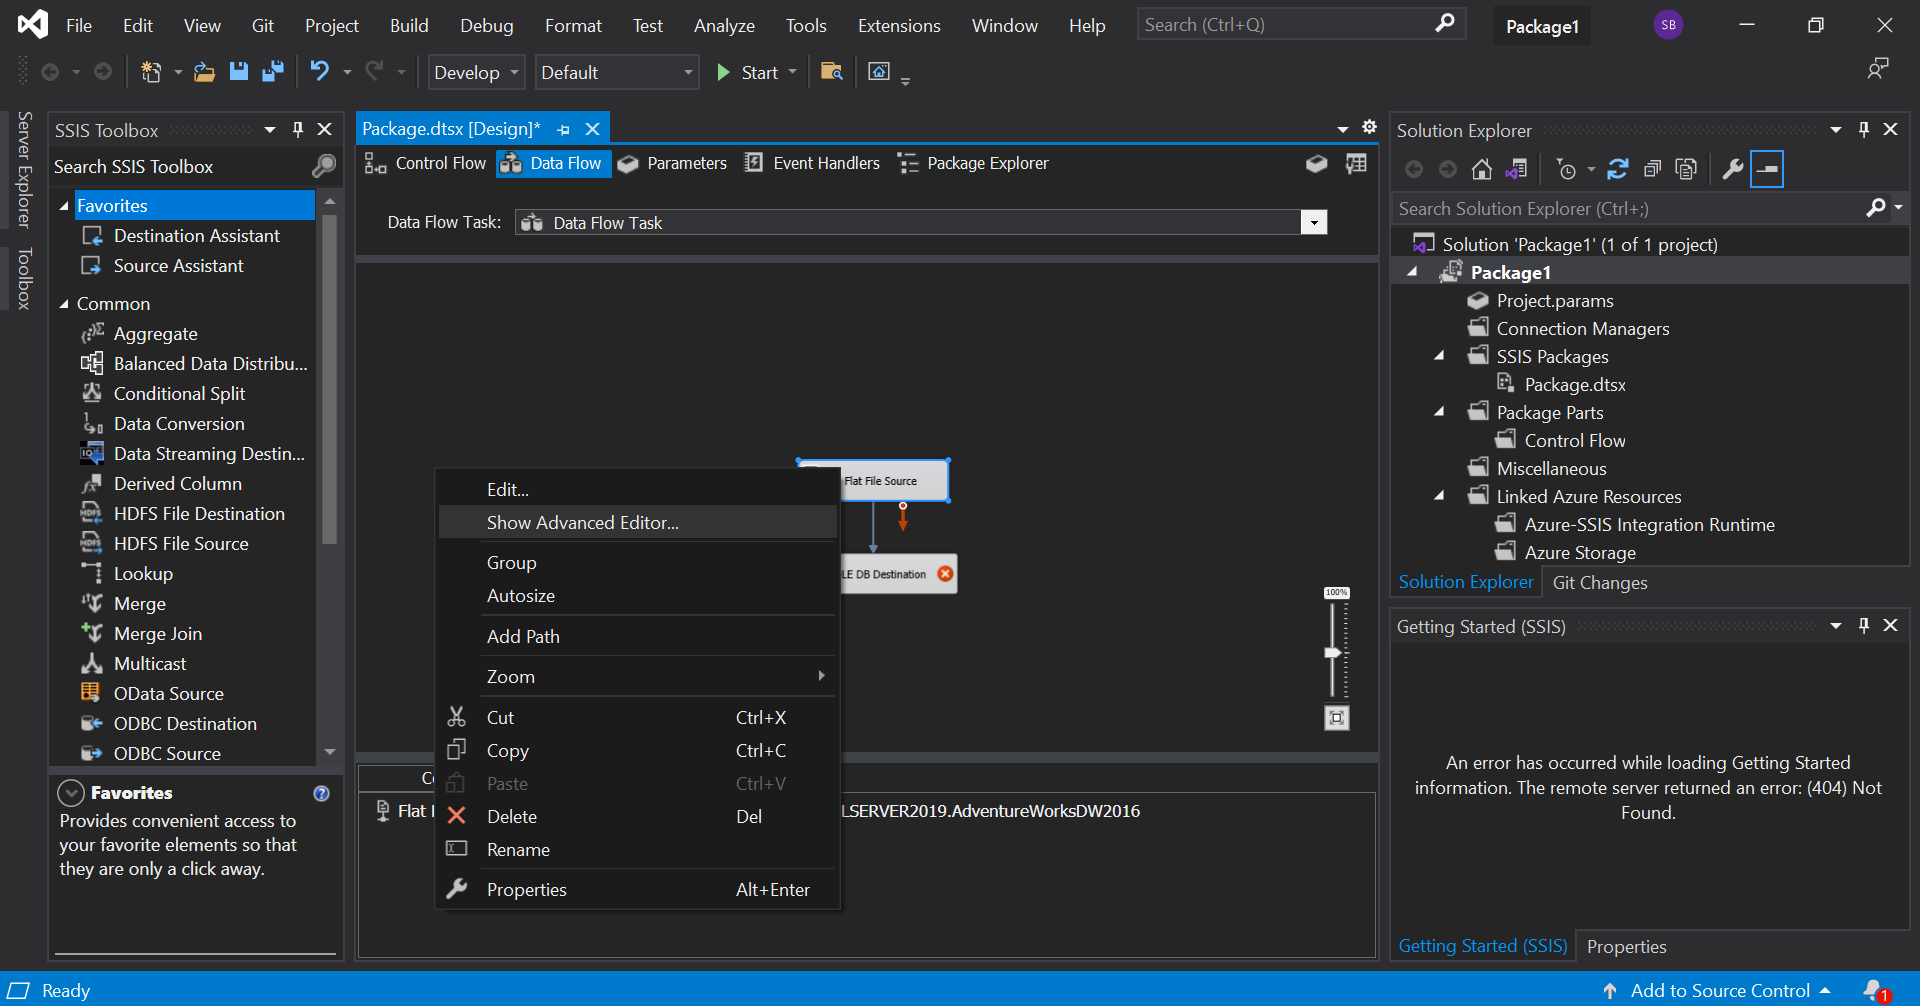
Now, to establish the path of flow, drag the blue arrow from the source and connect it to the destionation. Then double click the destination to add the table name. We leave the mapping undisturbed for now. The editor must look as follows after selecting the required options.
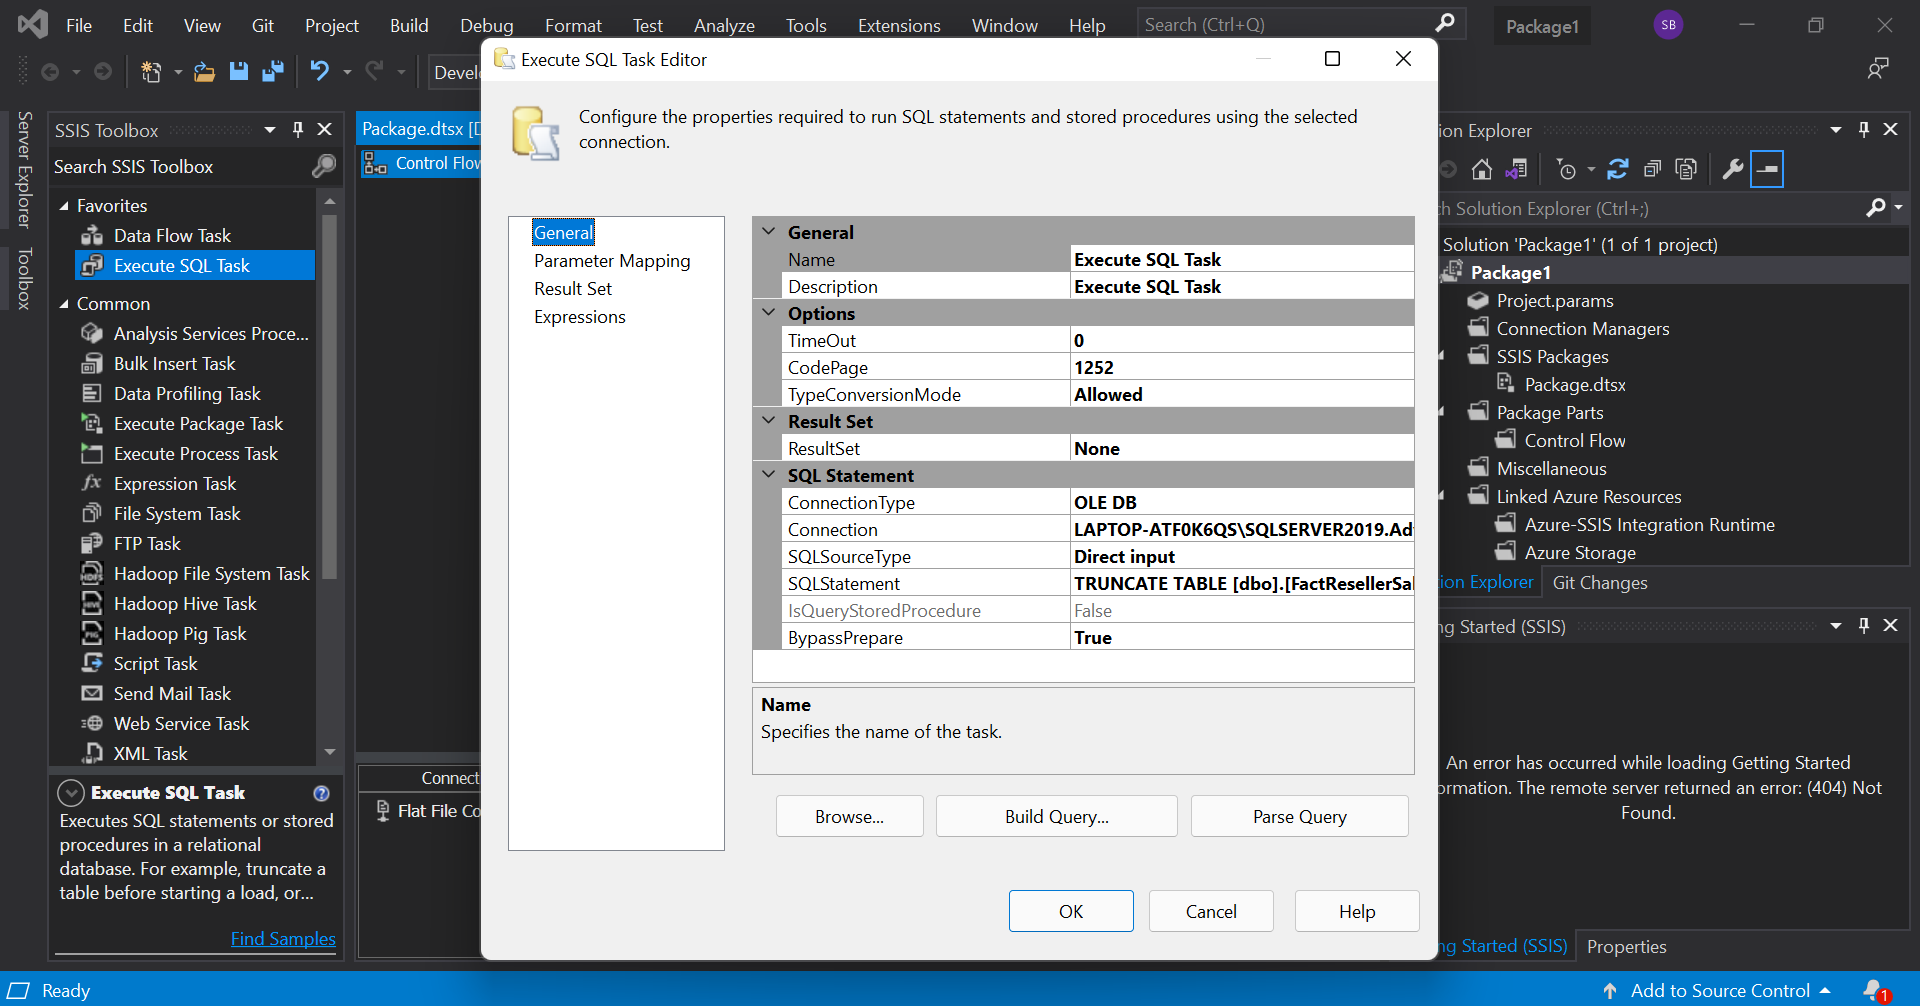
Before, we execute this task, we move to the control flow tab to exeute a truncate command which strips the table of its data leaving its structure intact. In the control flow tab, drag the 'Execute SQL Task' into the workspace. Double click the task and configure the editor as given.
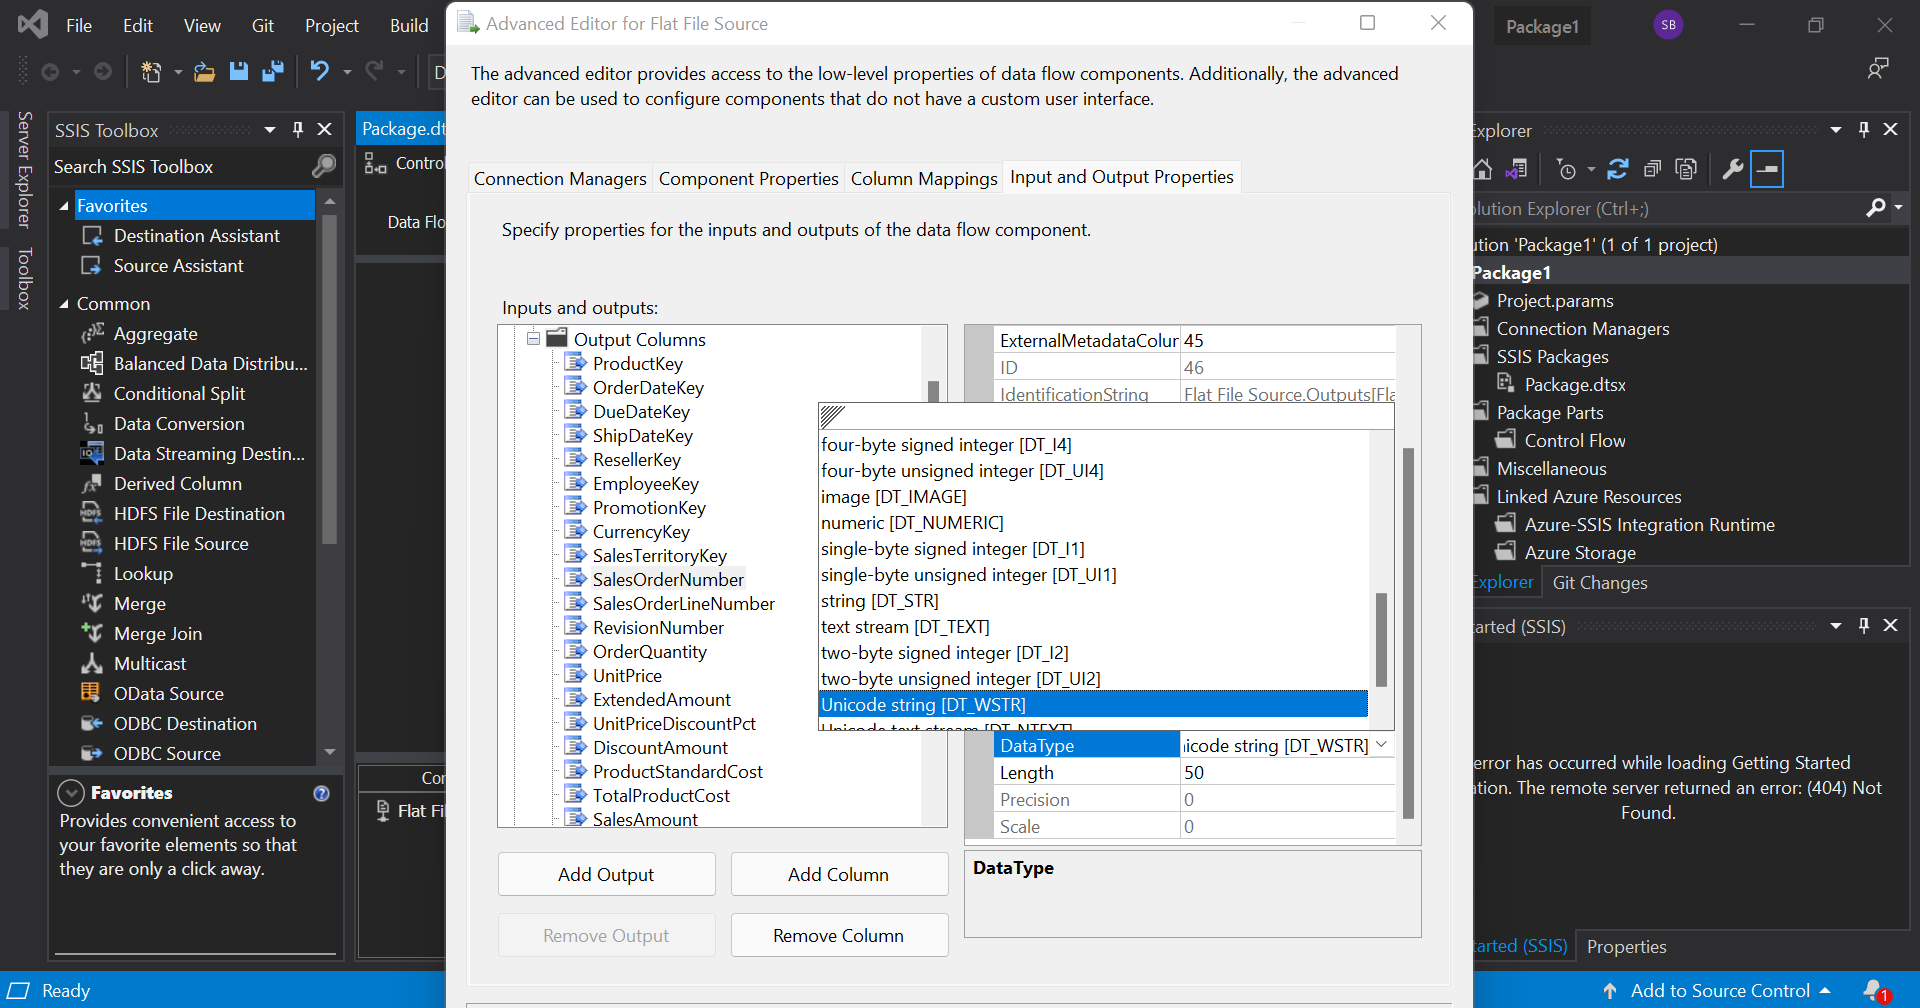
Now, connect the green arrow from the SQL task to the Data flow task. Before we execute this, we need to make sure that the input and output columns are in the same format. To check this, move on to data flow tab, go to the advanced properties of the source file and configure the output columns to match the input.
Now, go to control flow tab and execute the task. If we get green tick marks on all tasks, it indicates that the data flow was successful. Here, we have transferred data from a flat file source to an OLE DB destination.
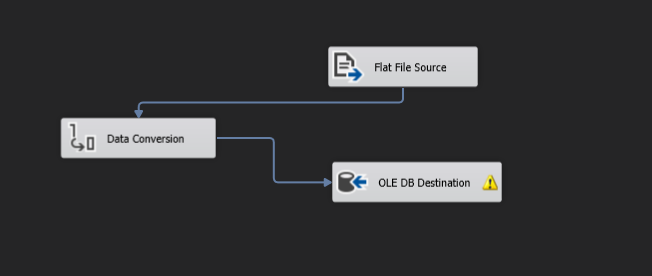
Let us now see how we can transform data as it moves. For this, in the data flow tab, remove the path from source to destination. Add 'Data Conversion' from the toolbox into the workspace. Now, connect the blue arrow from the source to data conversion and the one from data conversion to the destination. It must look like this.
Open the Data conversion editor and select the column(s) you want to convert and specify the data type that it should be converted into.
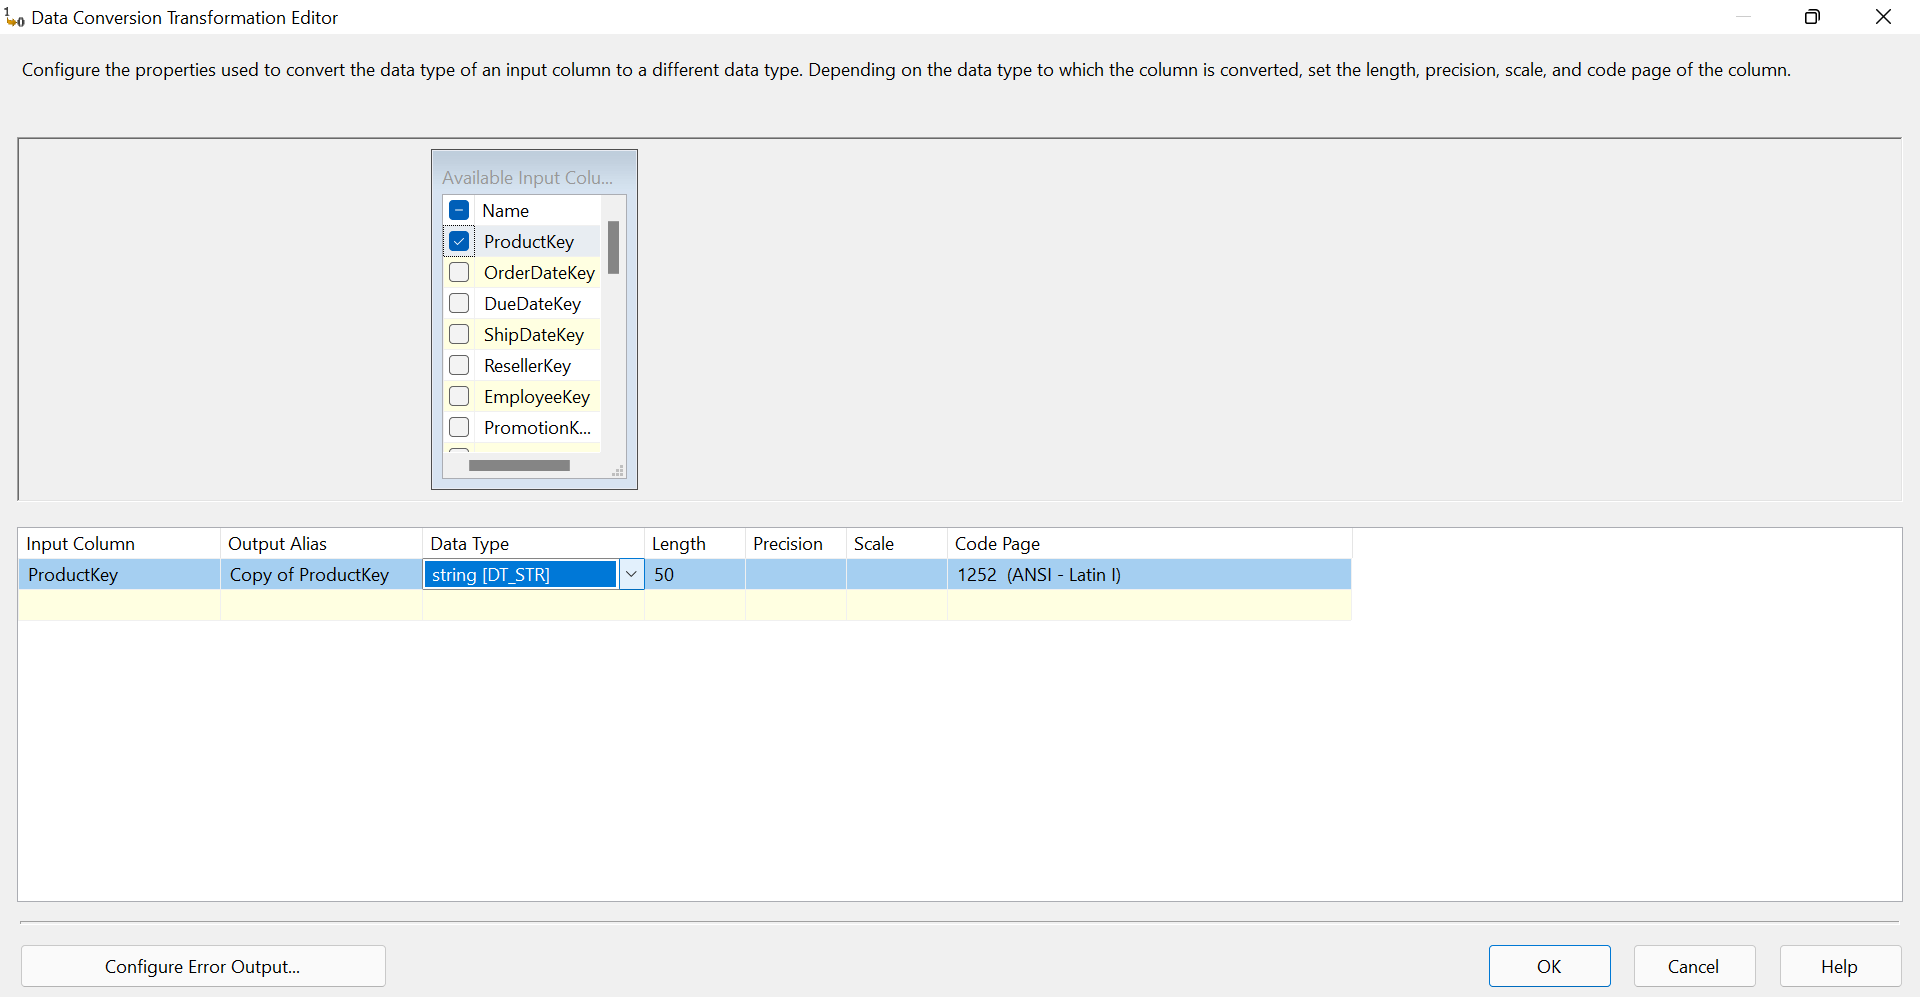
Now, if we execute this, our data will be transformed and transferred from source to destination.
For deploying the packages we have built, in the recent versions of SSIS, we deploy the package in an Integration Services catalog. This option is only available with the full version of SQL server and not in the developer version. In the full version of SQL server, after creating an Integration services catalog, we choose the build menu from the menu bar in Visual Studio and choose 'build package'. It would then be built into the location chosen. Then we'd go to the specified location and deploy the solution package.
With this article at OpenGenus, you must have the complete idea of Data Warehousing using SSIS.