
There are many ways to create user login in Flask (Python framework) like using flask-login or JWT and many more. But using sessions is the simplest to logged the user in or out which we have explored in this article. Even the concept is easy to understand and implement.
First, we need to install the extension with pip:
pip install Flask
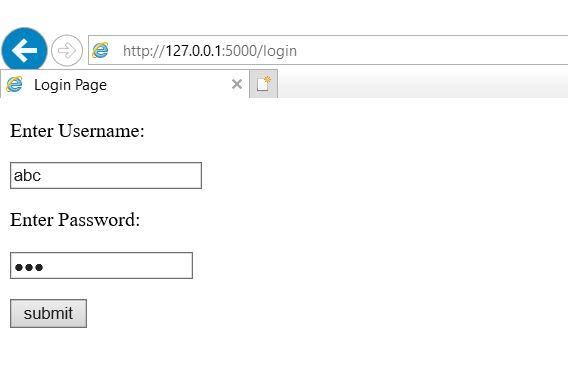
Before coding the python script, we have to make a login.html file which will take two values from the user the username and password.
<!DOCTYPE html>
<html>
<head>
    <title>Login Page</title>
</head>
<body>
    <form action="/login" method="POST">
        <p>Enter Username:</p>
        <p><input type="text" name="username" /></p>
        <p>Enter Password:</p>
        <p><input type="password" name="password" /></p>

        <p><input type="submit" value="submit" /></p>
    </form>
</body>
</html>
Remember to save the file in the folder called templates as login.html.
Now, we will start building our app.py file.
Firstly, we will import the necessary modules and start configuring our application by setting secret key.
We have to store the login credentials of the users. To do so, we will create a dictionary. One can also use a database for storing the information.
#Step – 1(import necessary library)
from flask import (Flask, render_template, request, redirect, session)

#Step – 2 (configuring your application)
app = Flask(__name__)
app.secret_key = 'ItShouldBeAnythingButSecret'     #you can set any secret key but remember it should be secret

#step – 3 (creating a dictionary to store information about users)
user = {"username": "abc", "password": "xyz"}
We have to create our endpoints that are login, dashboard, logout.
In the login endpoint, we will get the username and password of the the user from the html form and check if they match. If match is found, we will create a session which will have the information for the user.
#Step – 4 (creating route for login)
@app.route('/login', methods = ['POST', 'GET'])
def login():
    if(request.method == 'POST'):
        username = request.form.get('username')
        password = request.form.get('password')
        if username == user['username'] and password == user['password']:

            session['user'] = username
            return redirect('/dashboard')

        return "<h1>Wrong username or password</h1>"    #if the username or password does not matches

    return render_template("login.html")
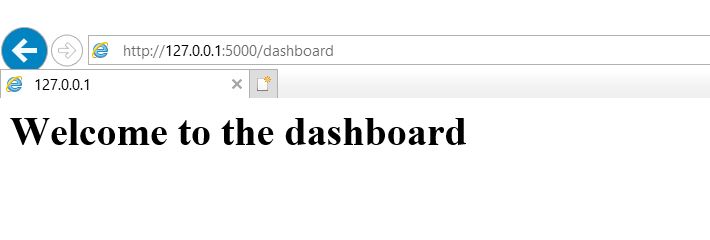
For our dashboard endpoint, we have to check if the user is logged in or not. We will do this by checking that if the user is in the session and if the ‘user’ in the session matches the username in our dictionary. If it matches, then we will render “welcome to dashboard” element of html. If not, then we will render “You are not logged in “ html.
#Step -5(creating route for dashboard and logout)
@app.route('/dashboard')
def dashboard():
    if('user' in session and session['user'] == user['username']):
        return '<h1>Welcome to the dashboard</h1>'
    #here we are checking whether the user is logged in or not

    return '<h1>You are not logged in.</h1>'  #if the user is not in the session
The logout endpoint will remove the session by popping it out and we will be redirecting the user to the login page.
#Step -6(creating route for logging out)
@app.route('/logout')
def logout():
    session.pop('user')         #session.pop('user') help to remove the session from the browser
    return redirect('/login')

#Step -7(run the app)
if __name__ == '__main__':
    app.run(debug=True)
Our app.py file will look like this:
#Step – 1(import necessary library)
from flask import (Flask, render_template, request, redirect, session)

#Step – 2 (configuring your application)
app = Flask(__name__)
app.secret_key =

#step – 3 (creating a dictionary to store information about users)
user = {"username": "abc", "password": "xyz"}

#Step – 4 (creating route for login)
@app.route('/login', methods = ['POST', 'GET'])
def login():
    if(request.method == 'POST'):
        username = request.form.get('username')
        password = request.form.get('password')
        if username == user['username'] and password == user['password']:

            session['user'] = username
            return redirect('/dashboard')

        return "<h1>Wrong username or password</h1>"

    return render_template("login.html")

#Step -5(creating route for dashboard and logout)
@app.route('/dashboard')
def dashboard():
    if('user' in session and session['user'] == user['username']):
        return '<h1>Welcome to the dashboard</h1>'


    return '<h1>You are not logged in.</h1>'

#Step -6(creating route for logging out)
@app.route('/logout')
def logout():
    session.pop('user')
    return redirect('/login')

#Step -7(run the app)
if __name__ == '__main__':
    app.run(debug=True)
Then run the program in cmd or powershell or terminal:
python app.py
The last line will show you the path to where you can go to test your application.
You will get this,
Sessions are widely used to create user login easily and efficiently.
Question
Which method is used when a server accepts the data in the body of the request?
With this article at OpenGenus, you must have the complete idea of creating a Login Page in Flask. Enjoy.