
In this article we are going to learn about using the shutil module in Python to create an archive consisting of several smaller files. This is often required when we want to distribute the source code of any complex software applications which might contain hundreds of different files. Without the advantage of archiving files into a single package, it would be very difficult to distribute the source code. This is the reason the linux kernel source is always distributed in the form of tarballs. Similarly, when downloading the source code of any project from github, it always downloads in the form of a ZIP archive.
In a ZIP archive, the individual files are compressed and then these compressed files are archived into a single package.
TAR archives on the other hand, are of 3 types:
- *.tar.gz (or) *.tgz
- *.tar.bz2 (or) *.tbz2
- *.tar.xz (or) *.txz
The TAR application only collects all the required files into a single package. Then, another compression application is used to compress the package to reduce it size. The compression application used to compress a tarball is decided by the final extension of the archive.
In the case of the 1st extension in the above list, the tarball is compressed using the gzip compression application.
In case, the archive has the 2nd extension in the list, the tarball is compressed using the bzip2 compression application.
Finally, in case the application has the last extension in the list, it is compressed using the xz compression application.
Before making archives in Python using shutil, we first need to know what kind of archive formats our system supports. For this we can use the get_archive_formats() function of the shutil module to get a list of supported archive formats.
import shutil
print(shutil.get_archive_formats())
In my system it outputs the following list:
arnamaity@arna-UX430UQ:~/OpenGenus$ python3 archive.py
[('bztar', "bzip2'ed tar-file"), ('gztar', "gzip'ed tar-file"), ('tar', 'uncompressed tar file'), ('xztar', "xz'ed tar-file"), ('zip', 'ZIP file')]
The above image is a list of all the archive formats with which we can create archives.
Similarly, if we want to extract archives using the shutil, we first need to know about the supported unpacking formats. For this we can use the folllowing command:
import shutil
print(shutil.get_unpack_formats())
The output of the above command on my system is shown below:
arnamaity@arna-UX430UQ:~/OpenGenus$ python3 archive.py
[('bztar', ['.tar.bz2', '.tbz2'], "bzip2'ed tar-file"), ('gztar', ['.tar.gz', '.tgz'], "gzip'ed tar-file"), ('tar', ['.tar'], 'uncompressed tar file'), ('xztar', ['.tar.xz', '.txz'], "xz'ed tar-file"), ('zip', ['.zip'], 'ZIP file')]
Now, Let's jump into the interesting part of packing and unpacking archives.
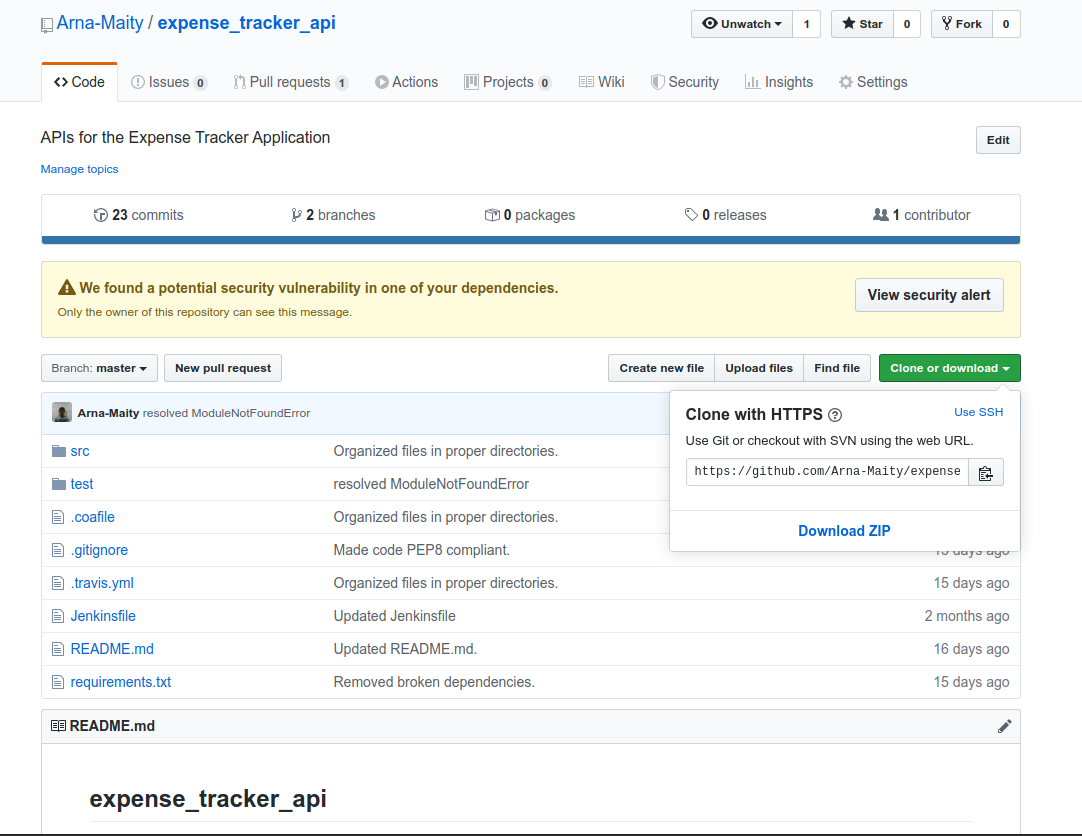
Let's say we download the source of a project from Github, in a ZIP archive format as shown below:
Now let us extract the downloaded zip using the shutil module. For this we are going to use the unpack_archive() function from the shutil module. Have a look at the following code snippet:
import shutil
import os

#arc_formats = shutil.get_archive_formats()
unarc_formats = shutil.get_unpack_formats()
print(unarc_formats)

# Source File location
source_file = '/home/arnamaity/Downloads/expense_tracker_api-master.zip'

# Constructing the path of the extraction location.
dir_path = os.getcwd()
path = os.path.join(dir_path,'expense_tracker_api/')
os.mkdir(path)
dest_dir = path

print(path)

# Extract the files
shutil.unpack_archive(source_file,dest_dir,'zip')

# Print the Extracted Contents.
dir_list = os.listdir(path)
print('The final directory list: ')
print(dir_list)
In the above code, we do the following steps in the order given:
- We save the absolute path of the zip archive to a variable
source_file. - In the 2nd step, we construct a destination directory path, where we want to extract the zip archive using simple utilities from the os module.
- Finally, we use the
unpack_archive()function to extract the zip archive. Note the usage of the functionunpack_archive()in the above code.
It consist of 3 Arguments:
- The absolute path of the zip archive we want to extract (source_file in this case).
- The destination directory where we want to store the extracted contents (dest_dir in this case).
- The archive format ('zip' in this case).
The output of the above code:
arnamaity@arna-UX430UQ:~/OpenGenus$ python3 unarch.py
[('bztar', ['.tar.bz2', '.tbz2'], "bzip2'ed tar-file"), ('gztar', ['.tar.gz', '.tgz'], "gzip'ed tar-file"), ('tar', ['.tar'], 'uncompressed tar file'), ('xztar', ['.tar.xz', '.txz'], "xz'ed tar-file"), ('zip', ['.zip'], 'ZIP file')]
/home/arnamaity/OpenGenus/expense_tracker_api/
The final directory list:
['expense_tracker_api-master']
Now, Let us use the extracted files to again compress them into a single .tar.xz archive.
# Constructing the path of the extraction location.
dir_path = os.getcwd()
path = os.path.join(dir_path,'expense_tracker_api/')
os.mkdir(path)
dest_dir = path

# Compress extracted files into .tar.xz format.
filename = shutil.make_archive(path+'expense_tracker_api_master','xztar',path,path)

print(filename)
The output of the above code is as follows:
arnamaity@arna-UX430UQ:~/OpenGenus$ python3 archive.py
/home/arnamaity/OpenGenus/expense_tracker_api/expense_tracker_api_master.tar.xz
The above code prints the name of the archived file along with is absolute path.
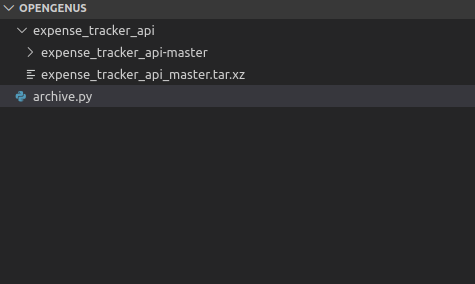
And the code generates the .tar.xz archive as shown below:
So, what are the arguments to make_archive() function ?
- The 1st argument specifies the name of the output file to be generated without specifying any extension, and along with the absolute path.
- The 2nd argument is to specify the archive format we want to use (In our case we wanted a .tar.xz archive so we specified the 'xztar' format).
- The 3rd argument is to specify the root directory of our compressed archive.This is where our archive will be stored.
- The 4th argument is the base directory, the content of which will be included in the archive we are creating.
The above 4 arguments are the most important ones. There are other arguments however, but for the course of this basic tutorial we are not going to go into more details.
In addition to the above described 4 archiving functions, we also have the following archive-related functions in the shutil module:
- register_archive_format(): Used to register a new archiving format. That is, add a new format to the supported archive formats list.
- unregister_archive_format(): Remove an archiving format from the list of supported archive formats.
- register_unpack_format(): Used to register a new archive unpacking format. That is, add a new format to the supported archive unpack formats list.
- unregister_unpack_format(): Remove an archive unpacking format from the list of supported unpack formats.
Learn more:
- Shutil module in Python by Devansh Thapa (OpenGenus)
- List of Python topics at OpenGenus
This article was a basic introduction to the various archiving utilities available to us through the shutil module.