
Vue is a progressive JavaScript front-end framework which was developed for creating user interfaces and it could be effectively used to develop Single Page Applications (SPAs).
It is an open-source framework and follows model-view-viewmodel (MVM) pattern architecture where the data is binded two-way to views and components. The popularity of this framweork could be attributed to its easy integration and prototyping, and its small size (~ 20 KB). In this article, we'll understand the working of Vue through developing a basic single page application.
About Vue
So, Vue was created by Evan You, a developer working at Google at that time and was working on AngularJS (Angular 1.0) applications. He wanted to have more efficient applications with a not-so-complex stack involved like in Angular. So, he picked up the templating syntax of Angular and one of the popular features of React i.e Virtual DOM and many more features in order to develop Vue. Vue is not a project which is backed by Google or Facebook but indeed through sponsorships has a rapidly growing community.
Just to give a glimpse of Vue, we'll be seeing how a Vue component works.
<html>
  <body>
    <div id="vuejs">
        <h1>{{ heading }}</h1>
        <p>{{ text }}</p>
    </div>
    <script src="https://iq.opengenus.org/vue"></script>
    <script>
      new Vue({
          el: "#vuejs",
          data: { text: "Hello! This is Vue.
                Use me to make amazing applications..." ,
                  heading: "My first Vue App" }
            })
    </script>
  </body>
</html>
Add this code to an empty file on your system and save it as an HTML file. When you'll open this file in a browser, you'll see a heading and a text message below it. Kudos! This was your first Vue application.
So, to explain what is happening in the code, a new Vue app is being instantiated, linked to the #vuejs element as its template. The template further is associated to the data object which contains the data the user wants Vue app to render. A special {{}} tag is used in the template for dynamic content which could be found in the Vue app data.
Now, Vue could be either used to create some kind of standalone widgets or create a whole web application.
But whenever you're going to build a big project or an application, the best way to setup your Vue application is to use Vue CLI. This command line utility helps you to choose from set of build tools according the requirements and set ups and configures the intial point of your Vue application. This indeed helps a developer to save a lot of time and effort if he starts from the scratch.
We'll understand how Vue CLI could be used to create a simple check-list for our day to day lives.
To install it using npm, open the command prompt and type:
> npm install -g @vue/cli
Once it is succesfully installed, you can probably check if it is installed by typing the command vue --version which will give the version of vue CLI installed.
In order to create or start an application using Vue CLI, type the given command in the directory you want to keep this project:
> vue create daily-list
(Let's name this project 'daily-list')
You'll see these kinds of set up options present for setting up the application.
Vue CLI v4.5.12
? Please pick a preset:
  Default ([Vue 2] babel, eslint)
> Default (Vue 3 Preview) ([Vue 3] babel, eslint)
  Manually select features
For now choose the default settings (Vue 3 Preview). Some plugins of Vue 3 are still under development but still, Vue 3 in itself could be used for development. One of the most exciting additions over here in Vue 3 is of the Composition API. If you're completely new to Vue, you can skip this for now.
After the setup is completed, you'll see a folder named 'daily-list' in your directory. To move inside the folder and run the application, run the following commands:
> cd dailylist
> npm run serve
After clicking on the link directing to the local server, You'll probably see a page like this shown below:
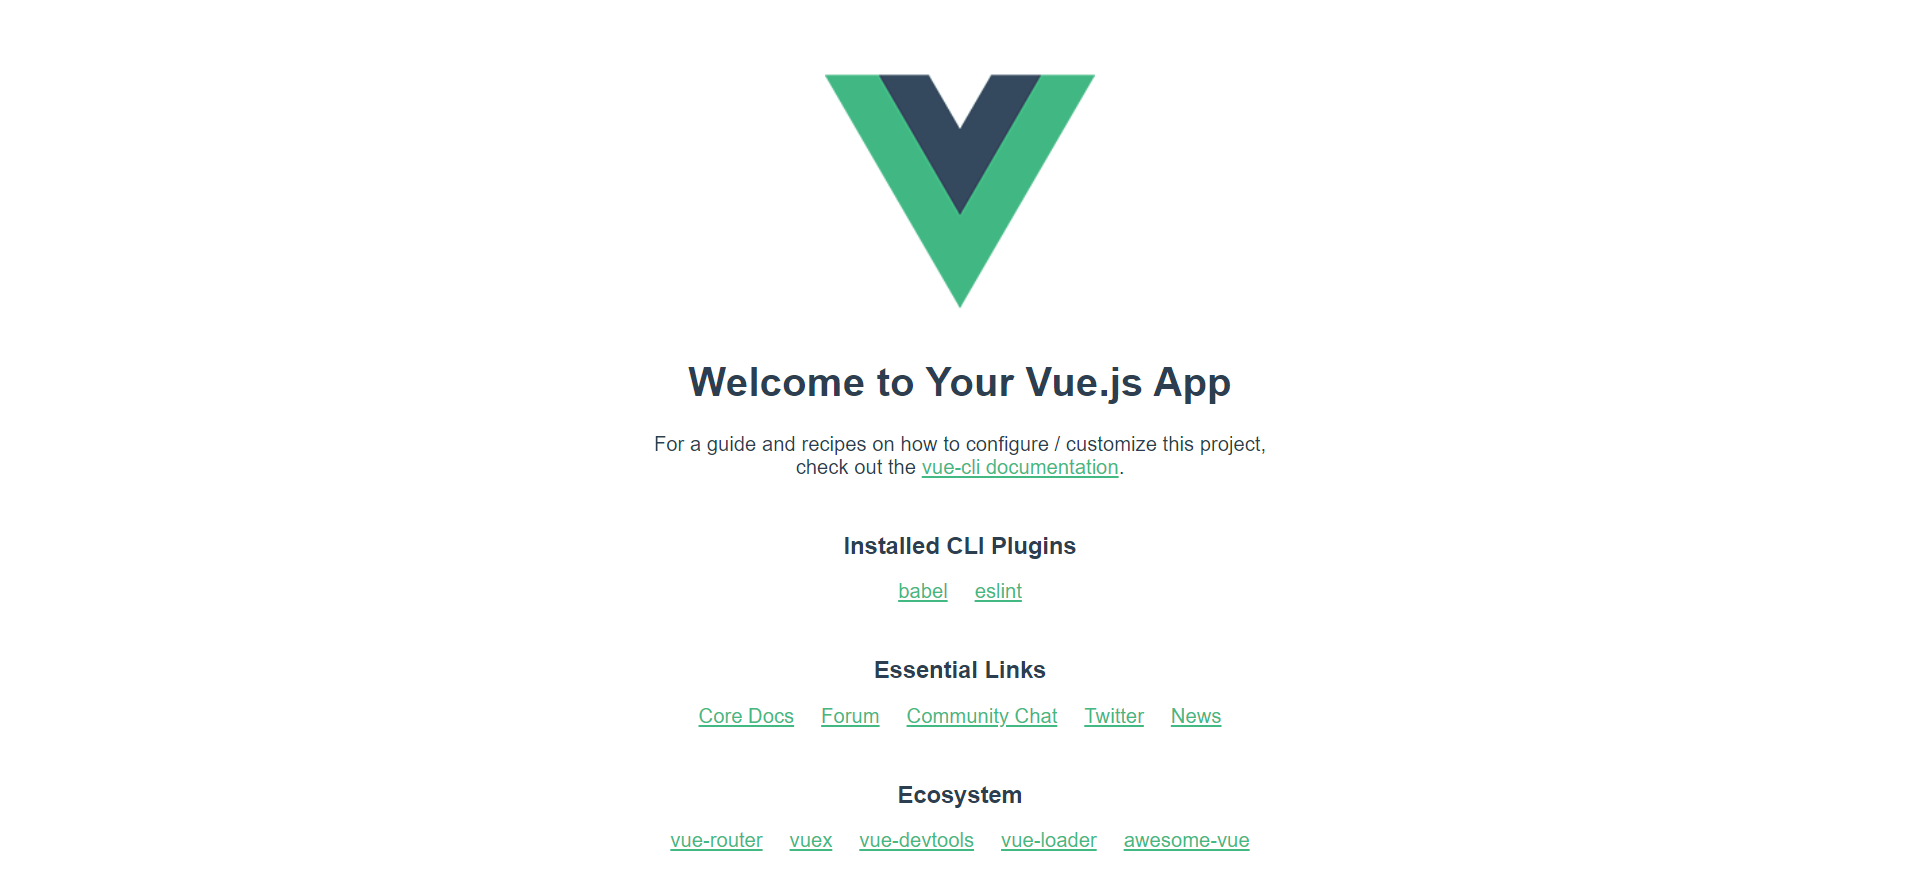
After successfully getting the default page loaded, now we'll move on to create our daily check-list for ourselves. Now, to do so, open your working directory in an editor of your choice. I prefer using Visual Studio Code as it provides extensions such as Vetur for managing Vue applications and Live Server for a dynamic development server (even though it is optional and you can run the server through command prompt as well).
After opening the directory, you would a similar kind of folder structure:
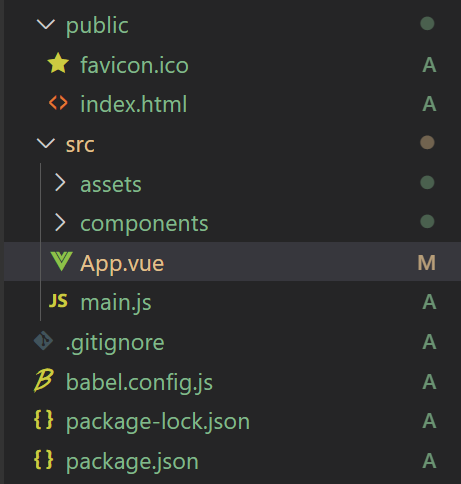
Discussing about the folder structure:
- public. As the name says, it contains all the public files. All the static files are stored here and they do not go through the webpack.
- src. It contains all the source files of the project.
- src/assets. It contains the project’s assets such as images.
- src/components. All the Vue components are stored over here.
- src/App.vue. It is the main Vue component.
- src/main.js. It is the main project file which bootstraps the Vue application.
- babel.config.js. This is the babel configuration file.
- package.json. It contains a list of the project’s dependencies, as well as the configuration options for ESLint, supported browsers.
- node_modules. It has all npm packages.
Now, let us move to src/App.vue, we'll be making changes to this file for this tutorial.
Inside the template tags, we'll define our HTML for our application to render. We'll give a suitable heading to display for the daily list and furthermore we need to take an input from the user regarding what all activities it wants to add.
Remove the script and style blocks from the file for now and add the following code for creating a user input form.
<div>
  <h1> QUARANTINE CHECKLIST </h1>

  <form>
    <label> Enter today's task </label>
    <input name = "addtolist">
    <br/>
    <button> Add to list </button>
  </form>
</div>
Now, save the file and run the command npm run serve on the terminal if the local host is not running to see the changes.
Moving forward, we want to store the task user has entered on submitting the form. So, we'll add a submit event listener to our form element. To do so, we can use either v-on: "newInput" directive and newInput as our function name which we'll be defining later or use a shorthand @submit: "newInput" .
Now, one of the new additions of Vue 3 is the Composition API*. For those who are new to Vue can skip this for the moment and for those who were aware of Vue 2, just to increase code reusability, by replacing component options with the setup() method, the API allows developers to organize their components by logic and functionality, instead of organizing it through component options.
So, define a script tag below the template tag, and define a setup() method.
With this article at OpenGenus, you must have a good introductory idea of Vue.