
In this article, we will explain what radio buttons are and how to include them in an HTML file.
Table of contents:
- What are radio buttons in HTML?
- Where is the name coming from?
- Attributes of this input type
- Examples
What are radio buttons in HTML?
Radio buttons are clickable circles that are a type of an input element in HTML. With an input element we can get user inputs and they can have many types, for example, text, email, number, checkbox, and radio (these are just a few which are used commonly and there's many more).
We usually include radio buttons in our website when we want the user to select an option from several choices.
They are similar to the checkbox types which means that the user can click on them to select the value they want, however, while they can select multiple values with the checkbox types, they can only select one value with the radio types.
Where is the name coming from?
Simply, this input type got the name of radio because they look like the buttons on an old radio.
Attributes of this input type
<label for="red">Red</label>
<input type="radio" id="red" name="colors" value="red" checked />
The type attribute specifies what kind of input it is.
So we have our input element with the type radio which means that this input will be a radio button when it will be loaded in our browser.
The id is a unique identifier for the element. We can use the id to reference the element throughout our program, for example, in CSS, we can target the element with its id.
Above our input we have a label element which is basically just a text, in this case, it's the label for the input with the id "red". This element is not necessary but for best practices it's good to include next to our input fields. We can say that the for attribute connects the label and the input together, when we click the label (text) itself, then the radio button gets checked.
The name attribute is for the group name. We can name the group however we want, but it would make sense to name it accordingly to our radio buttons name/label. For example, here the name is "colors" because each radio button indicates a color, if we would have inputs with values like dog and cat then the "pets" name for the group would be appropriate. Each input needs to have the same group name so then they can be gathered in one group. If they don't have the name attribute then they will not be part of any group.
The value attribute specifies the value of the input, here we have the value "red", so when we select this particular input or radio button, we select the color red. If this attribute is missing then a default "on" value will be added to the form data when it's submitted. But this won't provide too much information for us , so it's better if we always add the value attribute.
Lastly, the checked attribute can be optional if we want a default value to be checked when our page loads. If one of them is checked and we want to check another one, then the previous will automatically "uncheck" itself.
Keep in mind that it's not a good idea to give the checked attribute to more than one input because there can only be one selected, so if we would give all three of them the checked attribute, then the last one will be valid as it would override the previous checked ones. Also, on our page in the browser, only the last one will be shown as selected.
Examples
Example 1:
<form>
    <fieldset>
       <legend>Select a color:</legend>
       <div class="column">
         <div class="input-container">
          <label for="blue">Blue</label>
          <input type="radio" id="blue" name="colors" value="blue" />
         </div>
         <div class="input-container">
          <label for="green">Green</label>
          <input type="radio" id="green" name="colors" value="green" />
         </div>
         <div class="input-container">
          <label for="yellow">Yellow</label>
          <input type="radio" id="yellow" name="colors" value="yellow" />
        </div>
      </div>
      <input type="submit" value="Submit" />
    </fieldset>
</form>
In this example, we have a simple form element with a fieldset that groups all the inputs together. The legend element is basically a title/caption for its parent, the fieldset element.
Each input has it's own label with a color as its value.
We can see, that all of them have the same name attribute, so these radio buttons belong to the group named "colors". None of the inputs has the checked attribute and when we submit this form in this state, this radio group will not be part of the submitted form data because there is no value that needs to be sent.
It's a good practice to include the checked attribute in one of the inputs, so at form submission a default value will be added to the form data, for example, in the case of when the input with the blue value is checked, the sent data will look like this: colors=blue.
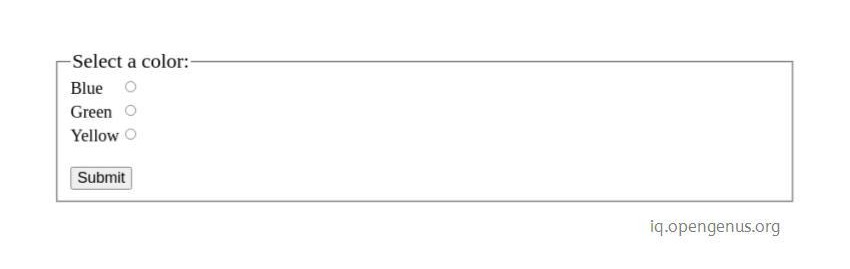
Below is an example how the form will look like without any buttons checked on our page (with basic styling added).
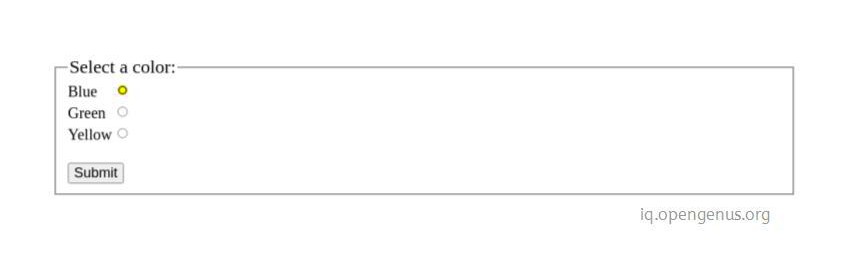
In the checked version, the default color is blue.
There's dozens of ways to style radio buttons or to make them unique, for example, we can change the default color to yellow easily by using this fairly new property called "accent-color" in our CSS rule:
input[type="radio"] {
    accent-color: yellow;
}
In this CSS rule we target the input elements which have the type radio, so our submit input won't be affected by this.
Example 2:
<label for="dog">Dog</label>
<input type="radio" form="myForm" id="dog" name="pets" value="dog" />

<form id="myForm">
    <label for="cat">Cat</label>
    <input type="radio" id="cat" name="pets" value="cat" checked />
    <input type="submit" id="submit" value="Submit" />
</form>
In our second example, we have another form element with an id "myForm" and we have a label and an input element separated from the form. The input has an additional form attribute with the value of the form id which is "myForm". We have this because when we click the "Dog" label or click the radio button next to the label and click submit in the form, the input's value will be saved in the form data as pets=dog.
So the form attribute connects the input field to the form element even though the input is outside of the form.
With this article at OpenGenus, you must have the complete idea of radio button in HTML.