
Reading time: 20 minutes
In this article, we will take a deep look into using ID and class attributes with different HTML elements and how specific JavaScript and CSS code can to applied to different HTML elements using it.
We will explore the following sub-topics:
-
ID attribute
1.1) Creating a bookmark link for webpage.
1.2) Using ID attribute with CSS
1.3) Using ID attribute with JavaScript -
Class attribute
2.1) Class attribute on block HTML elements
2.2) Class attribute on inline HTML elements
2.3) Class attribute with JavaScript
2.4) Using multiple classes and id attribute on single element.
Class attribute
Class: In general, a class is a template.
It defines the action/styles to be performed for a collection of objects.
In HTML, objects are HTML elements.
Thus, classes in HTML is a collection of HTML elements on which a common style or action has to be performed.
Here, class1 class Heading's have blue colored text.
Non-class members have default color.
ID attribute
Id: Id is also used for style and actions but it is used for only one HTML element rather than a collection of HTML elements.

Here, paragraph has id assigned to it and the CSS file modifies the element color to blue and gives a border around it.
1) ID attribute
id attribute specifies a unique identity to an HTML element.
This id can be used to modify the HTML element using HTML, CSS or JavaScript.
Syntax: Create an HTML element with unique ID
<html_element id="value">
Fetch an element using Id using #idvalue
Following things must be kept in mind when using ID attribute:
- ID attribute can be used with all HTML tags.
- ID values are case sensitive.
- ID values must have atleast one character
- ID values must not contain whitespaces.
1.1) Using ID and links for creating bookmarks
Bookmarks are link to a specific part of a webpage.
When a webpage is very long, it is easier to create a table of contents in the beginning with bookmarks to specific topics for ease of access.
Bookmarks are created by adding relative link of destination HTML element using the ID attribute.
Note: This page has a bookmarked table of contents on the top that used ID attribute.
Syntax: Create a bookmark
<a href="#{id value}"> Bookmarked Topic </a>
Syntax: Create ID for bookmarked location
<{html_element} id="value">
Example:
<h2> Creating a bookmark using links and Id attribute </h2>
<h2><a href="#bookmark"> Click here to go to bookmarked area </a></h2>
<pre>
Hello World!
---
---
---
</pre>
<h2 id="bookmark"> The bookmarked HTML Element </h2>
<pre>
---
---
---
</pre>
Output: Before clicking bookmark
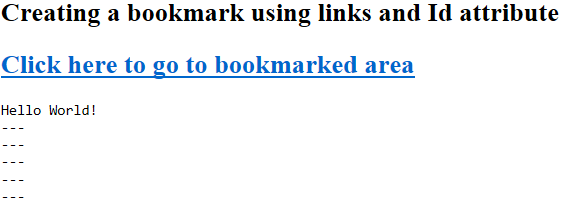
Clicking on the bookmarked link in blue color takes us to the destination of bookmark.
Output: After clicking bookmark
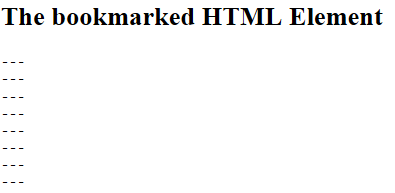
This is a part of webpage that was bookmarked.
1.2) Using ID attribute with CSS
CSS is used to add style options to HTML elements.
On this topic, we use internal CSS that writes all CSS code in <style> tag separated from HTML code.
We use #{id value} to access the HTML element with specified ID in CSS and provide style to it.
Syntax:
#id_value {property:value; ...}
Access the HTML element and specify the CSS properties like color, font etc.
Example:
<style>
#para {color:blue;border:2px solid black;}
</style>
<p id="para"> Hello World! </p>
Output:
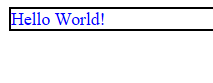
Here, HTML element <p> having ID = "para" is modified with CSS to give it blue text color and solid border of 2px.
Using ID attribute with JavaScript
ID attribute can be used along with JavaScript to access an HTML element and perform a set of operations on it.
document.getElementById("{id value}") is an inbuilt JavaScript function that fetches the HTML element with given ID in the current document.
Syntax:
<script>
document.getElementById("id").{operation} = "value";
</script>
Example:
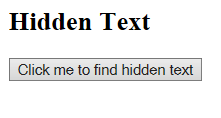
<h2 id="heading"> Hidden Text </h2>
<button onclick="function1()"> Click me to find hidden text </button>
<script>
function function1()
{
document.getElementById("heading").innerHTML = "JavaScript uses ID to fetch and modify HTML element.";
}
</script>
Explanation:
- onclick attribute of
<button>tag is used to call a JavaScript function that is defined in<script>tag in HTML page or external JavaScript file. <script>function contains JavaScript code.- document.getElementById() fetches HTML element of matching ID.
- innerHTML is an operation that is used to change the content of HTML element.
Output: Before executing JS function
Output: After executing JS function

2) Class attribute
Class attribute is used to create a group of HTML elements on which a combined action using HTML, CSS or JavaScript can be performed.
A class of HTML elements may include different types of HTML elements.
Example: A class can have one <h2> and one <p> element.
Syntax: Create multiple HTML elements of same class
<html_el1 class="c1"> </html_el1>
<html_el2 class="c1"> </html_el2>
...
To access the class, use ".classname".
2.1) Using class attribute with HTML block elements
HTML block elements have inbuilt linebreak <br>.
Example: <div> , <h1-h6> , etc.
A class of block elements can be made and a combined action can be performed on them
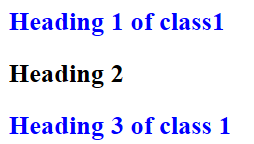
Example:
<style>
.class1 {color:blue;}
</style>

<h2 class="class1"> Heading 1 of class1 </h2>
<h2> Heading 2 </h2>
<h2 class="class1"> Heading 3 of class 1 </h2>
Explanation:
- .class1 accesses all HTML elements with classname = "class1".
- CSS is used in
<style>tag to modify the style options for HTML element
Output:

Headings of class class1 are modified and given blue text color.
2.2) Using class attribute with HTML inline elements
HTML inline elements are elements which are used within HTML block elements or individually, and they don't have any inbuilt linebreak in them.
Example: <b>, <span> etc.
A class of inline HTML elements can be made and combined action can be performed.
Example:
<style>
.class1 {color:blue;}
</style>
<h2> This word is <span class="class1"> Important </span> </h2>
<p> Classes may belong to different HTML Tags like <span class="class1">Headings</span>, <span class="class1">paragraphs</span> etc.</p>
Output:
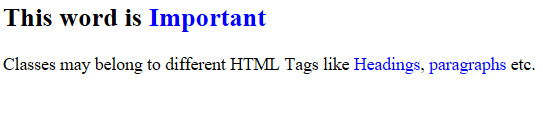
All inline elements specified using <span> element with class1 classname have blue text color.
2.3) Using class attribute with JavaScript
A group of HTML elements under a given class may be invoked in JavaScript using document.getElementByClassName("{classname}") and an action may be performed on it.
Syntax:
<script>
    var x = document.getElementByClassName("{classname}");
    for(var i = 0; i < x.length ; i++)
                                { (Action on Class elements) }
</script>
Explanation:
- var keyword is used to create a data type independent variable in JavaScript. Here, variable x is created.
- document.getElementByClassName() is used to fetch all HTML elements with given classname.
- x.length gives the number of elements fetched using above method.
Example:
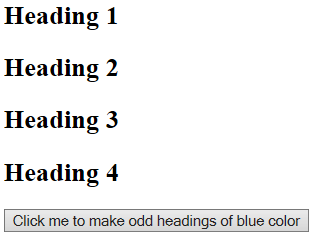
<h2 class="class1"> Heading 1 </h2>
<h2> Heading 2 </h2>
<h2 class="class1"> Heading 3 </h2>
<h2> Heading 4 </h2>

<button onclick="function1()"> Click me to make odd headings of blue color </button>

<script>
function function1()
{
  var x = document.getElementsByClassName("class1");
  for (var i = 0; i < x.length; i++) {
    x[i].style.color = "blue";
	}
}
</script>
Output: Before using JavaScript
Output: After using JavaScript
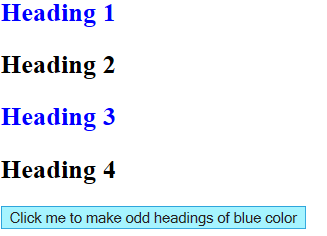
Here, all elements of class class1 have blue colored text.
2.4) Using multiple classes and id attribute on a single element
We can specify both a class and a id attribute for a given element. It means that it contains all the features of class it belongs in and also its specific features as specified in relation to its unique Id.
Furthermore, an HTML element may belong to multiple classes.
Different classes must be specified with a space in between them using class attribute
Syntax: Using Multiple class and id on single element
<{HTML_element} class="{class1 class2 ...}" id="{id value}">
Example:
<style>
    .class1 {color:blue;}
    .class2 {border:2px solid black;}
    #id1 {font-size:300%;}
</style>
<h2 id="id1" class="class1 class2"> Heading </h2>
Output:
Here,
- Id attribute is used to increase the font size.
- Class1 is used to change color of text to blue.
- Class2 is used to add a solid border of 2px around text.