
Table of Contents:
- Introduction to Routing
- How to run react application
- How to create react routing
- How to create button redirects using UseNavigate
- User-specific content route
- Dynamic web page with query parameters route
- How to fix netlify react router not working
Introduction to Routing
Routing is an essential part of web development that involves directing incoming requests to the appropriate resources in a web application. In the context of React, routing allows developers to implement navigation and define different routes for different components or pages within a single-page application.
React Router is a popular library for routing in React applications. It provides a declarative way to define routes and handle navigation between different views. With React Router, you can create dynamic and interactive user experiences by mapping URLs to specific components.
In this article, we will explore the basics of React Routing, including how to run a React application, set up routing, create button redirects using the useNavigate hook, and address common issues like Netlify React Router not working.
How to run react application
In order to run a react application open up the terminal and first of all make sure that you cd into the folder which your project is in and then type npm start.
How to create react routing
first of all create a folder and open it in vscode. Open up the terminal and type npx create-react-app web-app. This will create a basic react application:

In App.js make the code to look like this:
import './App.css';
function App() {
return (
<div className="App">
<header className="App-header">
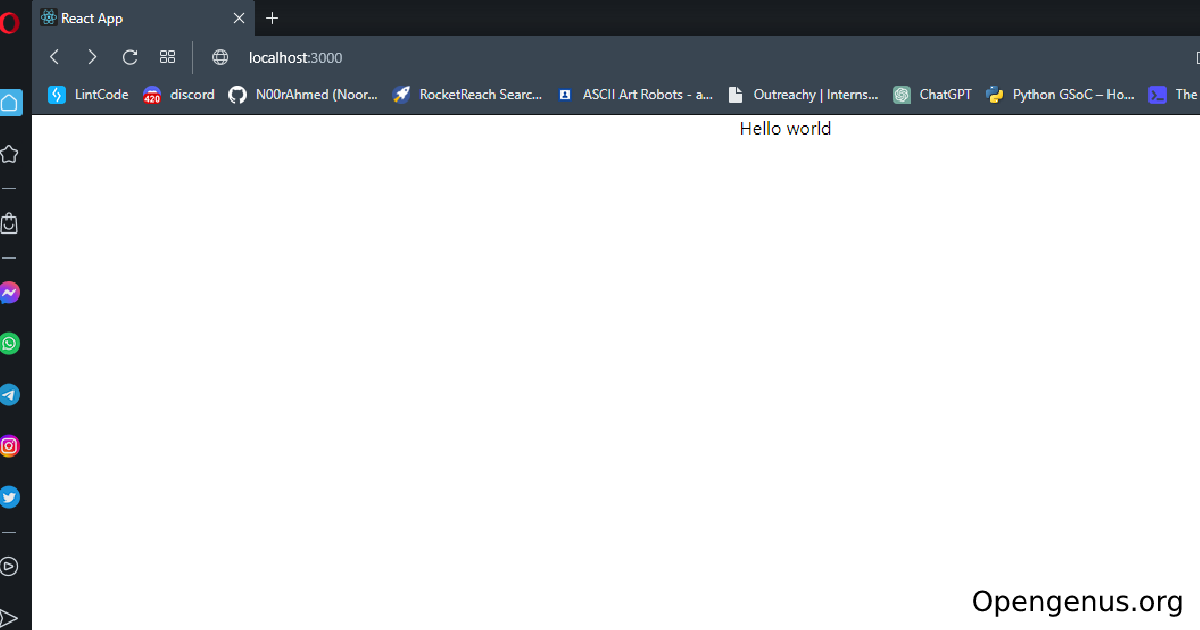
Hello world
</header>
</div>
);
}
export default App;
Here is what the code will look like running in the browser:
create another file calles SecondPage.js and type rfce and press enter:
import React from 'react'

function SecondPage() {
  return (
    <div>SecondPage</div>
  )
}

export default SecondPage
Create another file inside the src folder called Router.js and put this file in index.js like this:
import React from 'react';
import ReactDOM from 'react-dom/client';
import './index.css';
import Routing from './Routing';
const root = ReactDOM.createRoot(document.getElementById('root'));
root.render(
<React.StrictMode>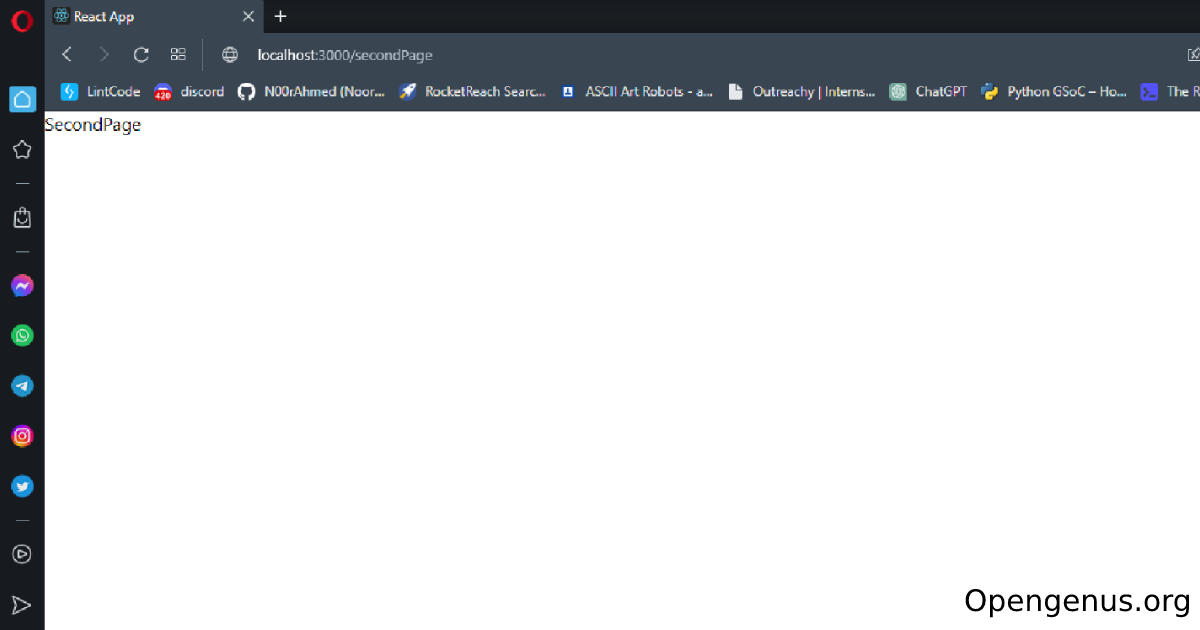
<Routing />
</React.StrictMode>
);
// If you want to start measuring performance in your app, pass a function
// to log results (for example: reportWebVitals(console.log))
// or send to an analytics endpoint. Learn more: https://bit.ly/CRA-vitals
Open up the terminal and write this command npm install react-router-dom. In Routing.js type rfce and press enter to create a basic template and also import theses components in the file: import { BrowserRouter, Routes, Route } from 'react-router-dom';. Once you've done that then import all of your pages that you have created in this example i have two, one is called App.js and the other is SecondPage.js:
import App from './App';
import SecondPage from './SecondPage';
Create BrowserRouter tags and inside them create a Routes tags and now in here is where all of our routes and paths will go. A single route will look like this:
<Route
   path="/"
   element={ <App /> }
/>
Here we have created a Route tag which has the path of "/", this is where we can navigate to in the search bar to find this page. Inside element={ <App />} we have the App.js file which will be displayed because the "/" is the default path for the first page that you see:
For our other page that we have called SecondPage.js we can create a route like this:
<Route
   path="/secondPage"
   element={ <SecondPage /> }
/>
Here we have defined the path as "/secondPage" so in the search bar we can type http://localhost:3000/secondPage and we will get the results for this page:

Here is all the code for the routing so far:
import React from 'react'
import { BrowserRouter, Routes, Route } from 'react-router-dom';
import App from './App';
import SecondPage from './SecondPage';
import UserPage from './UserPage';
import Page from './Page';

function Routing() {
  return (
    <BrowserRouter>
        <Routes>
        <Route
            path="/"
            element={ <App /> }
        />

        <Route
            path="/secondPage"
            element={ <SecondPage /> }
        />
        <Route
          path="/user/:userId"
          element={<UserPage />}
        />

        <Route
          path="/page"
          element={<Page />}
        />

        </Routes>
    </BrowserRouter>
  )
}

export default Routing
How to create button redirects using UseNavigate
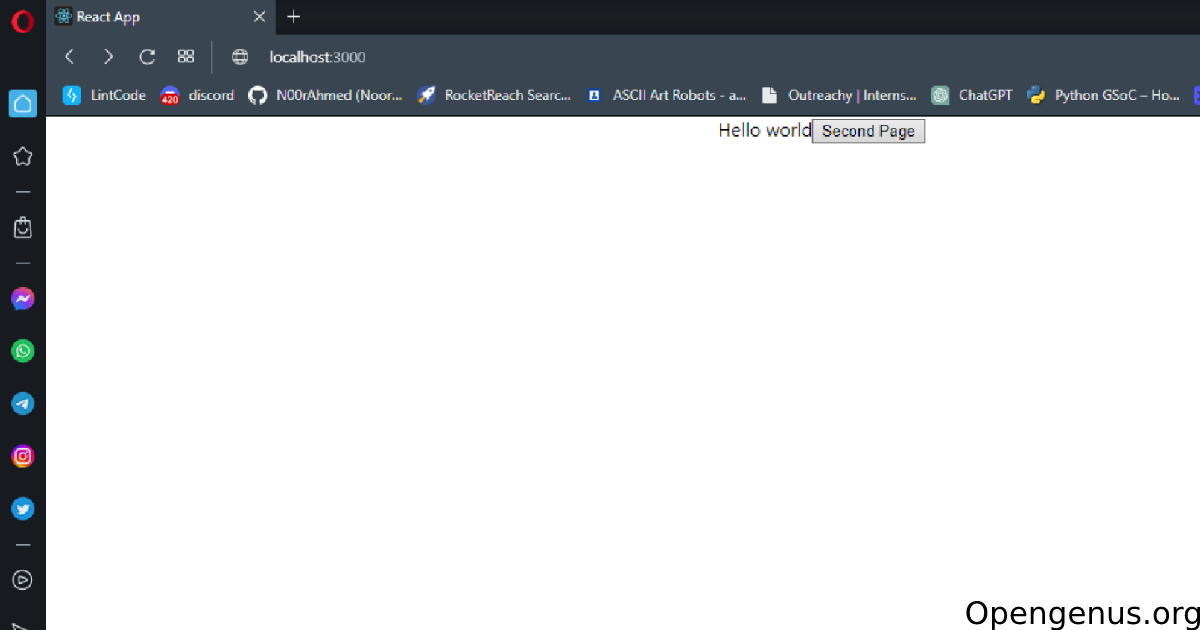
Now that we have create the routes I will now be showing how you can create button redirects using a package called useNavigate. We will be creating the button in App.js so go in there and import useNavigate import { useNavigate } from 'react-router-dom';. In order to initialize useNavigate type const navigate = useNavigate(); inside the App function. Create button tags and inside them create an onclick function and put the path that we created for the second page in Router.js inside the onclick like this: <button onClick={() => navigate("/secondPage")}>Second Page</button>. By doing this you have now successfully created a button which can redirect to another page:
Here is the complete code for the App.js:
import './App.css';
import { useNavigate } from 'react-router-dom';

function App() {
  const navigate = useNavigate();

  return (
    <div className="App">
      <header className="App-header">
        Hello world

        <button onClick={() => navigate("/secondPage")}>Second Page</button>

      </header>
    </div>
  );
}

export default App;
User-specific content route
Here I'm going to show you a diffrent type of route which is used to represent a user profile page or user specific content. In the example shown here the userId placeholder indicates that the route expects a specific user identifier to be provided in the URL. For example, if the user with ID "123" wants to access their profile page, the URL would be localhost:3000/user/123/:
<Route
   path="/user/:userId"
   element={<UserPage />}
/>
Once the user id is obtained, a template can be created that includes the user information. In our case I will be demonstrating this by displaying the user id given in the url onto the template:
import React from 'react';
import { useParams } from 'react-router-dom';

function UserPage() {
  const { userId } = useParams();

  return (
    <div>
      <h1>User Page</h1>
      <p>User ID: {userId}</p>
    </div>
  );
}

export default UserPage;
In the template we import the useParams hook from the 'react-router-dom' module. The useParams hook allows you to access the parameters from the current URL in a React component. Inside the UserPage component, the useParams hook is used to extract the userId parameter from the current URL and then the useParams hook returns an object containing the parameter values. Here is what it looks like when its running: 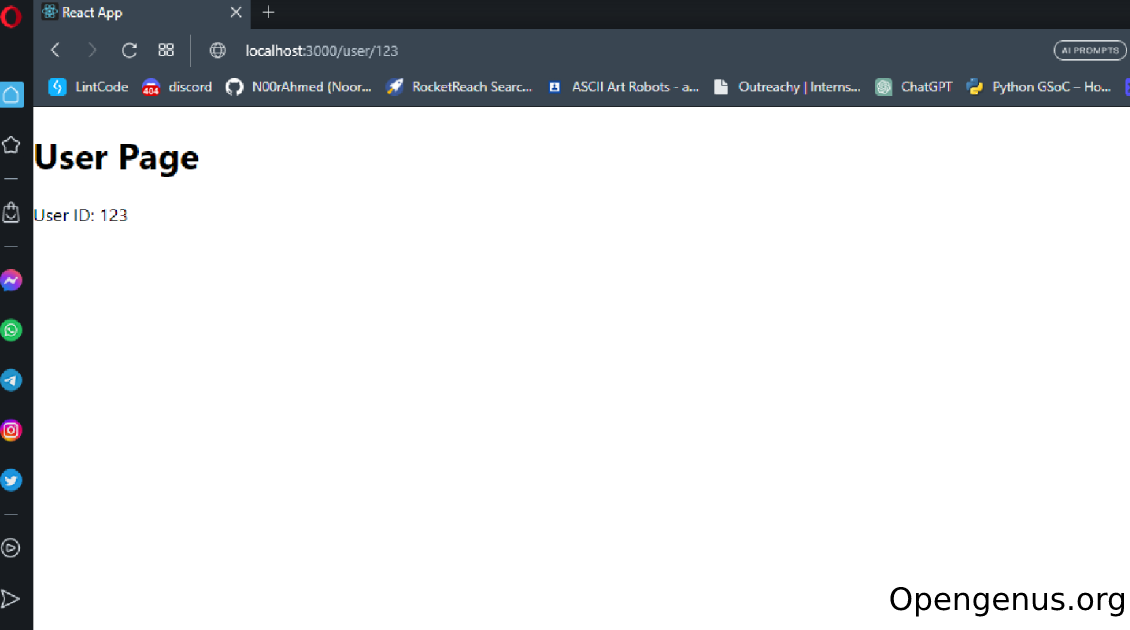
Dynamic web page with query parameters route
This route is used to represent a dynamic web page with query parameters:
<Route
   path="/page"
   element={<Page />}
/>
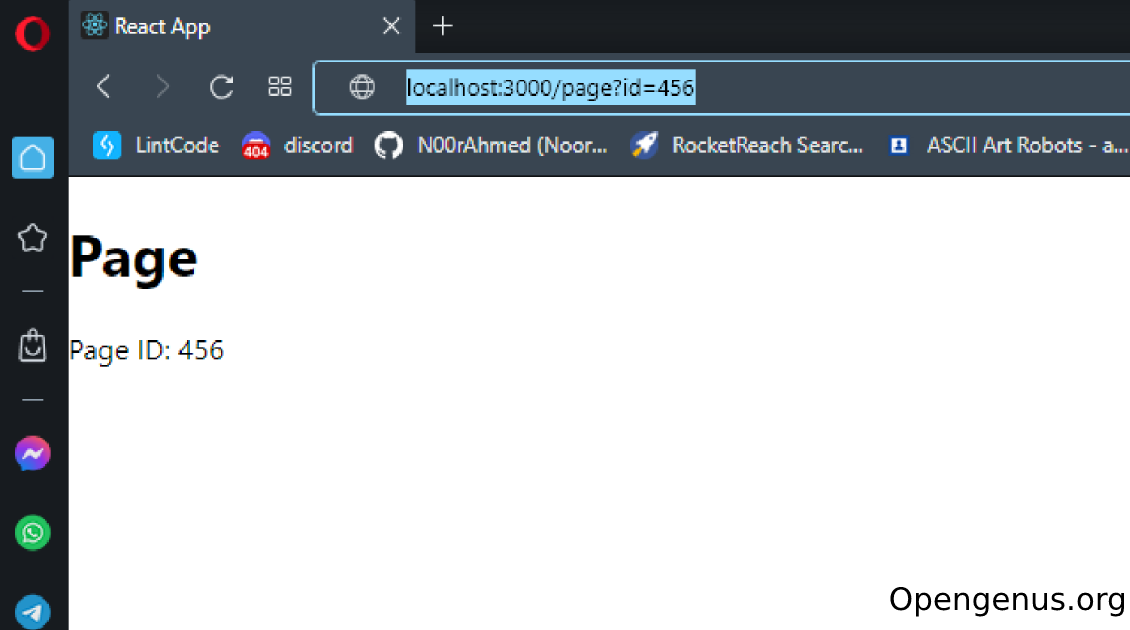
The way this page works is that the id parameter indicates that the route expects a specific page identifier to be provided as a query parameter in the URL. For example, if the page with ID "456" needs to be accessed, the URL would be localhost:3000/page?id=456.
Here is the code for the page:
import React from 'react';
import { useLocation } from 'react-router-dom';

function Page() {
  const location = useLocation();
  const searchParams = new URLSearchParams(location.search);
  const pageId = searchParams.get('id');

  return (
    <div>
      <h1>Page</h1>
      <p>Page ID: {pageId}</p>
    </div>
  );
}

export default Page;
This code snippet is similar to the previous one, but it uses the useLocation hook from the 'react-router-dom' module to access the current location object in a React component. Inside the Page component, the useLocation hook is used to get the current location object. The location object contains information about the current URL, such as the pathname, search parameters, and hash. The searchParams variable is created using the URLSearchParams constructor, passing the location.search property as the parameter. The location.search property contains the query parameters of the URL. The pageId variable is assigned the value of the 'id' parameter extracted from the searchParams object using the get method. Finally we render a div element containing a h1 heading with the text "Page" and a p tag paragraph that displays the pageId extracted from the URL query parameters. Here is the code when its running:
How to fix netlify react router not working
When deploying a react application to netlify you may see that the routes dont work in your deployed react application but they work on your local system. In order to solve this problem go to your react app’s /public folder and create a plain text file called _redirects without a file extension. Then inside that text file add the following code: /* /index.html 200. Now when you deploy your application you wont face this problem.
All of the code provided for this article can be found in this repository