
In this article at OpenGenus, we are going to discuss about the image to text conversion web application which is built using well known React library.
Table of contents:
- Introduction
- Approach
- Implementation
- Output
- Conclusion
Introduction
Image to text converting web application basically recognize the tect from the uploaded png/jpg/jpeg image and give the text to output so that you can copy that text and use it whenever required. This web application required 2 simple steps:
- First you need to upload the image and second click on the button for convert to text.
- Then it will recognize the text from the imagae and display on the screen.
Approach
For developing this web application,we are using
- React :-frontend library
- tesseract.js :-It's a pure Javascript library for text orientation and script detection
Using tesseract library we can easily convert the image to text and also doesn't need any ML model for recognize the text.
Let's understand the directory structure for our project
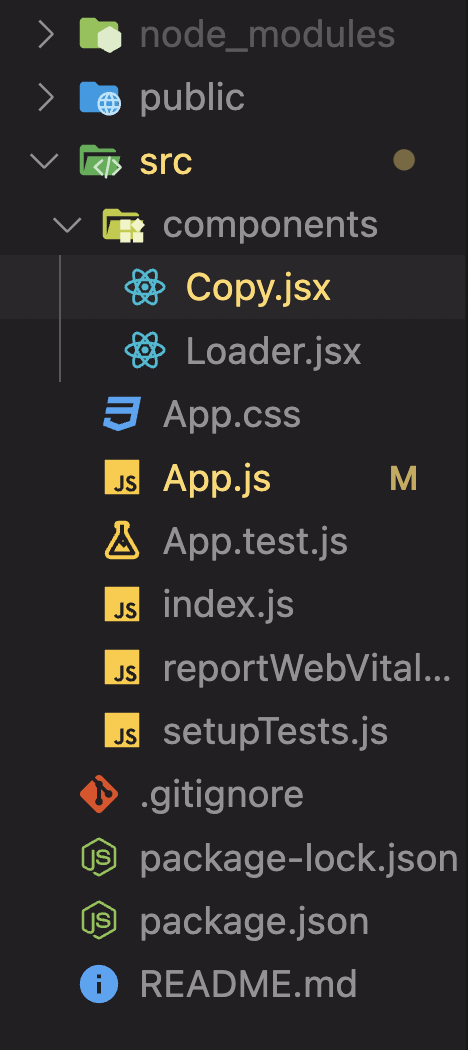
- Here src folder contains our source code
- App.js file contains the major code of our application and we also created components folder which contains the Copy.jsx file and Loader.jsx file which we can use in our App.js file whenever we required.
Overflow of an application
- Whenever, we start our application it's reading index.html file which located in public folder.
- From that it's calling index.js file and that file will call the App.js file and App.js file contains the code for image upload and extraction text from the image using tessetact library.
- After that it will call the Copy.jsx file for displaying the output on the screen.
Let's deep dive into the implementation part
Implementation
Step 1: Project Setup
To get started, ensure that Node.js and npm (Node Package Manager) are installed on your system. Create a new React project using the "create-react-app" command. Open your terminal and execute the following command:
npx create-react-app image-to-text-converter
Step 2: Set Up Required Dependencies
To perform image processing and text extraction, we need to install additional packages. In the project directory, navigate to the terminal and run the following command:
npm install tesseract.js react-icons react-tostify react-copy-to-clipboard
- tesseract.js is a powerful OCR (Optical Character Recognition) library for extracting text from images.
- react-icons provide the icons which can be easily imported
- react-tostify used for displaying toast for error and success and other alerts to the user
- react-copy-to-clipboard used for copying text
Step 3: Building the User Interface
In the project's "src" directory, locate the "App.js" file, and replace its content with the following code:
import { useState, useEffect } from 'react';
import Tesseract from 'tesseract.js';
import Loader from './components/Loader'
import { MdCloudUpload, MdDelete } from 'react-icons/md'
import Copy from './components/Copy';
import './App.css';
import {  toast } from 'react-toastify';
import 'react-toastify/dist/ReactToastify.css';

function App() {
  const [image, setImage] = useState(null);
  const [text, setText] = useState(null);
  const [progress, setProgress] = useState(0);
  const [isLoading, setIsLoading] = useState(false);

  const handleChange = (event) => {
    setIsLoading(true);
    setImage(URL.createObjectURL(event.target.files[0]))
    setIsLoading(false);

  }
  const deleteImage = () => {
    setIsLoading(true);
    setImage(null);
    setIsLoading(false);

  }
  const handleClick = () => {
    if (!image) {
      toast.error("Please upload the image!")
      return;
    }
    Tesseract.recognize(
      image, 'eng',
      {
        logger: m => { setProgress(parseInt(m.progress * 100)); }
      }
    )
      .catch(err => {
        console.error(err);
      })
      .then(result => {
        // Get Confidence score
        // let confidence = result.confidence
        // Get full output
        let text = result.data.text
        setText(text);

      })
  }

  useEffect(() => { setText(text); }, [text])

  return (
    <>
      <div className="App">

      </div>
      <header>
        <h1 className='header'>Image to Text Converter</h1>
      </header>
      <div className='container'>
        <div className='group'>
          {isLoading ? <Loader /> : <>
            {!image ? <>
              <label className='label'>
                <div className='file-inner-container'>
                  <MdCloudUpload className='upload-icon' />
                  <p className='upload-text'>Click here to upload</p>
                </div>
                <input type='file' name='uploadimage' onChange={handleChange} className='upload' />
              </label>
            </> : <>
              <div className='dispaly-image'>
                <img src={image} alt="uploaded" className='uploaded-image' />
                 < MdDelete className='delete-icon' onClick={deleteImage} />
              </div>
            </>}
          </>}
        </div>
         <button onClick={handleClick} className='btn'>Convert to text</button>
        {progress < 100 && progress > 0 && <div>
          <div className="progress-label">Progress ({progress}%)</div>
          <div className="progress-bar">
            <div className="progress" style={{ width: `${progress}%` }} ></div>
          </div>
        </div>}


        {text && <Copy text={text} />}
      </div>
    </>
  );
}

export default App
- Here first we create the container for the image upload.
handleChange function will set the image in the state. - After clicking on the convert to text button it will call the handleClick function.
- handleClick function calling the recognize function of tesseract library and it willtake the image and other options as parameter and extracting the text from it.
- For progress bar, logger will give the percentage value of progress , which we will store into the progress local state.
- After getting result we will store it in the local state text.
- handleChange function will get the image , which is uploaded and set to the local state of image for further use.
- deleteImage function will delete the image from uploaded file section, so that we can upload another image for text convertion.
In the project's "src" directory, make "components" folder, and make "Copy.jsx" file into it and write the following code:
import React, { useState, useEffect } from "react";
import { CopyToClipboard } from "react-copy-to-clipboard";
import { MdContentCopy } from "react-icons/md";
import "../App.css";
import { toast } from "react-toastify";


export default function Copy({ text }) {
  const [value, setValue] = useState("Try copy this :) Button UI will change!");
  const [isCopied, setCopied] = useState(false);

  useEffect(() => {
    setValue(text);
    const timeout = setTimeout(() => {
      setCopied(false);
    }, 3000);

    return () => clearTimeout(timeout);
  }, [isCopied, text]);

  return (
    <div>
      <p className="textbox">
        {value}
        <div role="button" tabIndex={0}>
          <CopyToClipboard text={text} onCopy={() => setCopied(true)}>
            <MdContentCopy
              onClick={() => toast.success("copied")}
              style={{ cursor: "pointer" }}
            />
          </CopyToClipboard>
        </div>
      </p>
    </div>
  );
}
- Here we are using copy to clipboard library to copy the text on the clipboard so that we can easily paste it anywhere.
In the project's "src" directory, make "components" folder, and make "Loader.jsx" file into it and write the following code:
import React from "react";

const Loader = () => {
  return (
    <div role="status">
      <svg
        class="inline mr-2 w-10 h-10 text-gray-200 animate-spin dark:text-gray-600 fill-blue-600"
        viewBox="0 0 100 101"
        fill="none"
        xmlns="http://www.w3.org/2000/svg"
      >
        <path
          d="M100 50.5908C100 78.2051 77.6142 100.591 50 100.591C22.3858 100.591 0 78.2051 0 50.5908C0 22.9766 22.3858 0.59082 50 0.59082C77.6142 0.59082 100 22.9766 100 50.5908ZM9.08144 50.5908C9.08144 73.1895 27.4013 91.5094 50 91.5094C72.5987 91.5094 90.9186 73.1895 90.9186 50.5908C90.9186 27.9921 72.5987 9.67226 50 9.67226C27.4013 9.67226 9.08144 27.9921 9.08144 50.5908Z"
          fill="currentColor"
        />
        <path
          d="M93.9676 39.0409C96.393 38.4038 97.8624 35.9116 97.0079 33.5539C95.2932 28.8227 92.871 24.3692 89.8167 20.348C85.8452 15.1192 80.8826 10.7238 75.2124 7.41289C69.5422 4.10194 63.2754 1.94025 56.7698 1.05124C51.7666 0.367541 46.6976 0.446843 41.7345 1.27873C39.2613 1.69328 37.813 4.19778 38.4501 6.62326C39.0873 9.04874 41.5694 10.4717 44.0505 10.1071C47.8511 9.54855 51.7191 9.52689 55.5402 10.0491C60.8642 10.7766 65.9928 12.5457 70.6331 15.2552C75.2735 17.9648 79.3347 21.5619 82.5849 25.841C84.9175 28.9121 86.7997 32.2913 88.1811 35.8758C89.083 38.2158 91.5421 39.6781 93.9676 39.0409Z"
          fill="currentFill"
        />
      </svg>
      <span class="sr-only">Loading...</span>
    </div>
  );
};

export default Loader;
Loader is containing the svg for the loading gif, which is used, if component is not loaded completely then we will diplay this loader.
Step 4: Styling the Application
Create a new CSS file named "App.css" in the "src" directory and add the following styles:
.box {
  width: 250px;
  height: 250px;
  border: 2px solid black;
}

body {
  background-color: rgb(245 243 243);
}
.App {
  padding: 10px;
}
input {
  margin-bottom: 5px;
}
img {
  width: 30vw;
  height: auto;
  margin-right: 50px;
}
p {
  /* width: 50vw; */
}
.display-flex {
  display: flex;
}
.progress-label {
  margin-bottom: 5px;
}
.progress-bar {
  background-color: rgb(232, 232, 232);
  border-radius: 10px;
  overflow: hidden;
  margin-bottom: 10px;
  max-width: 50vw;
}
.progress {
  background-color: rgb(0, 255, 170);
  width: 0%;
  height: 10px;
}

.App {
  text-align: center;
}

.App-image {
  width: 60vmin;
  pointer-events: none;
}

.App-main {
  background-color: #282c34;
  min-height: 100vh;
  display: flex;
  flex-direction: column;
  align-items: center;
  justify-content: center;
  font-size: calc(7px + 2vmin);
  color: white;
}

.text-box {
  background: #fff;
  color: #333;
  border-radius: 5px;
  text-align: center;
}
.container{
 max-width: 700px;
  margin: 0 auto;
  text-align: center;
}
.group {
  --tw-border-opacity: 1;
  border-color: rgb(209 213 219 / var(--tw-border-opacity));
  border-style: dotted;
  border-width: 2px;
  border-radius: 0.5rem;
  justify-content: center;
  align-items: center;
  display: flex;
  flex-direction: column;
  width: 100%;
  cursor: pointer;
  height: 300px;

  margin: 5rem 0 2rem 0;
  position: relative;
}
.label {
  display: flex;
  align-items: center;
  justify-content: center;
  flex-direction: column;
  width: 100%;
  height: 100%;
  box-sizing: border-box;
  border-width: 0;
  border-style: solid;
  border-color: #e5e7eb;
}
.file-inner-container {
  display: flex;
  align-items: center;
  justify-content: center;
  flex-direction: column;
  cursor: pointer;
  gap: 0.5rem;
}

.upload-icon {
  --tw-text-opacity: 1;
  color: rgb(107 114 128 / var(--tw-text-opacity));
  font-size: 1.875rem;
  line-height: 2.25rem;
  display: block;
}

.upload-text {
  --tw-text-opacity: 1;
  color: rgb(107 114 128 / var(--tw-text-opacity));
}
.upload {
  width: 0;
  height: 0;
}

.dispaly-image {
  height: 100%;
}

.uploaded-image {
  /* object-fit: cover; */
  width: 100%;
  height: 100%;
}
.delete-icon {
  --tw-text-opacity: 1;
  color: rgb(107 114 128 / var(--tw-text-opacity));
  font-size: 1.875rem;
  line-height: 2.25rem;
  display: block;
  position: absolute;
  right: 1rem;
  bottom: 0.5rem;
}

.btn{
 background-color: rgb(16 185 129);
 color: white;
 padding: 7px 20px;
 border-radius: 20px;
 font-weight: bold;
 font-size: 1.2rem;
 border: none;
 cursor: pointer;
 margin-bottom: 2rem;
}
.btn:hover{
  background-color: rgb(11, 151, 104);
}
.textbox{

  padding: 8px 10px;
  background-color: #fff;
  border-radius: 3px;
  border: 1px solid #dddddd;
  display: flex;
  justify-content: space-between;
  position: relative;
  font-family: sans-serif;
  font-size: 16px;
  min-width: 700px;
}

.header{
  text-align: center;
  font-size: 40px;
  font-weight: bold;
 background: #959595;
background: linear-gradient(to right, #959595 0%, #212020 12%, #2f2d2d 50%, #2e2c2c 53%, #4E4E4E 76%, #383838 87%, #2e2c2c 100%);
-webkit-background-clip: text;
-webkit-text-fill-color: transparent;
  font-family:system-ui, -apple-system, BlinkMacSystemFont, 'Segoe UI', Roboto, Oxygen, Ubuntu, Cantarell, 'Open Sans', 'Helvetica Neue', sans-serif;
}

@media screen and (max-width: 480px) {
  .header{
    font-size: 28px;
  }
  .container{
    max-width: 400px;
  }
  .group{
    margin: 2rem auto;
    max-width: 300px;
  }
}
- Here in CSS code we style our component by using class selector
- group calss contains the main container of image uploadation and displaying the output text.
- So, according to our desgin need we give padding, font-size,and many othe styling.
- At the end of the code we also use media query for responsive web design of other devices.
Step 5: Testing the Application
Start the development server by running the following command in the project's root directory:
npm start
Visit http://localhost:3000 in your web browser, and you should see the Image to Text Converter application.Click to browse and select an image file. Once an image is uploaded, the application will process it using Tesseract.js and display the extracted text.
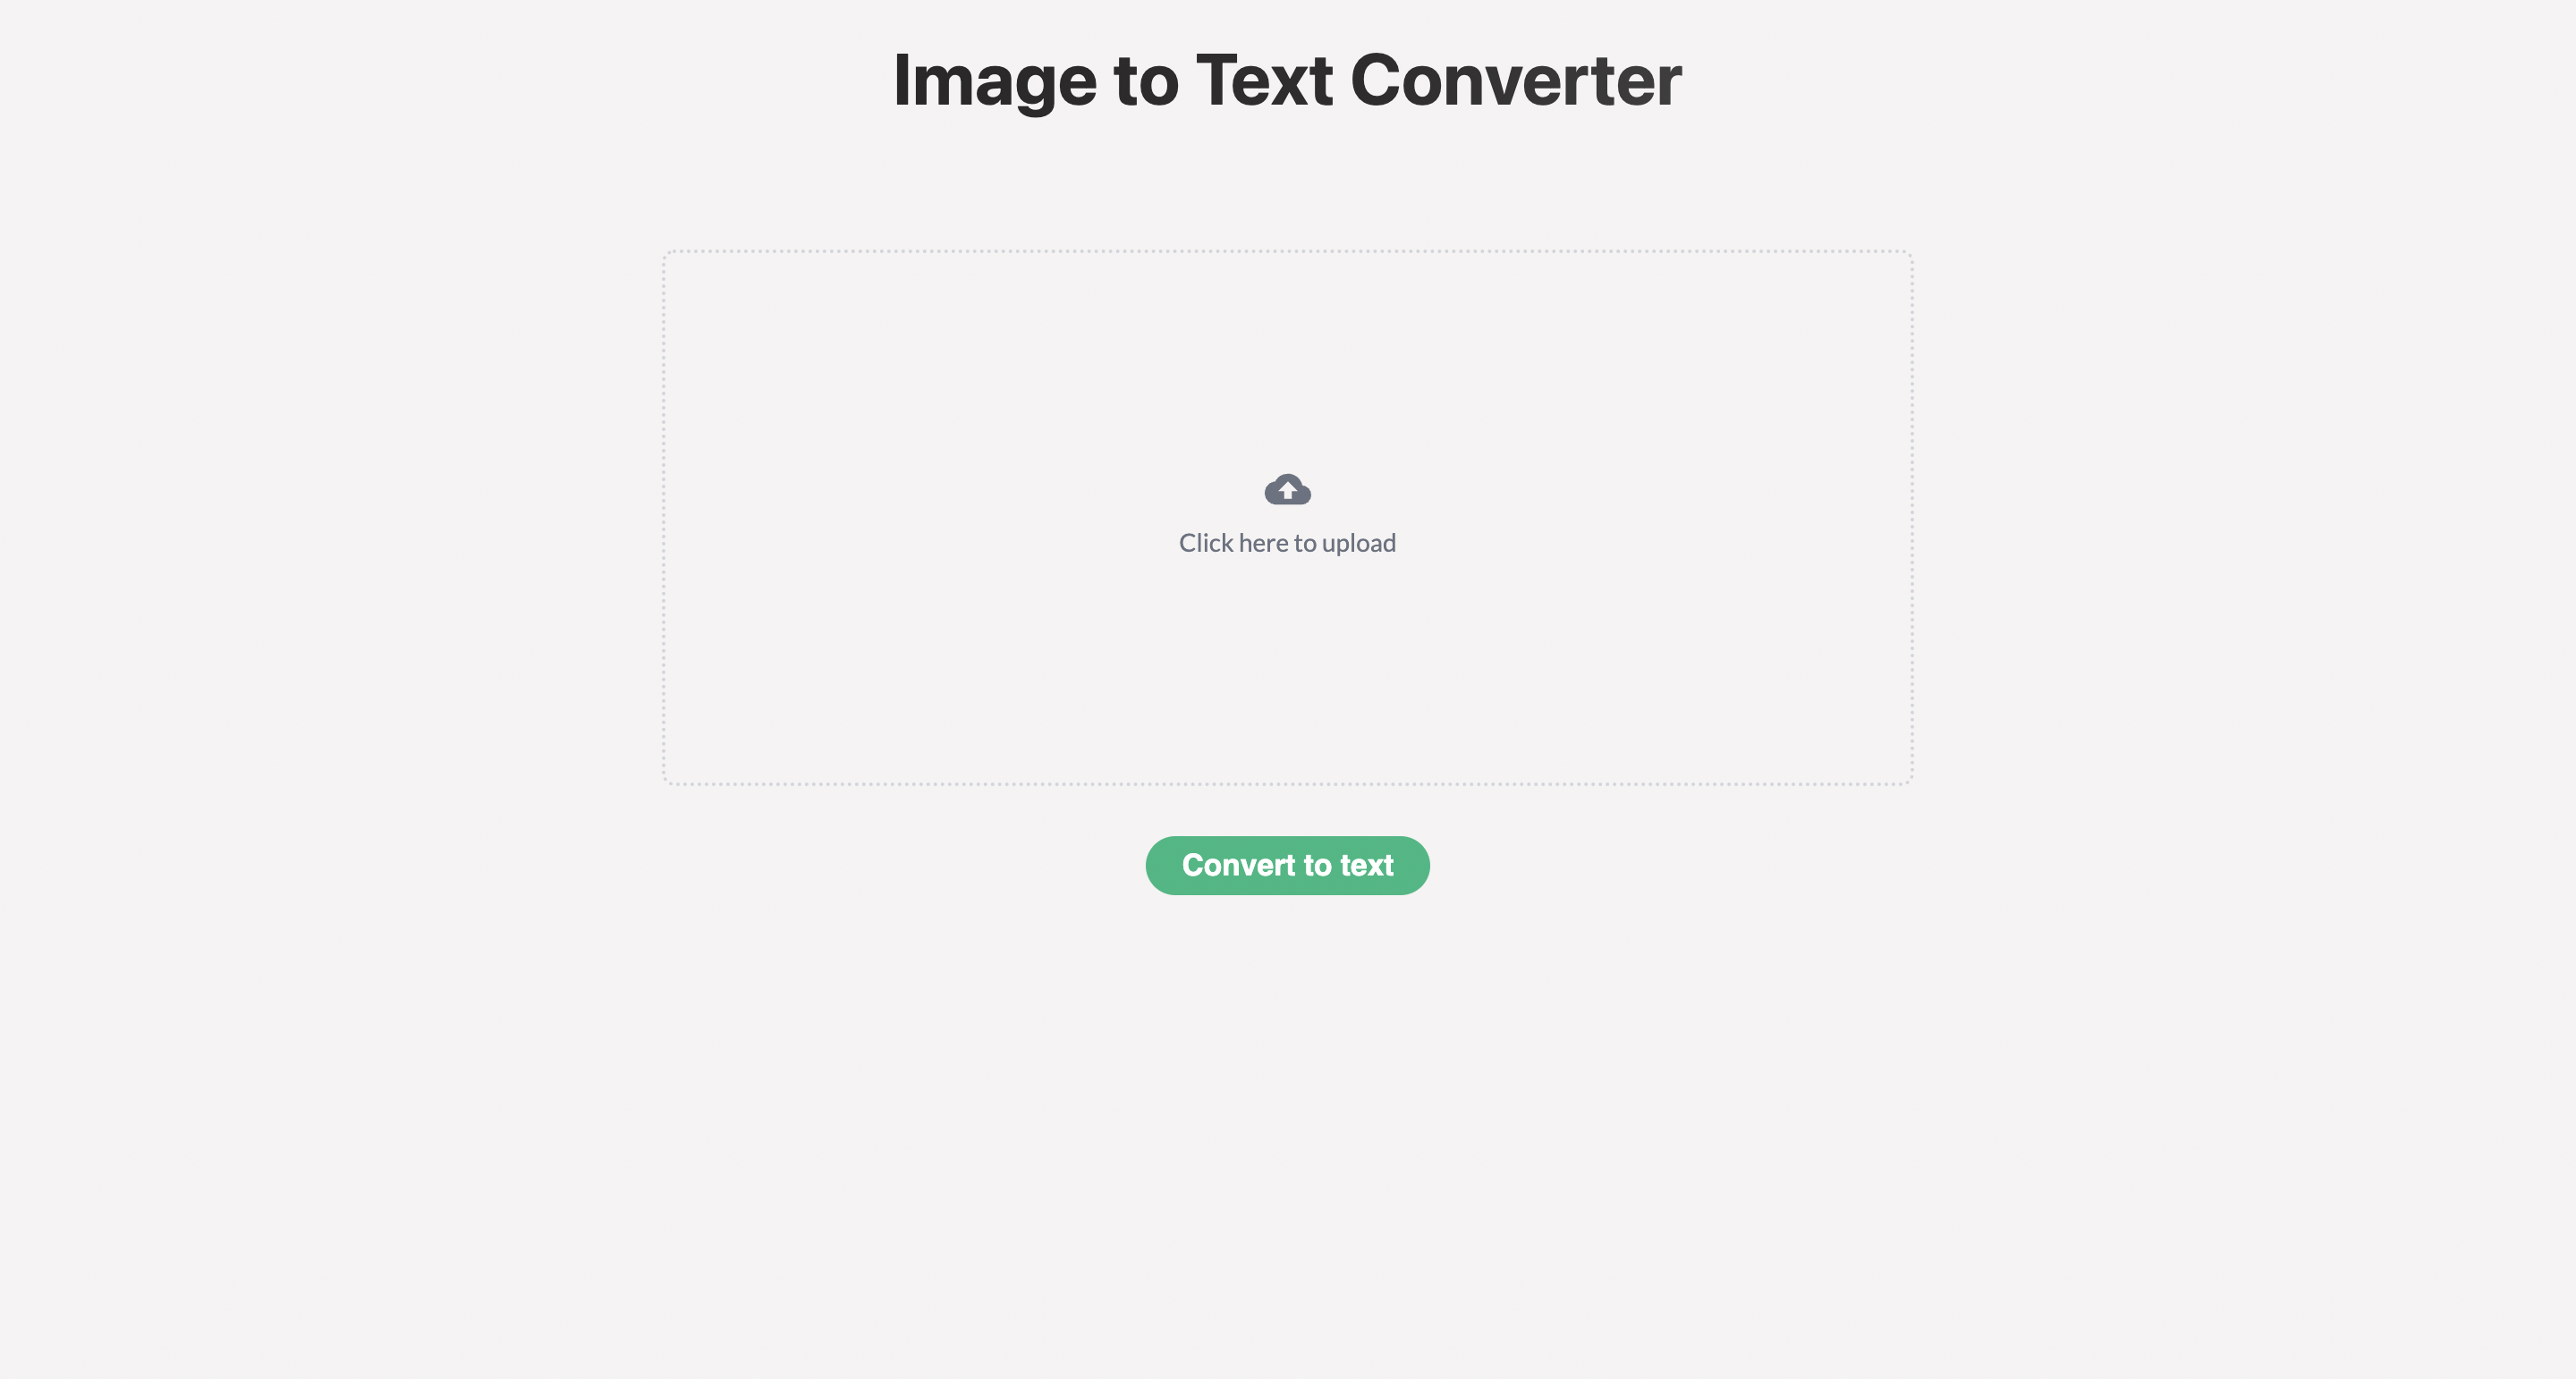
Output
Actual output looks like this:

Conclusion
By following the step-by-step approach in this OpenGenus article, you can create a Web Application for Image to Text Conversion using React. Leveraging React's component-based architecture and libraries like Tesseract.js, we can build powerful and intuitive user interfaces that offer valuable functionality. This application opens up possibilities for automating various tasks involving image-to-text conversion, ultimately improving efficiency and productivity in multiple domains.