
Let's make some cool and amazing whack a mole game in this article at OpenGenus.
Table of contents:
- Introduction
- Rules
- Approach
- Implementation
- Output
- Conclusion
Introduction
Whack-a-Mole is a fast-paced, skill-based game that tests your reflexes and hand-eye coordination. Whether you're a seasoned gamer or a casual player, this addictive game is sure to captivate you with its simple yet engaging gameplay.In Whack-a-Mole, your objective is to quickly hit as many moles as possible as they pop up from their holes. Armed with a mallet, you must be swift and accurate, aiming to whack the mischievous critters back into their hiding places before they disappear. The challenge lies in the speed at which the moles emerge and retreat, requiring you to react swiftly to keep up with their relentless antics.
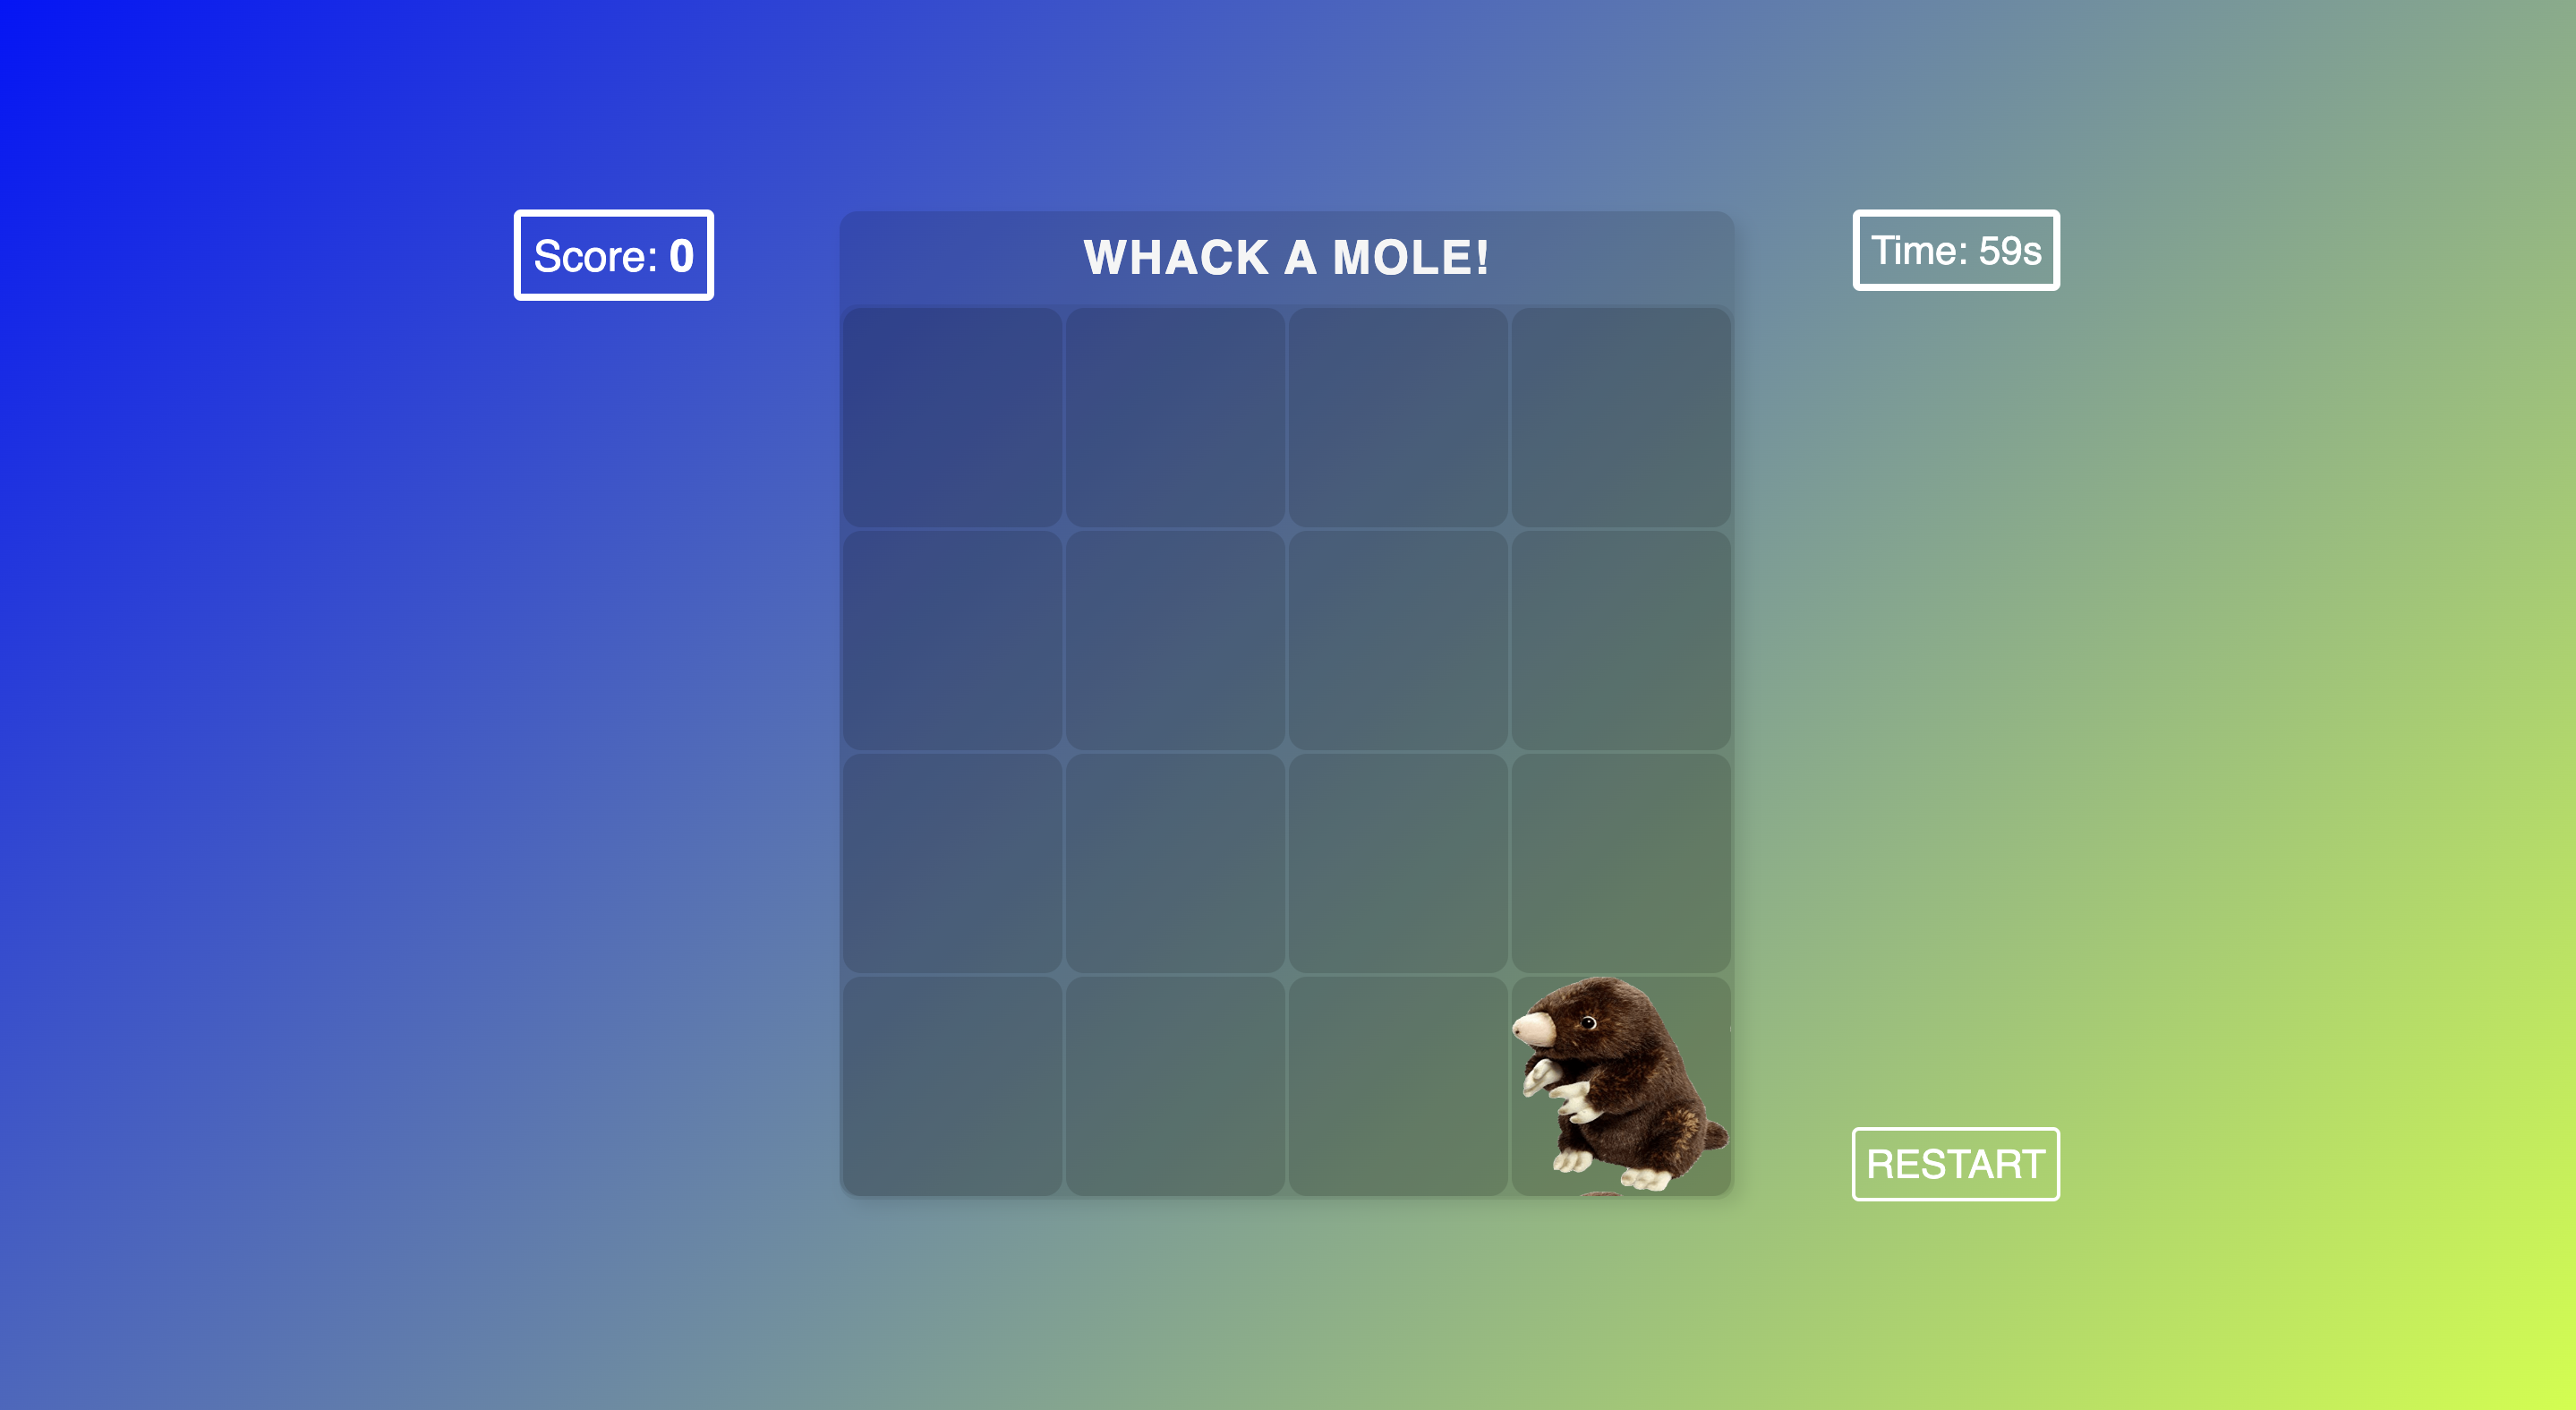
Take a look of the starting game snapshot
Rules
-
Objective: The objective of Whack-a-Mole is to score as many points as possible by hitting the moles that pop up from their holes.
-
Game Setup: Whack-a-Mole playing area consists of several holes from which the moles will appear randomly. Each hole corresponds to a mole that players must try to hit.
-
Gameplay Mechanics: Players are equipped with a mallet or a similar tool here we use our pointer to strike the moles. The mallet is used to hit the moles as they emerge from their holes. The moles will appear and disappear quickly, so players must react swiftly to hit them before they retreat.
-
Points System: Each successful hit on a mole earns the player points.Hitting a mole successfully results in one point.
-
Time Limit: Whack-a-Mole is often played with a time limit. Players must achieve the highest score they can within the 60 seconds time frame.
Approach
Set up the HTML structure: Create a basic HTML structure with the necessary elements, such as the game container which contains differnt holes, score display, timer, restart button.
Style the game: Create a CSS file (e.g., style.css) to apply styles to the game elements, including the background, mole holes, mole images, etc.
Implement the logic with JavaScript: Logic contains create board, make interval, create random mole in hole and listening event when mole is clicked and increase the score.
Implementation
Let's make structure of our game using HTML.
create index.html file and write the below code into it.
<!DOCTYPE html>
<html lang="en">
  <head>
    <meta charset="UTF-8" />
    <meta http-equiv="X-UA-Compatible" content="IE=edge" />
    <meta name="viewport" content="width=device-width, initial-scale=1.0" />
    <link rel="stylesheet" href="./style.css" />
    <title>Whack A Mole!</title>
  </head>
  <body class="flex">
    <p id="left">Score: <span id="score">0</span></p>
    <main>
      <div id="header" class="flex">
        <h1>Whack A Mole!</h1>
      </div>
      <div id="ground"></div>
    </main>
    <div>
    <p id="right">Time: <span id="time">60</span>s</p>
    <button id="restart">RESTART</button>
</div>
    <script src="./script.js"></script>
  </body>
</html>
html: The html tag represents the root element of an HTML document. The lang="en" attribute indicates that the language of the document is English.
head: The head element contains metadata about the HTML document, such as character encoding, viewport settings, CSS stylesheets, and the document title.
body class="flex": The body tag represents the content of the HTML document visible to the user. The class="flex" attribute applies the CSS flexbox layout to the body element.
p id="left":paragraph attribute displays the score by including the text "Score:" and a dynamic score value enclosed within a "span" element with the id="score" attribute.
main: The main element represents the main content of the HTML document.
div id="header" class="flex": This div element with the id="header" attribute serves as the container for the game's header. The class="flex" attribute applies the flexbox layout to the header element.
h1: The "h1" tag represents the heading of the game, displaying the text "Whack A Mole!".
div id="ground": This div element with the id="ground" attribute represents the playing area or ground where the moles will appear.
div: This div element serves as a container for the time display and the restart button.
p id="right" Time: This paragraph element with the id="right" attribute displays the remaining time by including the text "Time:" and a dynamic time value enclosed within a span element with the id="time" attribute.
button id="restart": This button element with the id="restart" attribute represents the restart button that can be clicked to restart the game.
Let's styling our project so that it attracts more users.
Make style.css in the same directory.
* {
  margin: 0;
  padding: 0;
  box-sizing: border-box;
  font-family: sans-serif;
}
The asterisk (*) selector targets all elements in the HTML document and applies the following CSS properties to them. In this case:
- margin:0; sets the margin of all elements to 0.
- padding: 0; sets the padding of all elements to 0.
- box-sizing: border-box; ensures that the total width and height of an element include its padding and border, preventing them from affecting the element's overall size.
- font-family: sans-serif; sets the default font family for all elements to a generic sans-serif font.
.flex {
  display: flex;
  align-items: center;
  justify-content: center;
}
The .flex class is used to create a flex container. It applies the following properties to elements with the flex class:
- display: flex; enables the flexbox layout on the element.
- align-items: center; centers the flex items vertically within the container.
- justify-content: center; centers the flex items horizontally within the container.
body {
  min-height: 100vh;
  background: linear-gradient(135deg, rgb(0, 21, 255), rgb(200, 255, 0));
}

main {
  width: 500px;
  height: 550px;
  background-color: #00000020;
  border-radius: 10px;
  box-shadow: 5px 5px 10px rgba(0, 0, 0, 0.1);
}
The body selector targets the body element of the HTML document and applies the following properties:
- min-height: 100vh; sets the minimum height of the body element to 100% of the viewport height, ensuring that it covers the entire screen.
- background: linear-gradient(135deg, rgb(0, 21, 255), rgb(200, 255, 0)); sets a linear gradient background color for the body element.
The main selector targets the main element and applies the following properties:
- width: 500px; sets the width of the main element to 500 pixels.
- height: 550px; sets the height of the main element to 550 pixels.
- background-color: #00000020; sets a semi-transparent black background color for the main element.
- border-radius: 10px; applies rounded corners to the main element.
- box-shadow: 5px 5px 10px rgba(0, 0, 0, 0.1); adds a subtle shadow effect to the main element.
#header {
  height: 52px;
  position: relative;
}
#header h1 {
  font-size: 26px;
  letter-spacing: 1px;
  text-transform: uppercase;
  color: whitesmoke;
}
#header p {
  font-size: 14px;
}
#left {
  position: absolute;
  left: 20%;
  top: 15%;
  border: 4px solid white;
  border-radius: 4px;
  padding: 7px;
  font-size: 24px;
  color: white;
}
#score {
  font-weight: bold;
  font-size: 25px;
}
#right {
  position: absolute;
  right: 20%;
  top: 15%;
  border: 4px solid white;
  border-radius: 4px;
  padding: 6px;
  font-size: 22px;
  color: white;
}
header, header h1, header p : These selectors target specific elements within the element with the id="header". The properties define the styling for the header's h1 and p elements, including font size, colors, and spacing.
left , score , right : These selectors target specific elements with the corresponding IDs and define their positioning, borders, padding, font size, and color.
#ground {
  width: 500px;
  height: 500px;
  padding: 2px;
  display: grid;
  grid-template-columns: repeat(4, 1fr);
  grid-template-rows: repeat(4, 1fr);
  grid-gap: 2px;
  background-color: #00000010;
  border-radius: 10px;
}
#ground > div {
  background-color: #00000020;
  border-radius: 10px;
  transition: all 0.1s ease;
}
#ground > div:hover {
  background-color: #00000040 !important;
}
ground: The #ground selector targets the element with the id="ground" and defines the layout and appearance of the mole holes or playing area. The properties include width, height, grid-based layout using CSS Grid, background color, border-radius, and grid gap.
ground > div, ground > div:hover : These selectors target the div elements inside the #ground element. The properties define their background color, border-radius, and transition effect on hover.
.place {
  cursor: url("./hammer.png"), auto;
}
.place: The .place class defines the cursor style when hovering over elements with this class. In this case, it sets the cursor to a custom image file (hammer.png).
You can download hammer picture form below url:
https://drive.google.com/file/d/1gmISX-4JqraIRCRk6KJjQ3q4Xsv-A9YY/view?usp=drive_link
#restart{
position: absolute;
  right: 20%;
  top: 80%;
  text-decoration: none;
  background-color: transparent;
  border: 2px solid white;
  border-radius: 4px;
  padding: 6px;
  font-size: 22px;
  color: white;
  cursor: pointer;
}
.restart:hover{
    background-color: rgba(240, 248, 255, 0.126);
}
restart: The #restart selector targets the element with the id="restart" and sets its positioning, border, padding, font size, color, and cursor style. It is used for the restart button in the game.
.restart:hover: The .restart:hover selector defines the appearance of the restart button when it is being hovered over. In this case, it sets a background color with a slight transparency effect.
Let's now move onto the our main logical part of the game that we will accomplished through adding javascript.
Make script.js file and add below code into that.
const ground = document.getElementById("ground");
const score = document.getElementById("score");
const time = document.getElementById("time");
let place;
DOM element variables:
- ground: Represents the DOM element with the ID "ground", which is the playing area of the game.
- score: Represents the DOM element with the ID "score", which displays the score during the game.
- time: Represents the DOM element with the ID "time", which displays the remaining time during the game.
- place: Represents a variable that will be used to store the mole holes or places where moles can appear.
let moleTime = 1000;
let showMoleTimer;
let playingTimeTimer;
- moleTime: Represents the initial time (in milliseconds) between mole appearances.
- showMoleTimer: Holds the interval ID for the function that shows the moles.
- playingTimeTimer: Holds the interval ID for the function that manages the playing time.
// game over
function gameOver() {
    // clear Interval
    clearInterval(showMoleTimer);
    clearInterval(playingTimeTimer);
};
Function: gameOver():Clears the intervals showMoleTimer and playingTimeTimer when the game is over.
// playing time
function playingTime() {
    // decrease time
    time.innerText = Number(time.innerText) -1;

    // check it's === 0, than game over;
    (time.innerText === "0") && gameOver();
};
Function: playingTime():
- Decreases the remaining time displayed in the time element by 1.
- Checks if the time is equal to 0, and if so, calls the gameOver() function to end the game.
// click listener
function clickListener(event) {
    // clicked place has bg img, than socre increase
    if (event.target.style.backgroundImage) {
        // increase socre
        score.innerText = Number(score.innerText)+1;
        // decrease mole time
        moleTime -= 5;
    } // decrease socre
    else { score.innerText = Number(score.innerText)-1 };
};
Function: clickListener(event):
- Handles the click event when a mole hole is clicked.
- If the clicked place has a background image (representing a mole), it increases the score by 1 and decreases the moleTime variable.
- If the clicked place doesn't have a background image, it decreases the score by 1.
// show mole
function showMole() {
    // select random place
    const selectedPlace = place[Math.floor(Math.random() * place.length)];

    // show mole img
    selectedPlace.style.backgroundImage = "url('mole2.png')";
    selectedPlace.style.backgroundSize = "122px 120px";
    selectedPlace.style.objectFit = "cover";

    // after some time remove mole img
    setTimeout(() => {
        selectedPlace.style.backgroundImage=""
    }, moleTime);

};
Function: showMole():
- Randomly selects a mole hole (selectedPlace) from the place array.
- Adds a mole image as the background of the selected mole hole.
- After a certain time (determined by moleTime), removes the mole image from the selected mole hole.
// create board
function createBoard() {
    for (let i=0; i<16; i++) {
        ground.innerHTML += `<div class="place"><div>`;
    };
    // update DOM place
    place = document.getElementsByClassName("place");
    // add click event listener
    [...place].forEach(i => i.addEventListener("click", clickListener));
};
Function: createBoard():
- Creates the mole holes by adding HTML markup (div class="place") to the ground element.
- Updates the place variable with the mole hole elements.
Adds a click event listener to each mole hole using forEach.
// start game
function startGame() {
    // create board
    createBoard();
    // show mole Interval
    showMoleTimer = setInterval(showMole, moleTime);
    // playing Time Interval
    playingTimeTimer = setInterval(playingTime, 1000);

};
Function: startGame():
- Calls createBoard() to create the mole holes.
- Sets an interval (showMoleTimer) to show the moles at regular intervals (moleTime).
- Sets an interval (playingTimeTimer) to update the playing time every second.
function reinitaializedGame() {
    ground.innerHTML = "";
    score.innerText = Number(0);
    time.innerText = Number(60);
    clearInterval(showMoleTimer);
    clearInterval(playingTimeTimer);
    startGame();
}
startGame();
Function: reinitaializedGame():
- Resets the game by clearing the ground element, resetting the score and time, and clearing the intervals.
- Calls startGame() to start a new game.
- startGame(): Calls startGame() to initiate the game when the page loads.
// restart game
document.getElementById('restart').onclick = () => {
    reinitaializedGame();
}
- Attaches a click event listener to the restart button (restart element) to call the reinitaializedGame() function when clicked.
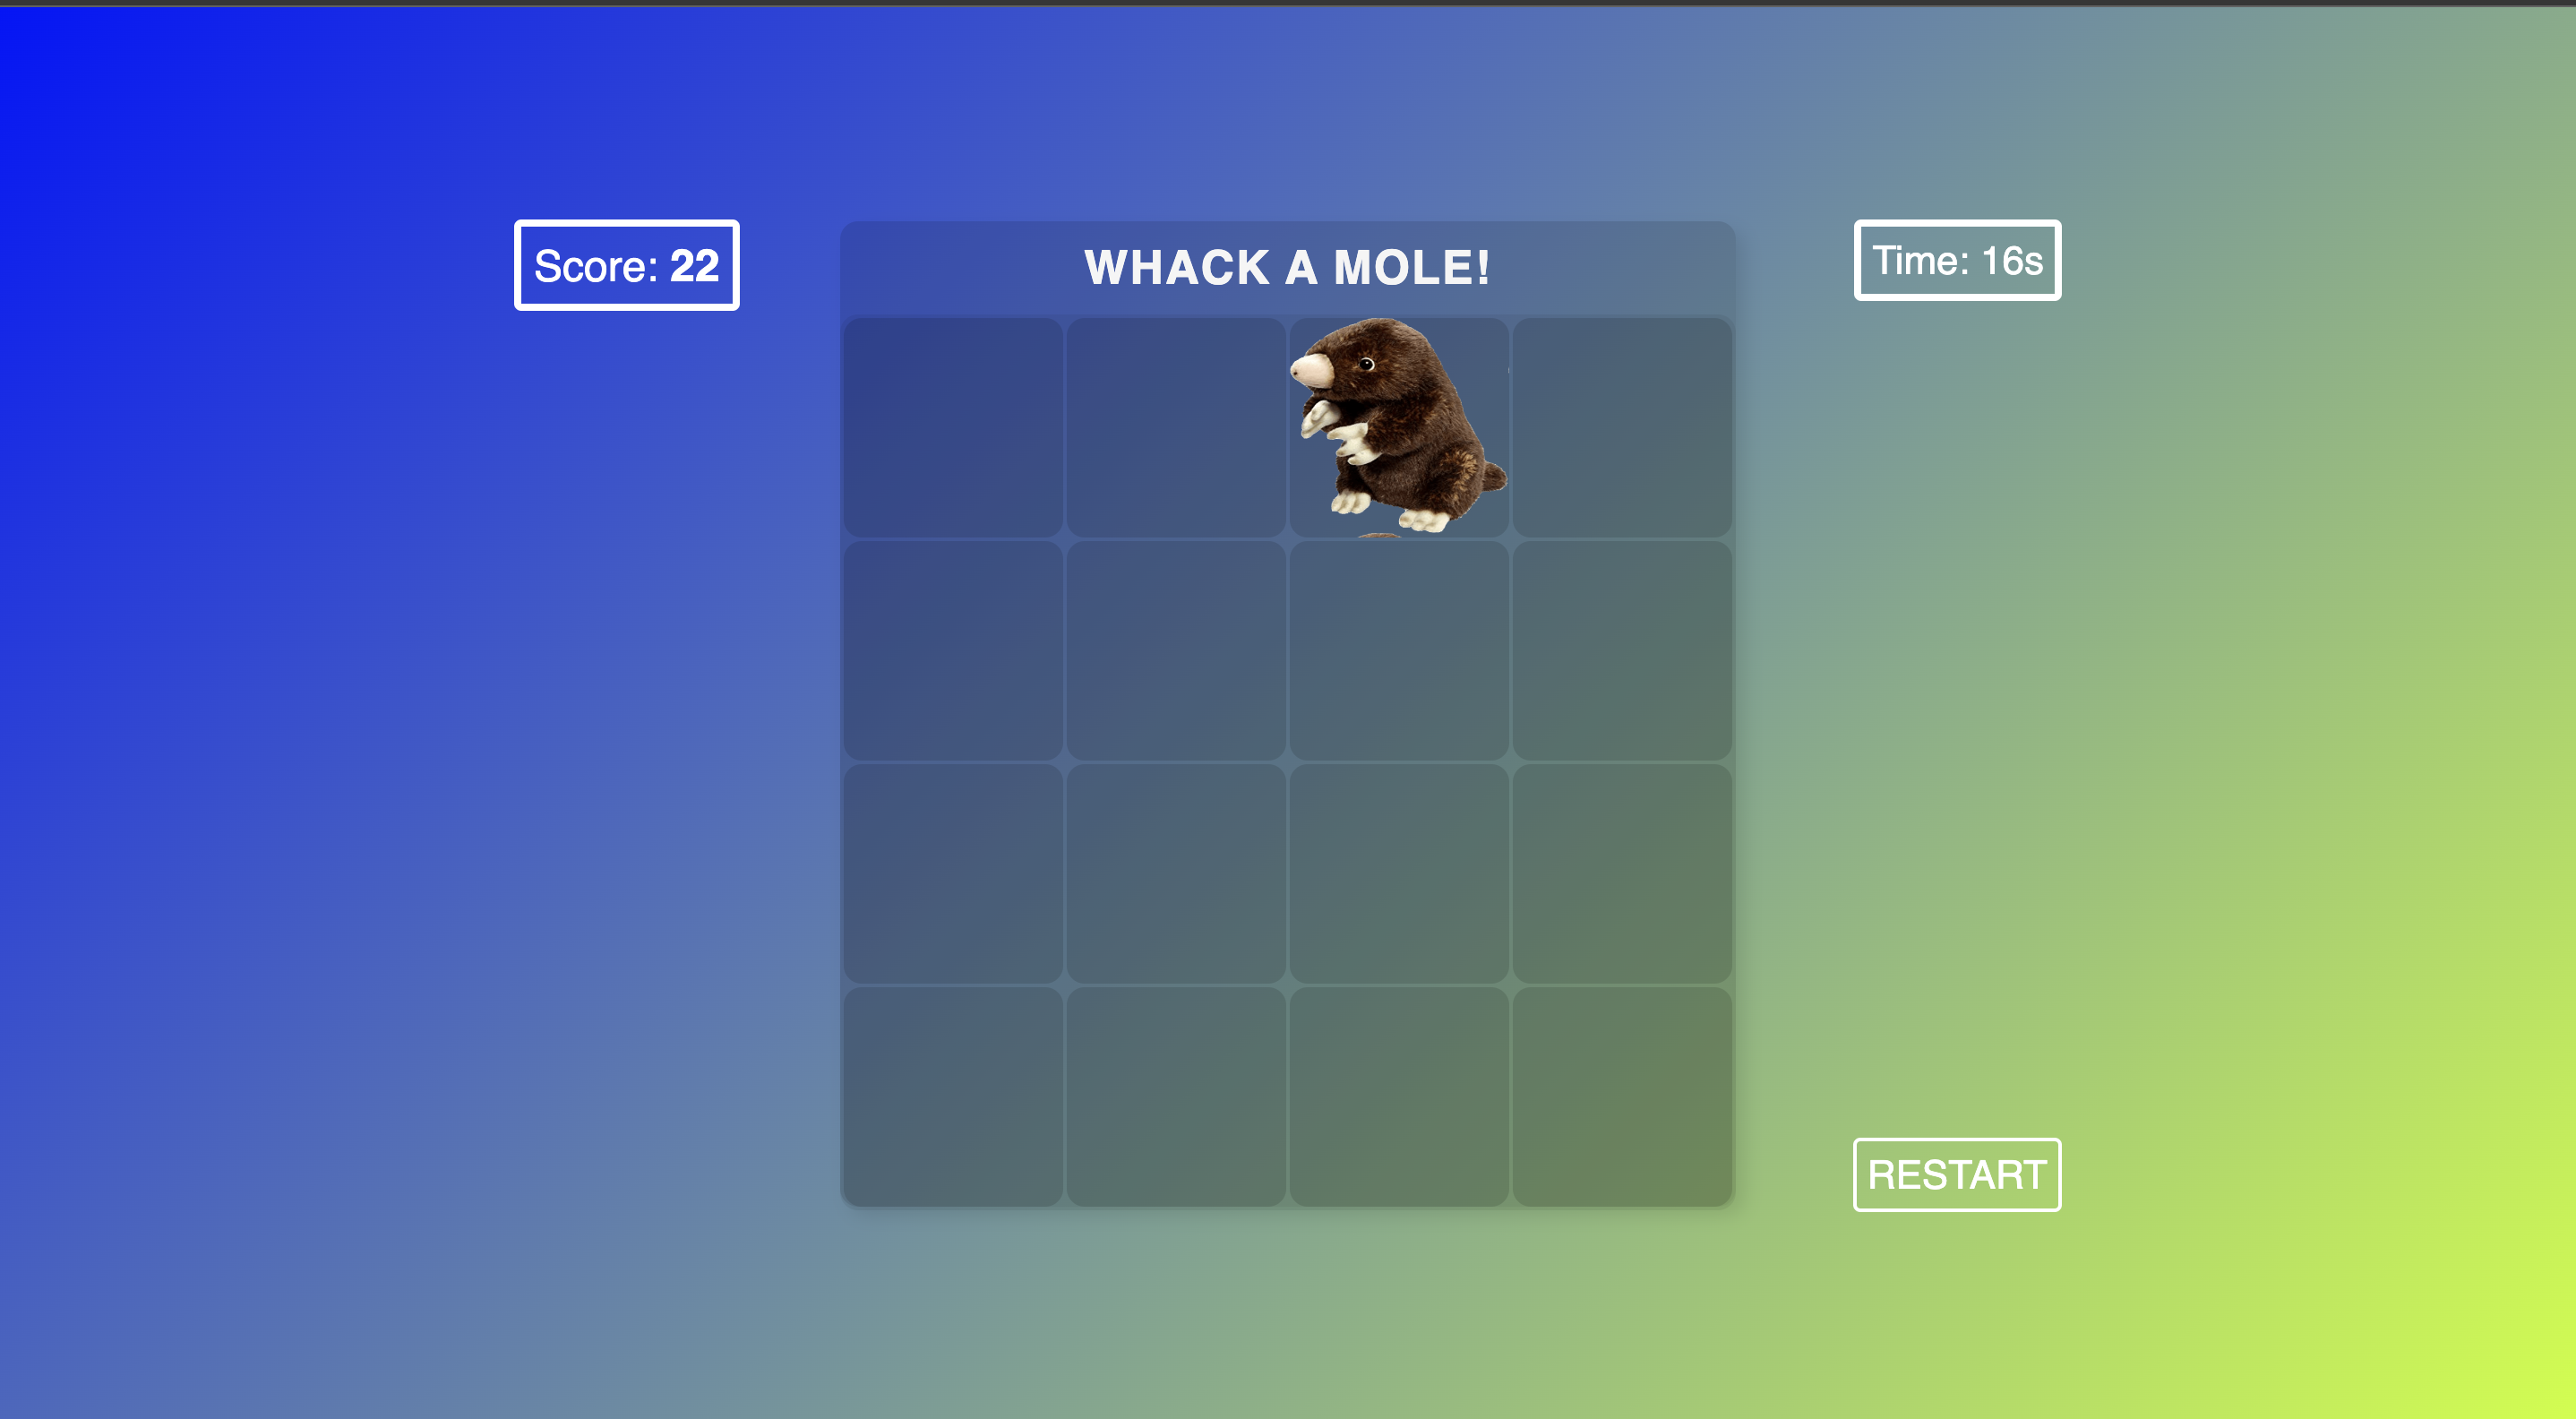
Finally, we completed our game.Let's look into our final output by clicking on to the index.html file which will open a new window in browser.
Output
Conclusion
The Whack-a-Mole game implemented in HTML and JavaScript offers an entertaining and engaging experience. Through the combination of HTML elements, CSS styles, and JavaScript logic, players can test their reflexes and hand-eye coordination by whacking virtual moles as they appear and disappear from their holes.The game features a visually appealing layout, including a playing area with mole holes, a score display, a timer, and a restart button. The game mechanics involve clicking on the moles to increase the score while avoiding clicking on empty holes. The gameplay becomes more challenging as the mole appearance time decreases over time.By utilizing event listeners and interval timers, the game provides dynamic interactions and a countdown timer that adds a sense of urgency. The game incorporates elements of randomness, as the moles appear randomly in different holes, enhancing replayability and excitement.